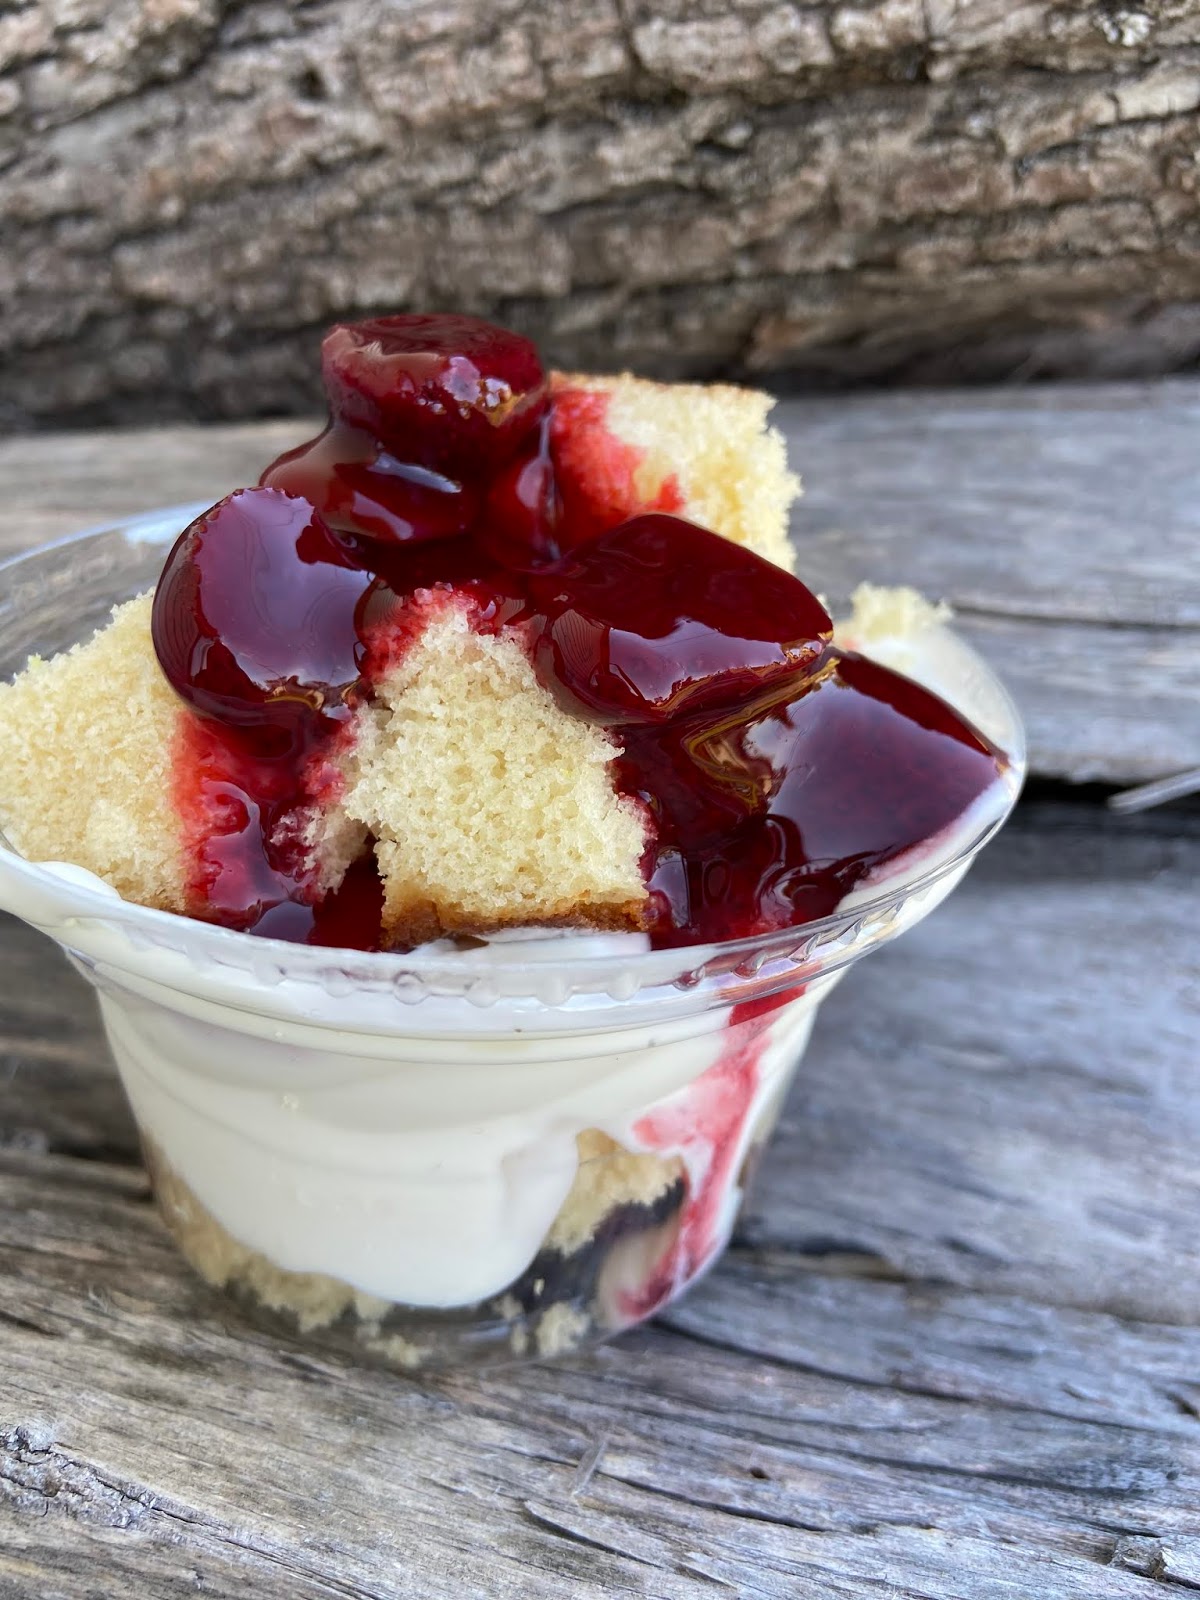
Erma\’s Frozen Custard DIY Strawberry Shortcake Kit

Ever since I was little heading to Erma\’s Frozen Custard was a summer tradition. Every day they have vanilla, chocolate, and twist custard. Every week they have a couple \”weekly\” flavors. I am vanilla with sprinkles kind of gal unless they have someone of my favorite flavors that week: dreamsicle, dragonfruit peach, lemon chiffon or strawberry.
With a pandemic being in full effect and places being up able to open up, I was excited to learn this past week that Erma\’s Frozen Custard was open for curbside pickup and they had dreamsicle – yum! While I was looking through the menu online to place my order I discovered that they had a DIY Strawberry Shortcake Kit. With everything going on, DIY kits have quickly become my favorite, so of course, I ordered a DIY Strawberry Shortcake Kit, and let me tell you it was definitely worth it.
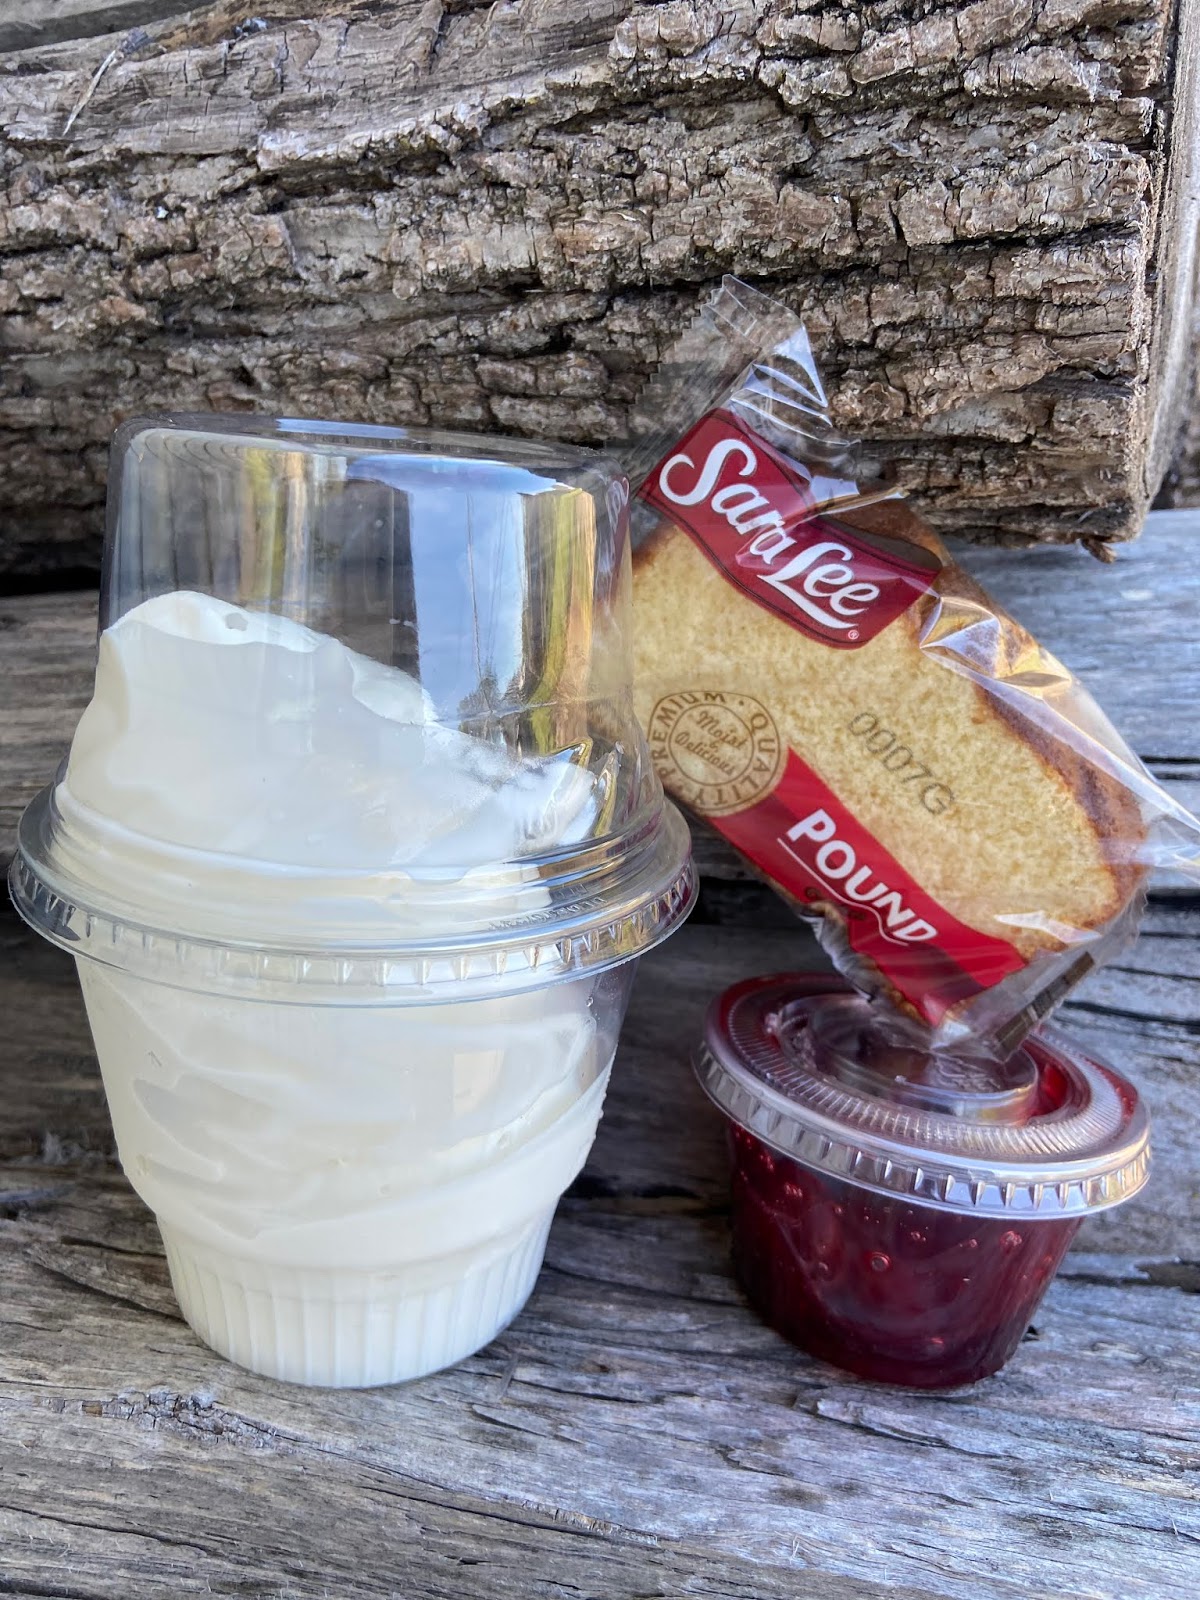
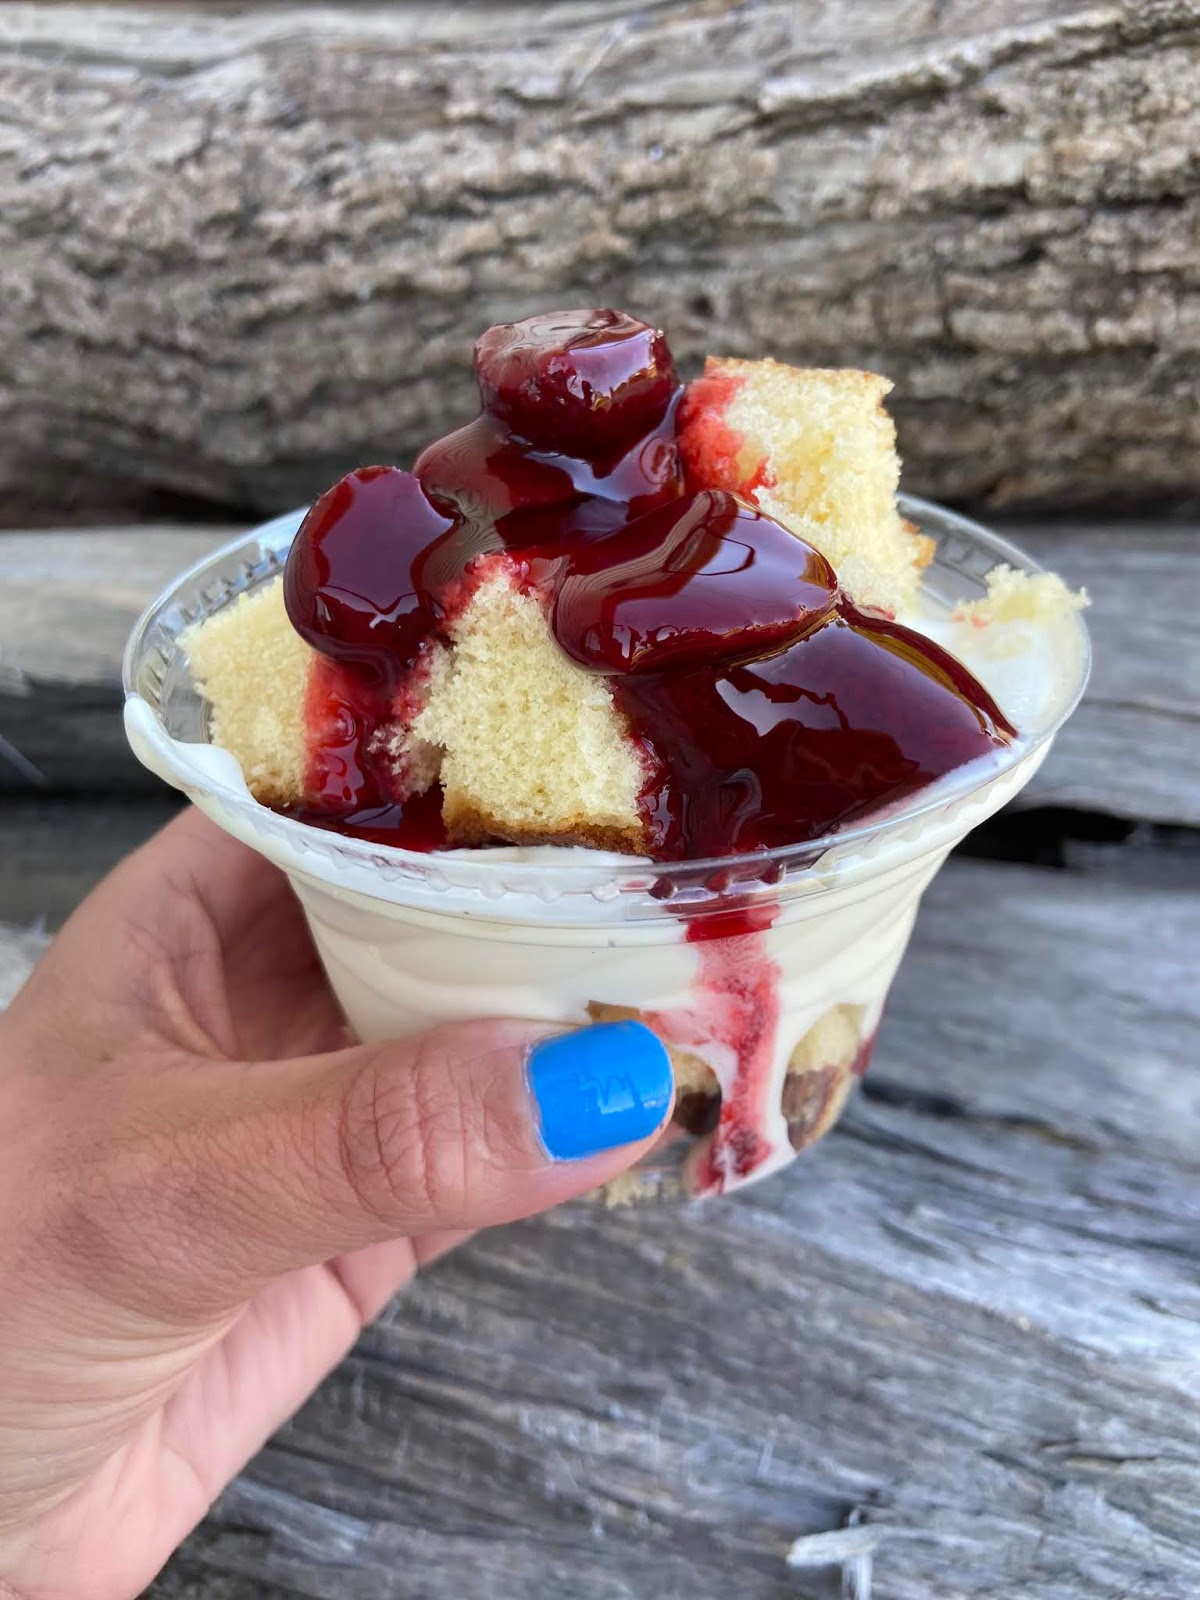
Erma\’s Frozen Custard DIY Strawberry Shortcake Kit came with a generous portion of vanilla ice cream, a slice of packaged SaraLee pound cake, and a container of delicious strawberry topping. I took the kit out on the trail with me, assembled it, and enjoyed it while I walked by the river.
Have you bought any DIY kits during the pandemic?

11 Snacks to Pack on your Next Hike
Depending on your level of hiking expertise, you may be fully outfitted for an all-day adventure or you may just be trekking a mile or two out to see the beautiful scenery. No matter what, there are a few essentials that you don’t want to forget. Comfortable walking or hiking shoes, water, and snacks.
When you’re out there on the trail, your body exerts a lot of energy, which means it is crucial to keep it fueled and energized so you can continue moving. If you have ever been on a hike, you know that one of the best things about the hike is snack time. You find that perfect spot to stop, catch your breath, take in the view and of course give yourself some energy. When it comes to hiking snacks the possibilities are endless, and let me tell you I am a snack packer. I mean, who wants to end up starving and lightheaded while they’re on the trail? I know I sure do not want that.
Just because it is called “trail mix” does not mean it will suffice when you’re climbing up hills in the sun. Today I am sharing with you my favorite snacks to pack for a day hike. Not only will these snacks hold up in your backpack as you hike, but they taste delicious. If you’re looking for a few snack ideas to take along on your next hike, here are 11 snacks to pack for your next hike.

11 Snacks to Pack on your Next Hike
1. Trail mix
No hiking snack list would be complete without trail mix, right? You can go to the store and buy a pre-made mix. I personally love making my own and it usually contains nuts, seeds, and dried fruit.
Pro Tip: When I don’t have time to make trail mix or don’t want to bring some with me you will always find individual packs of nuts, dried fruit, and seeds in my backpack.
2. Peanut butter and bananas
Peanut butter is full of energizing goodness (proteins, calories, and healthy fat), combined with potassium-rich bananas that will fight of muscle cramps.
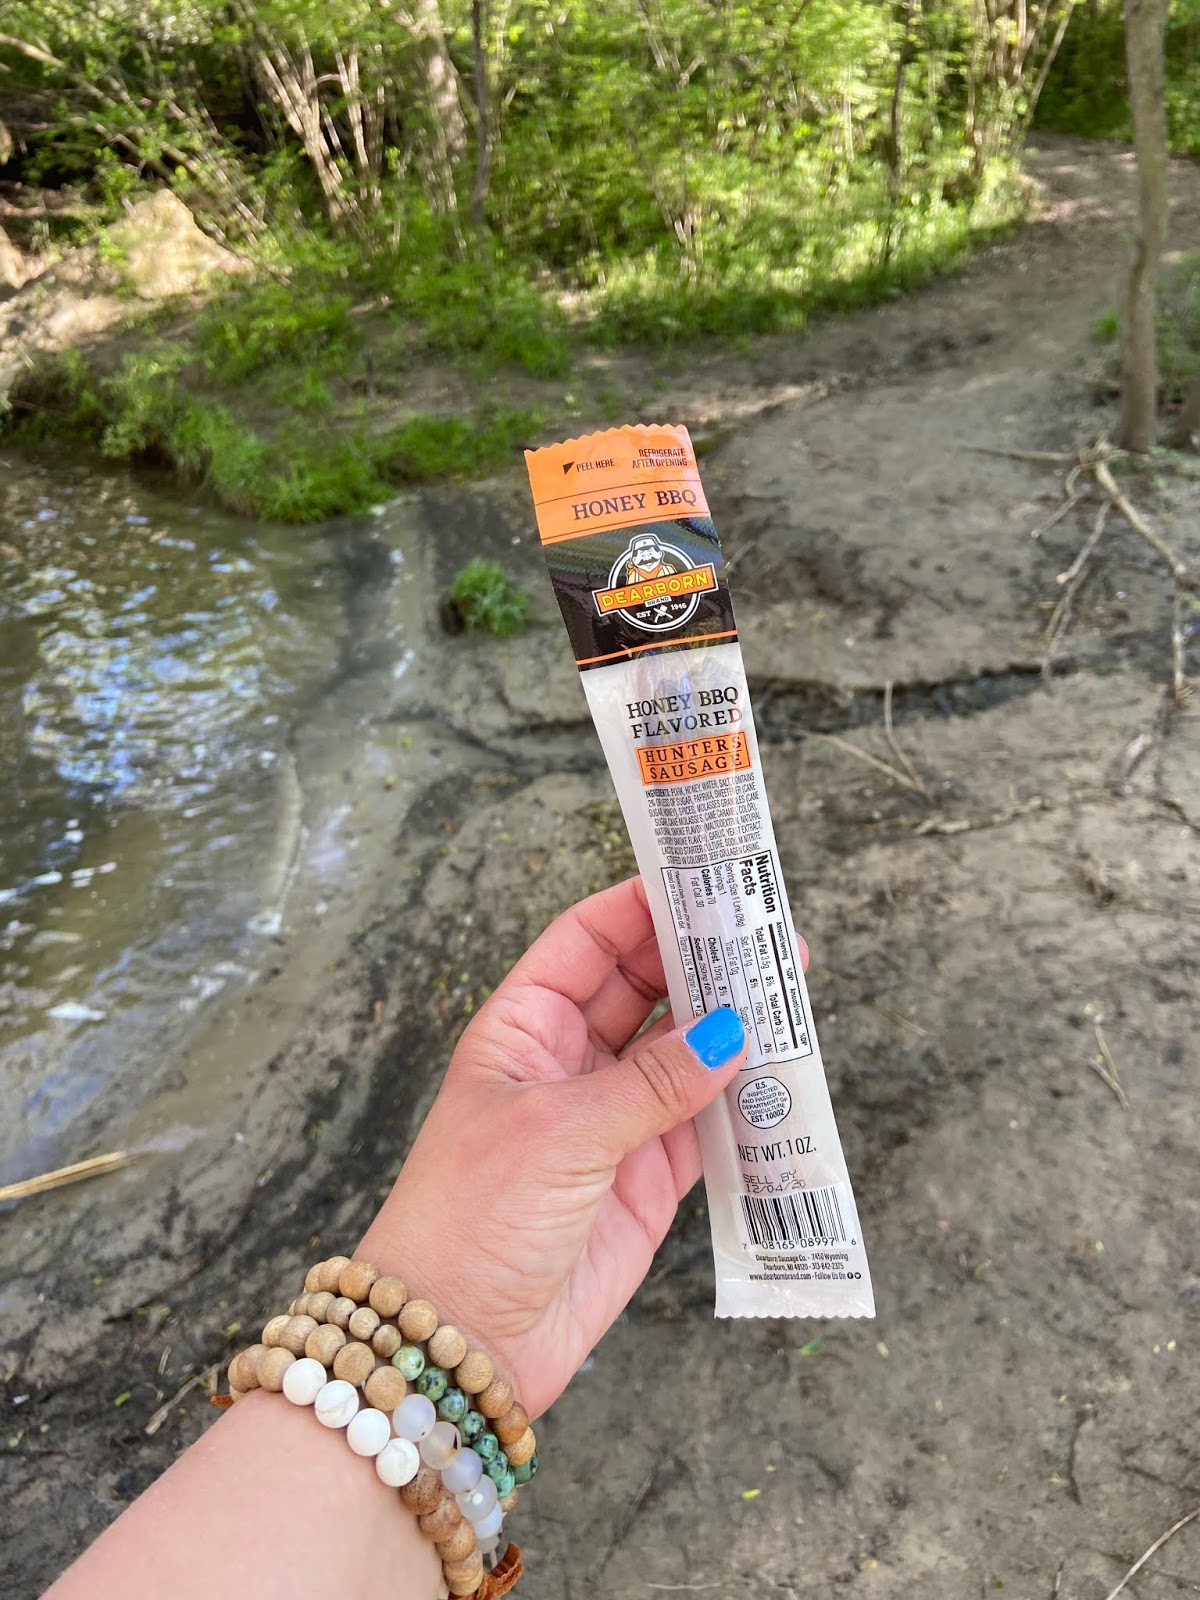
3. Hunter sausage and beef jerky
Beef jerky and hunter sausage are easy to pack and protein-packed, which makes it a favorite amongst most hikers.
Pro Tip: I love individual packages of hunter sausage, it is easy and convenient.
4. Fruit
With fruits naturally-occurring sugars and an extra dose of hydration, it is the perfect perfect snack for any occasion. I love bringing watermelon or grapes out on the trail with me.
Pro Tip: Freeze some grapes the night before, to have a refreshing snack while you’re out on the trail.
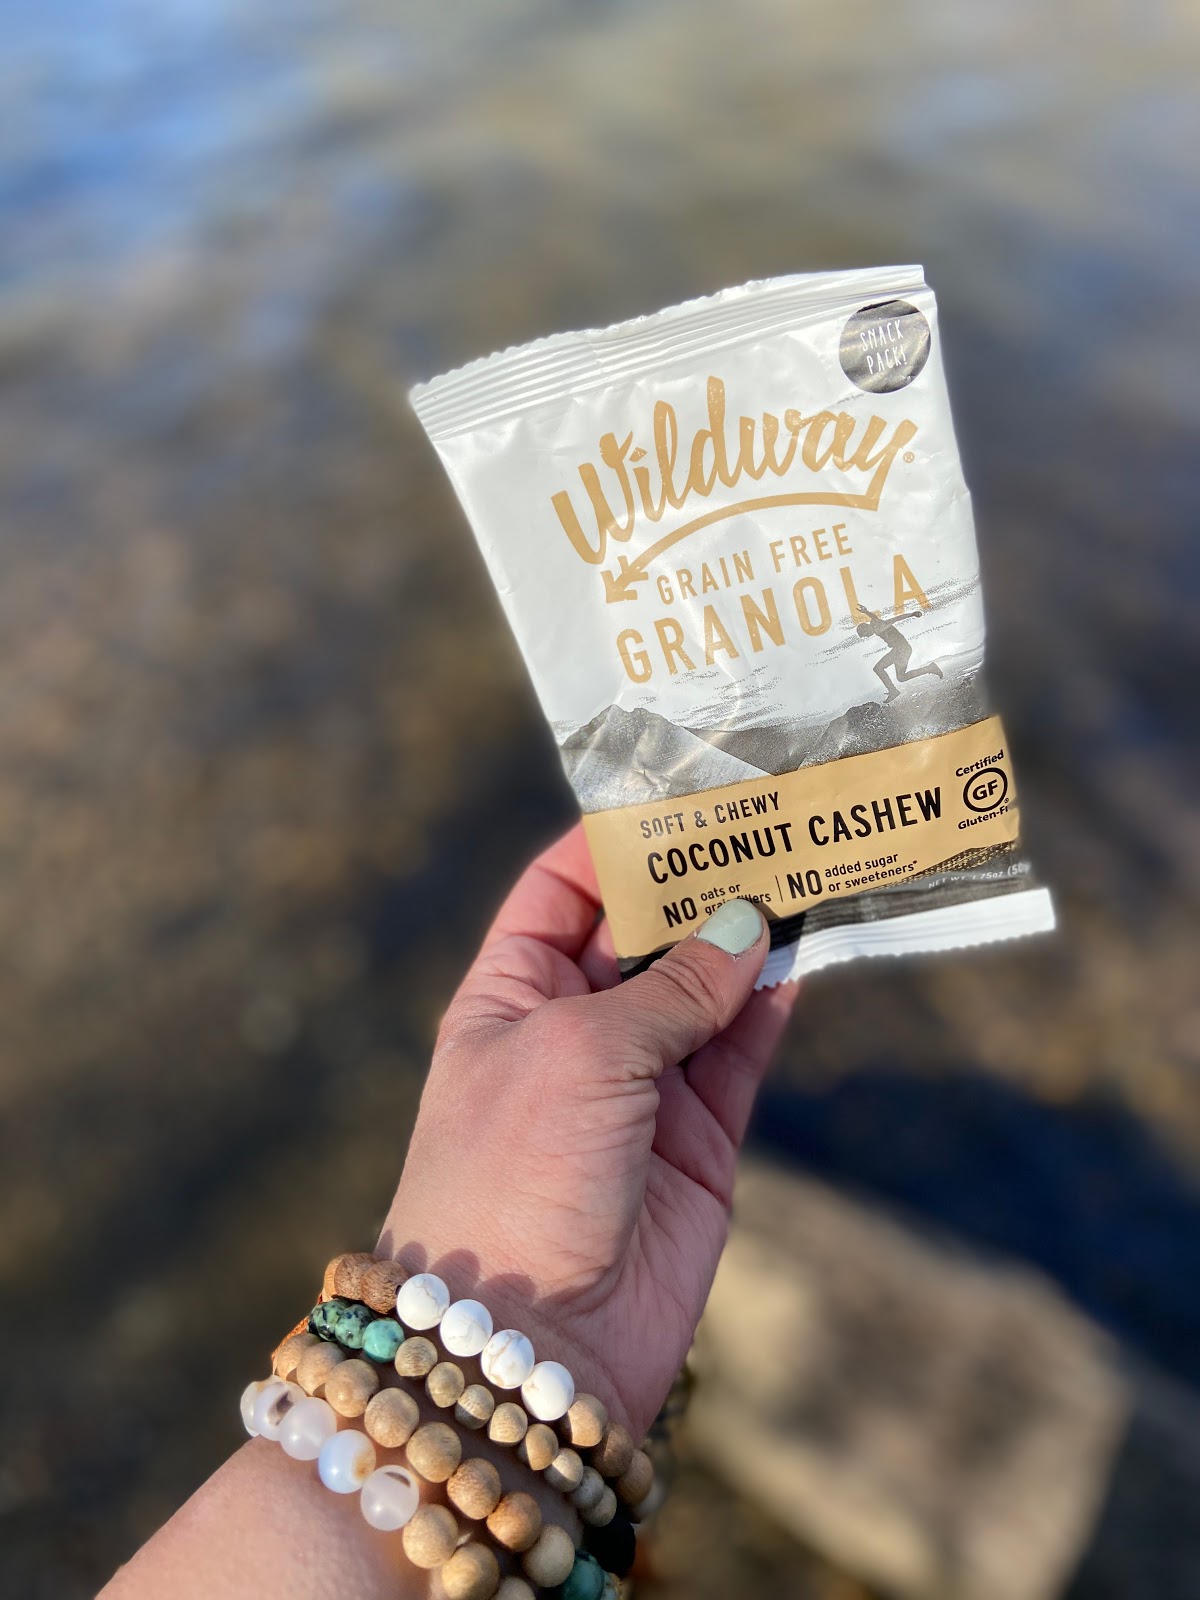
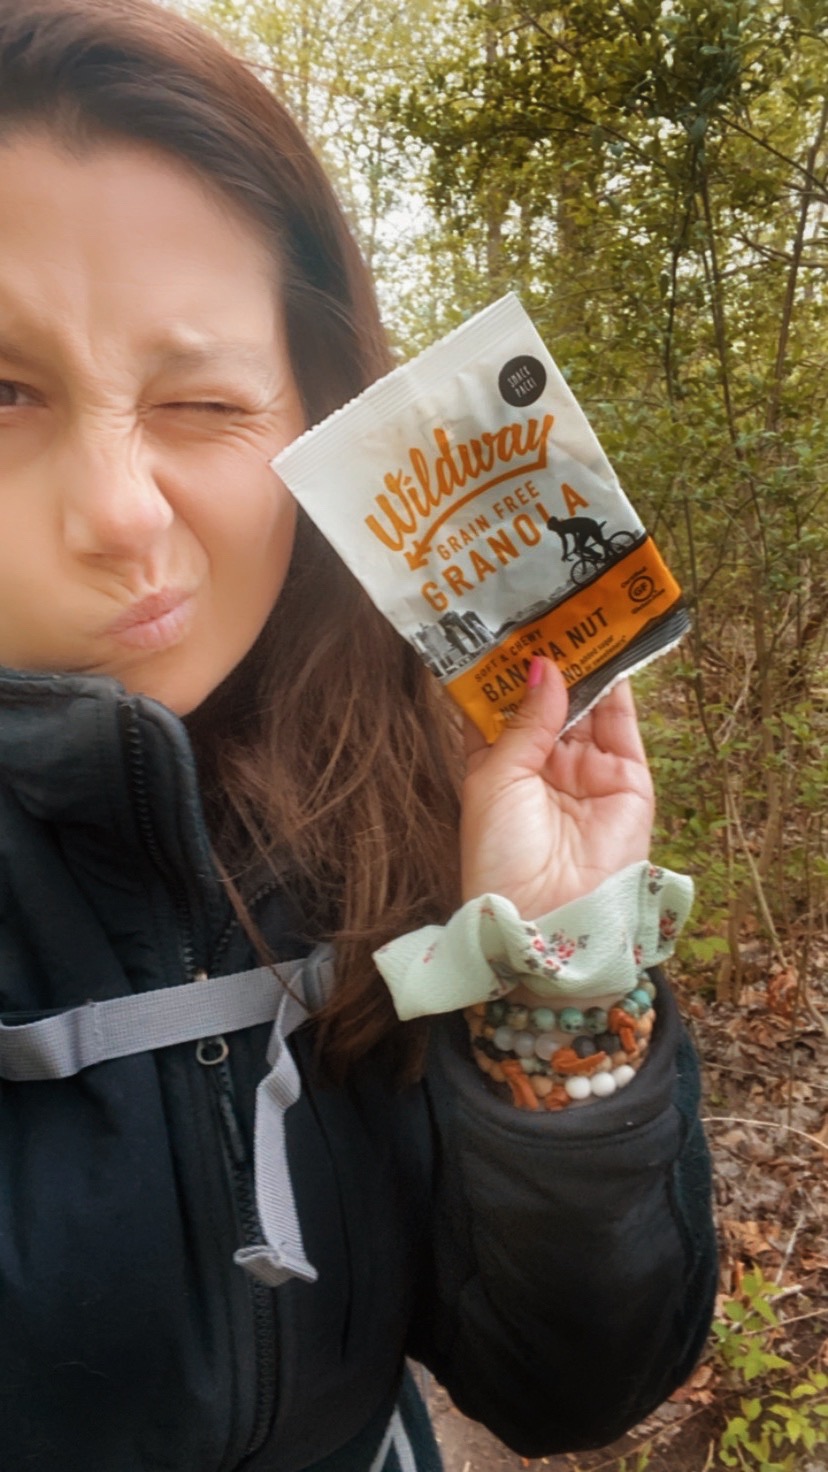
5. Granola
Granola is one of my essentials to bring on the trail with me, especially in the mornings. You can make your own granola or pick up a package from the store.

Pro Tip: Grain-free granola has quickly become my favorite to have on the trail with me.
6. Tuna packets
Tuna is a great way to get quick protein. I love the fact that you can buy individual tuna packets, that are easy to open and pack in a backpack.
Pro Tip: Bring crackers to scoop the tuna out of the packet. I have been loving having tuna with Cheez-Its or Goldfish lately.
7. Dried fruit
Dried fruit is great for a quick energy boost. I love individual boxes of dried fruit to make it easier when I’m on the trail.
Pro Tip: Keep a box of dried fruit in the pocket of your hiking pants for quick access to an energy boost.

8. Nuts and seeds
Individual packets of nuts and sunflower seeds are easy to pack and are great for a boost of energy on the trail. Sometimes I will even mix it up with candied nuts instead of raw nuts.
9. Snickers
Yes, the candy bar. When I was in college one of my friends trained to hike Everest and the essential item he said he needed to pack was Snickers bars. Not only do they give a boost of energy, but they’re said to help with altitude sickness.
Pro Tip: Bring frozen mini Snicker bars with you so they will hold up longer in warmer temperatures.
10. Roasted chickpeas
These little guys are a great source of protein. You can buy a package or easily make your own.

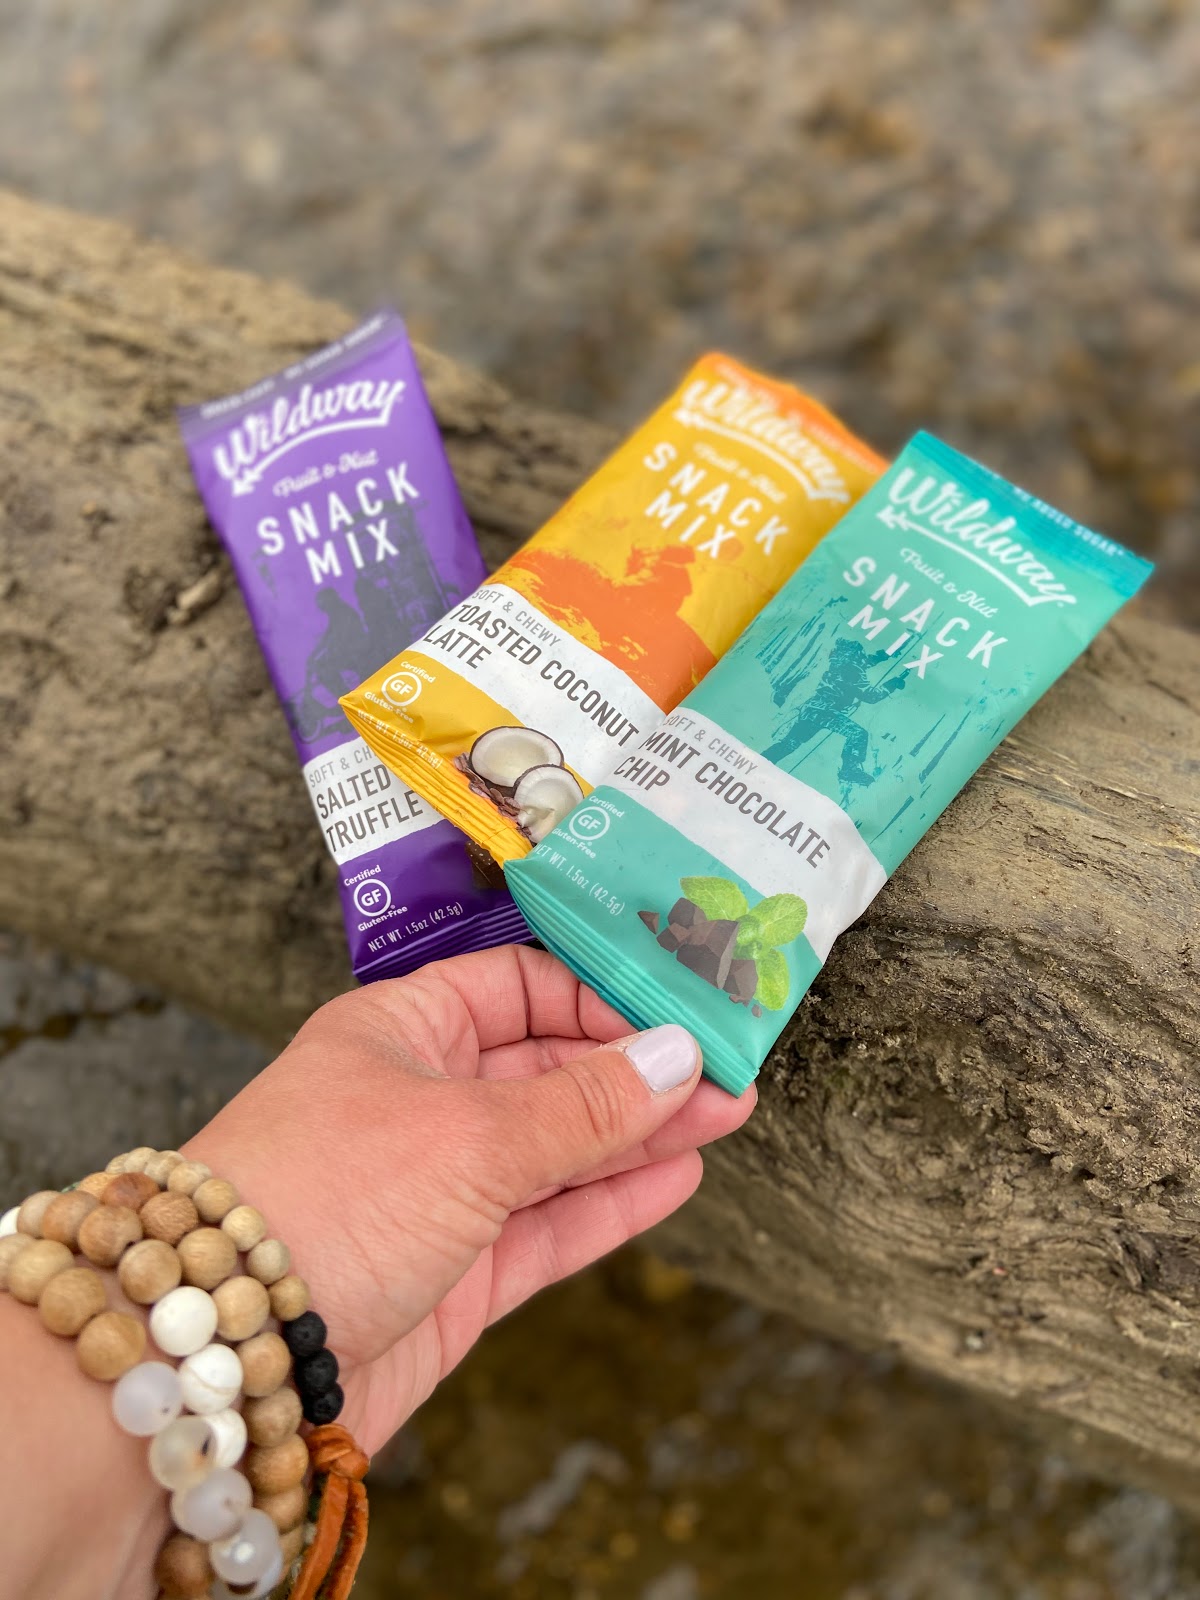
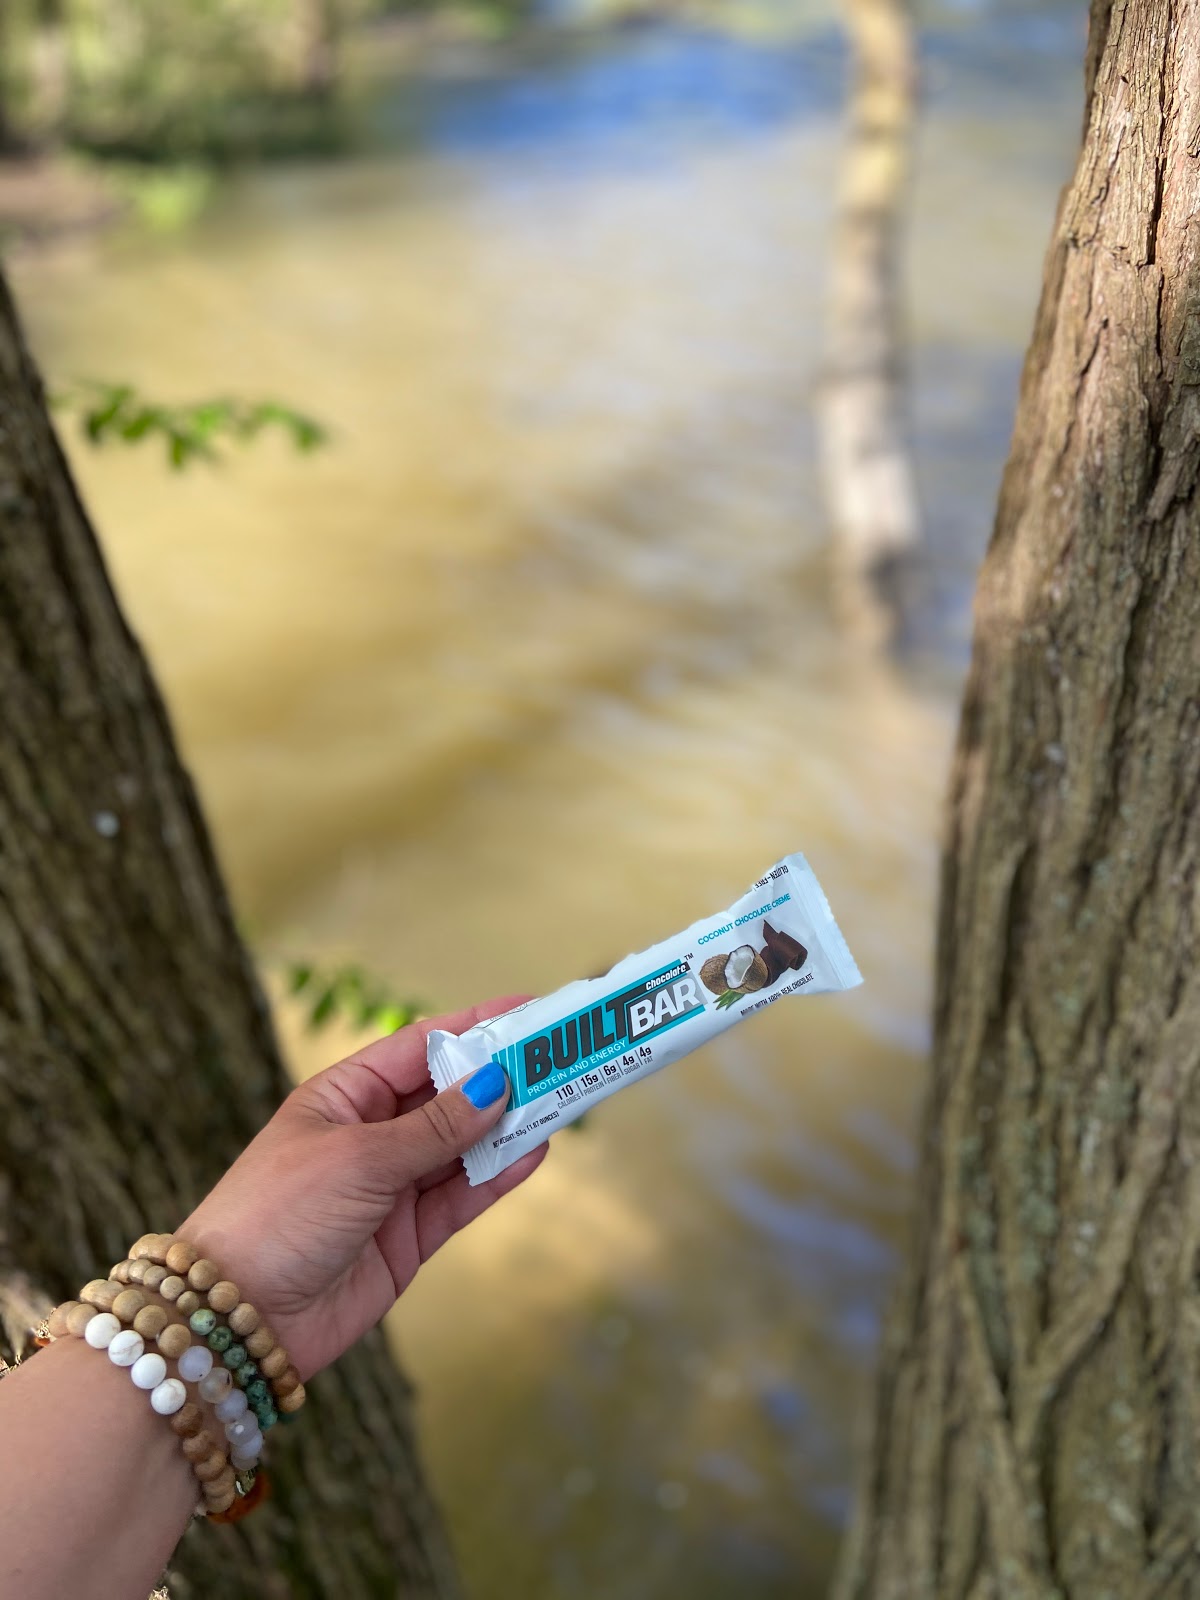
11. Nutrition Bars
Nutrition bars are a quick and easy way to fuel up and easy to pack in your daypack. Sometimes I bring sweet bars out with me just to have as a “dessert” when I reach a certain point, other times I bring bars to enjoy in the morning or protein bars for easy energy during a hike.
Get creative with your hiking snacks and pack some nourishing food that will keep you energized while you’re out exploring. Make sure you pack snacks that you will actually eat. What are your favorite snacks to pack?
How To Make an Easy Cheese Board

Cheese boards have become all the rage. During the holidays this year I shared how to make a simple cheese board, and today I am going to share with how to make an easy cheese board. I am going to show you how to make a cheese board without breaking the bank.
When it comes to making cheese boards, the possibilities are absolutely endless. Whether I am pulling together a late-night snack, goodies for a girl\’s movie night, a quick and easy weekend lunch, or an appetizer for friends, cheese boards are my go-to for every occasion.
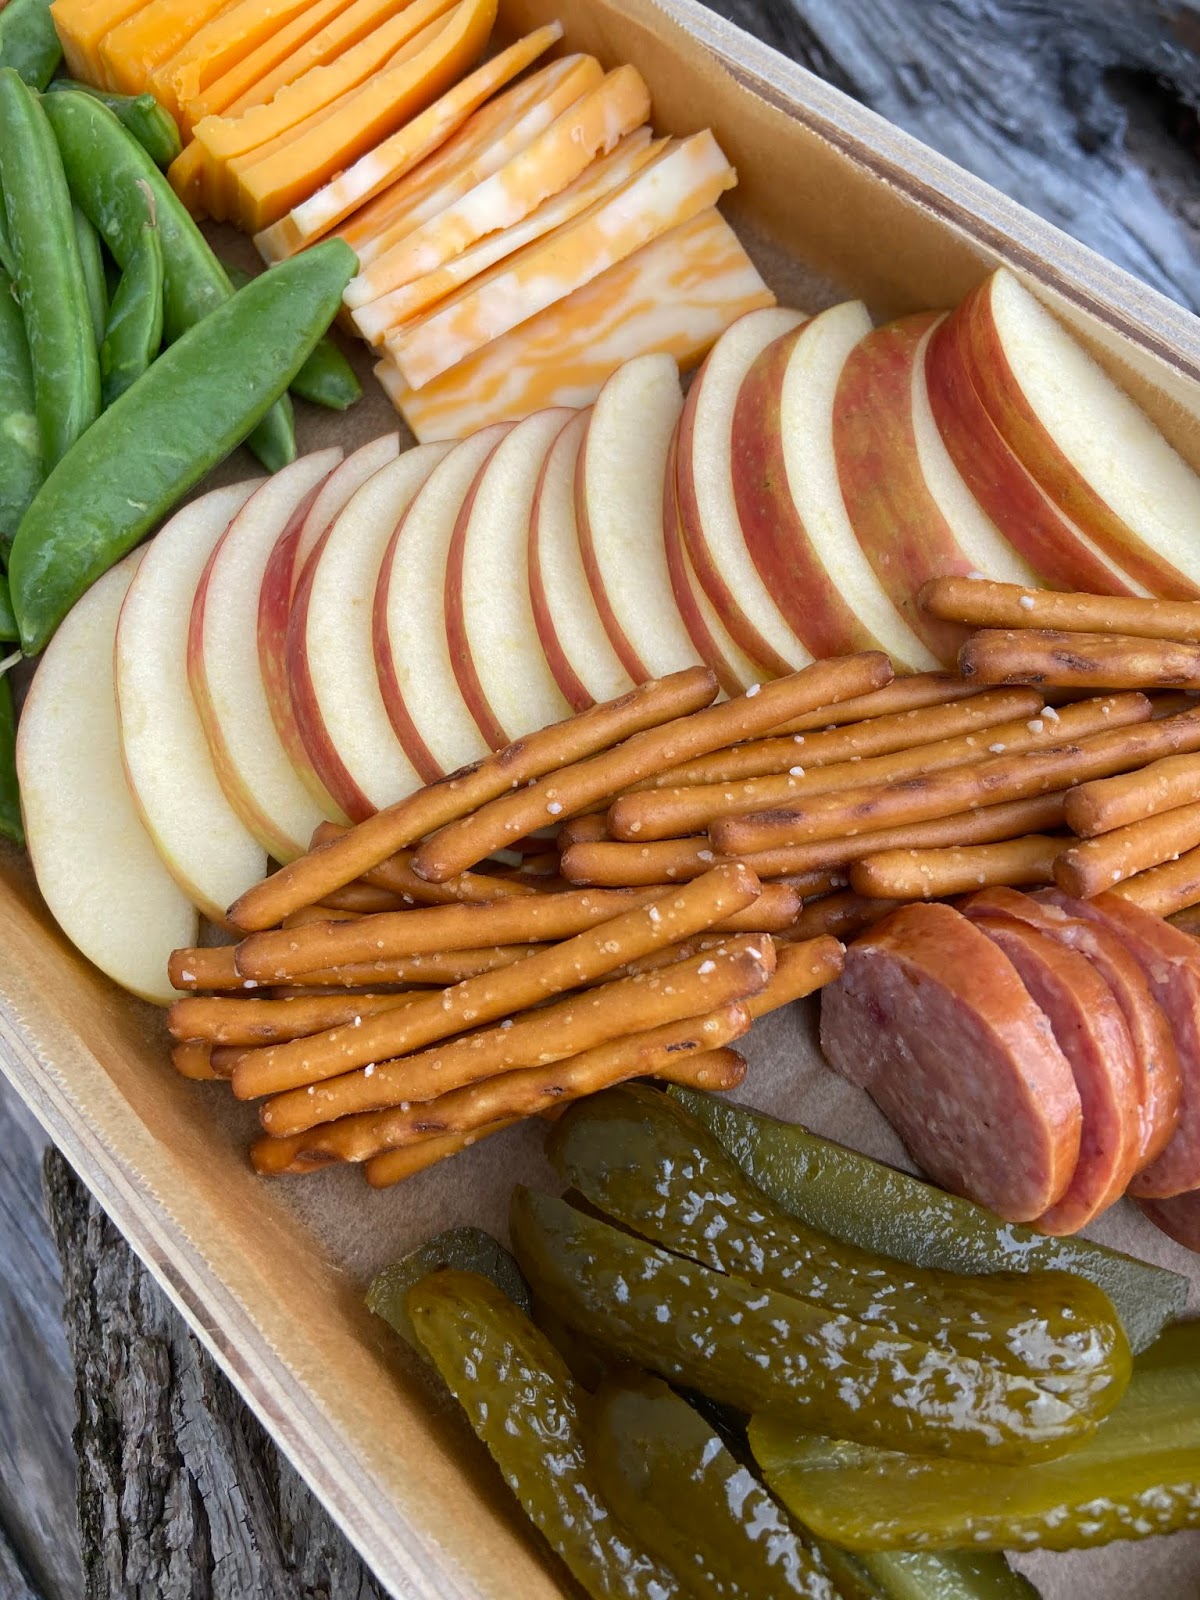
Cheese boards can be as fancy or as simple as you\’d like them to be. When I am doing a cheese board for guests I typically like to include: 1-2 types of meat, 2-3 kinds of cheese, a pile of crackers and a few handfuls of snack foods that I have stashed in the pantry.
Lately, I have been ditching the snack foods and going with pickles and apples. The combination has been absolutely amazing.

The secret to a great cheeseboard?
Pile it on there. Seriously.

Easy cheese board tips and tricks
Serving size of one ounce per cheese, per person
When I build a cheese board for 4-6 people I like to do at least three different cheese and two meats
If using fancy cheese leave the cheese out at room temperature one hour prior to serving
How to assemble a cheese board
Make sure to color block
Make it inviting
Get creative
Put jams, jellies, and spreads in small jars and replenish as needed

What to include on a cheese board?
A variety of cheeses
A variety of meats
Nuts
Crackers
Pickles
Grapes
Grape Tomatoes
Jams, jellies or spreads
Pretzels
Cheeseball
Salsa
Vegetables
Assorted fruit, such as apples
And more
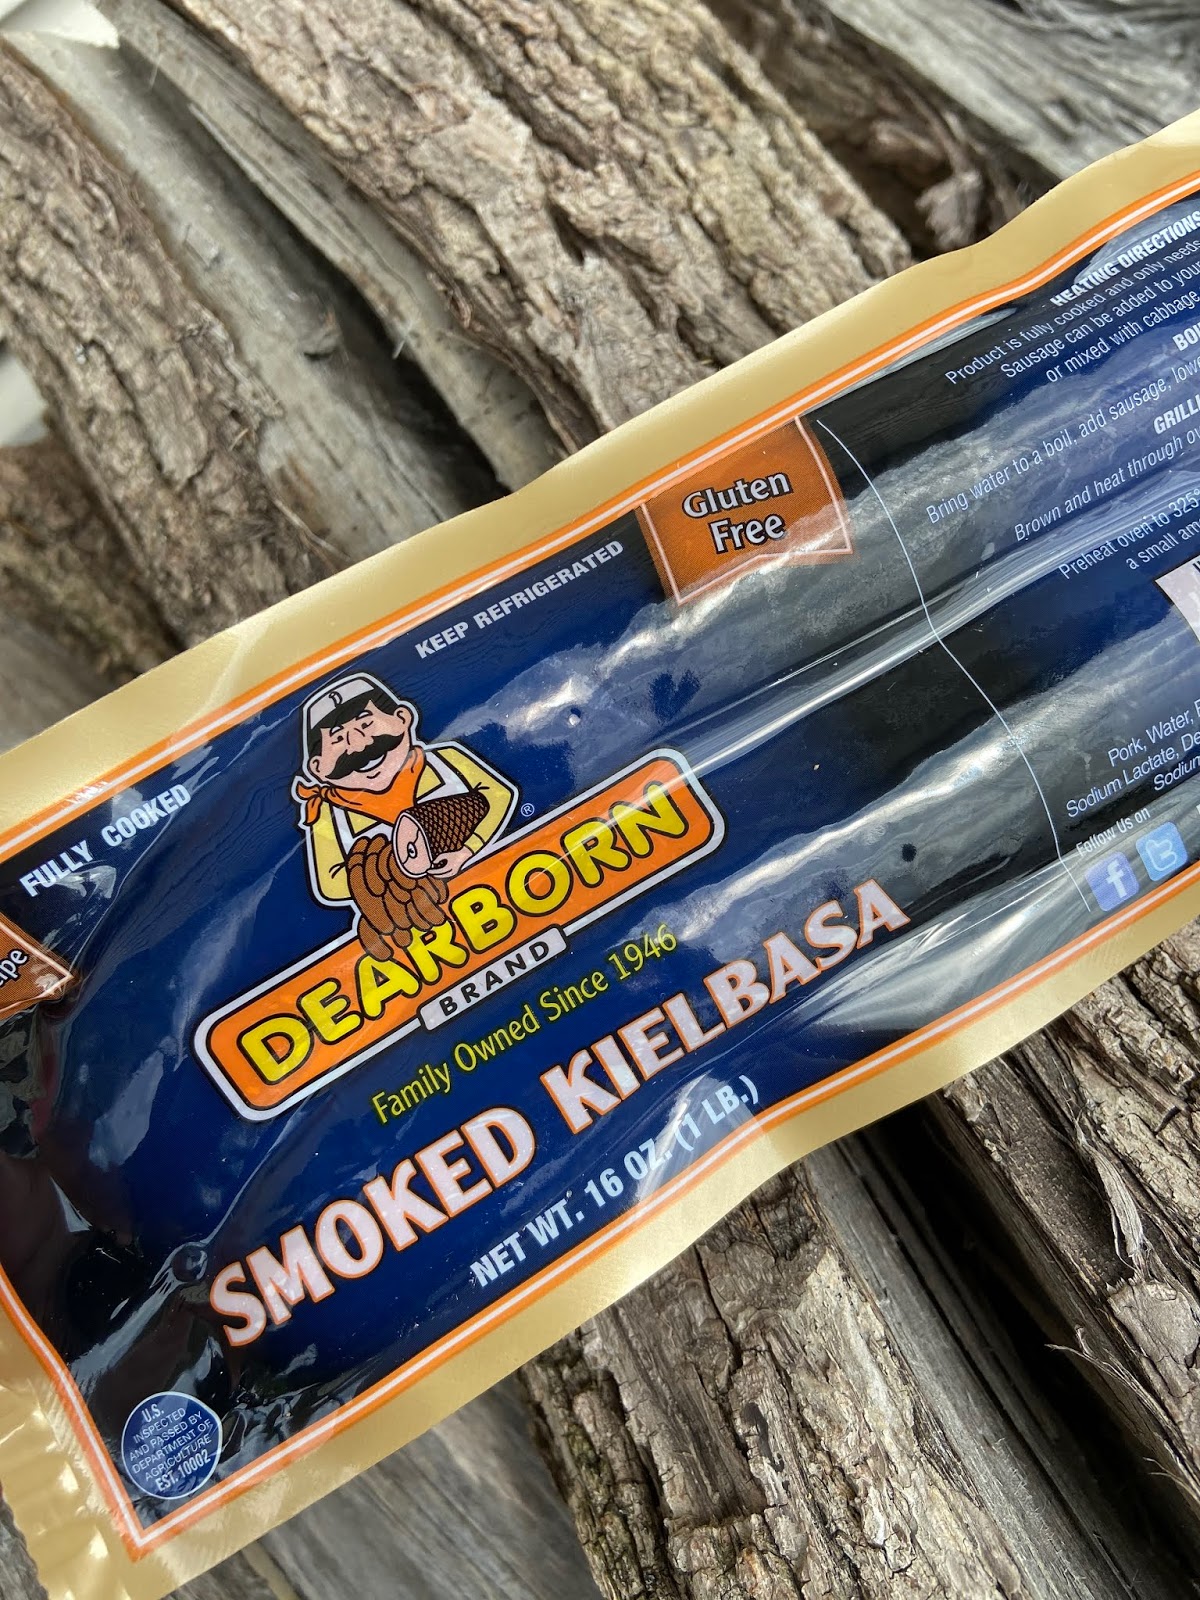
My everyday cheese boards usually feature:
Dearborn Brand Smoked Kielbasa
A variety of store-brand cheeses
Assorted crackers
Pickles
Whatever fresh fruit I have in the house at the time (typically apples)
I have also been making cheese boards that have pretzels, vegetables, and nuts. When it comes to a cheese board the sky is the limit. Create one that you will love, not just one you\’re trying to make fancy and impressive.

Pro Tip: Splurge on a small chunk of your favorite fancy cheese and fill out the rest of the cheeseboard with much less expensive options.
How to preserve leftover cheese?
Tightly wrap leftover cheese in wax paper or foil and throw them in the vegetable drawer to ensure freshness.

How to display your cheese board?I like to use a serving tray, cutting board, small slabs of wood or a small sheet pan to make my cheese boards.
Pro Tip: By the time you get your cheeseboard piled high with all the delicious goodies, no one will even notice what you have used.
Five Things
I cannot believe I have just concluded week 9 of quarantine here in Michigan. It\’s absolutely crazy to think that 63 we have been under a stay-at-home order.
I will be honest with you, as someone who could probably be considered \”needy\” and usually has a jam-packed schedule filled with events and activities – I actually feel like I am thriving during this quarantine. Of course, I am not thrilled with the fact that I cannot travel and that shows and sports are canceled. I hate that restaurants are curbside only and that I am unable to interact with people. I especially hate that I lost my job, but despite all of this I am in the best mental state that I have been in a really long time.
I figured out the key to my happiness and why I am thriving – it\’s hiking. Yes, I know that I go on hikes constantly and travel to hike, but I never wake up every single morning and go hiking. Jack and I are still on the same schedule we were on when I was working. However, instead of me beginning to work after I take Jack for his morning walk we now head out into the woods for a hike and it is everything I need.
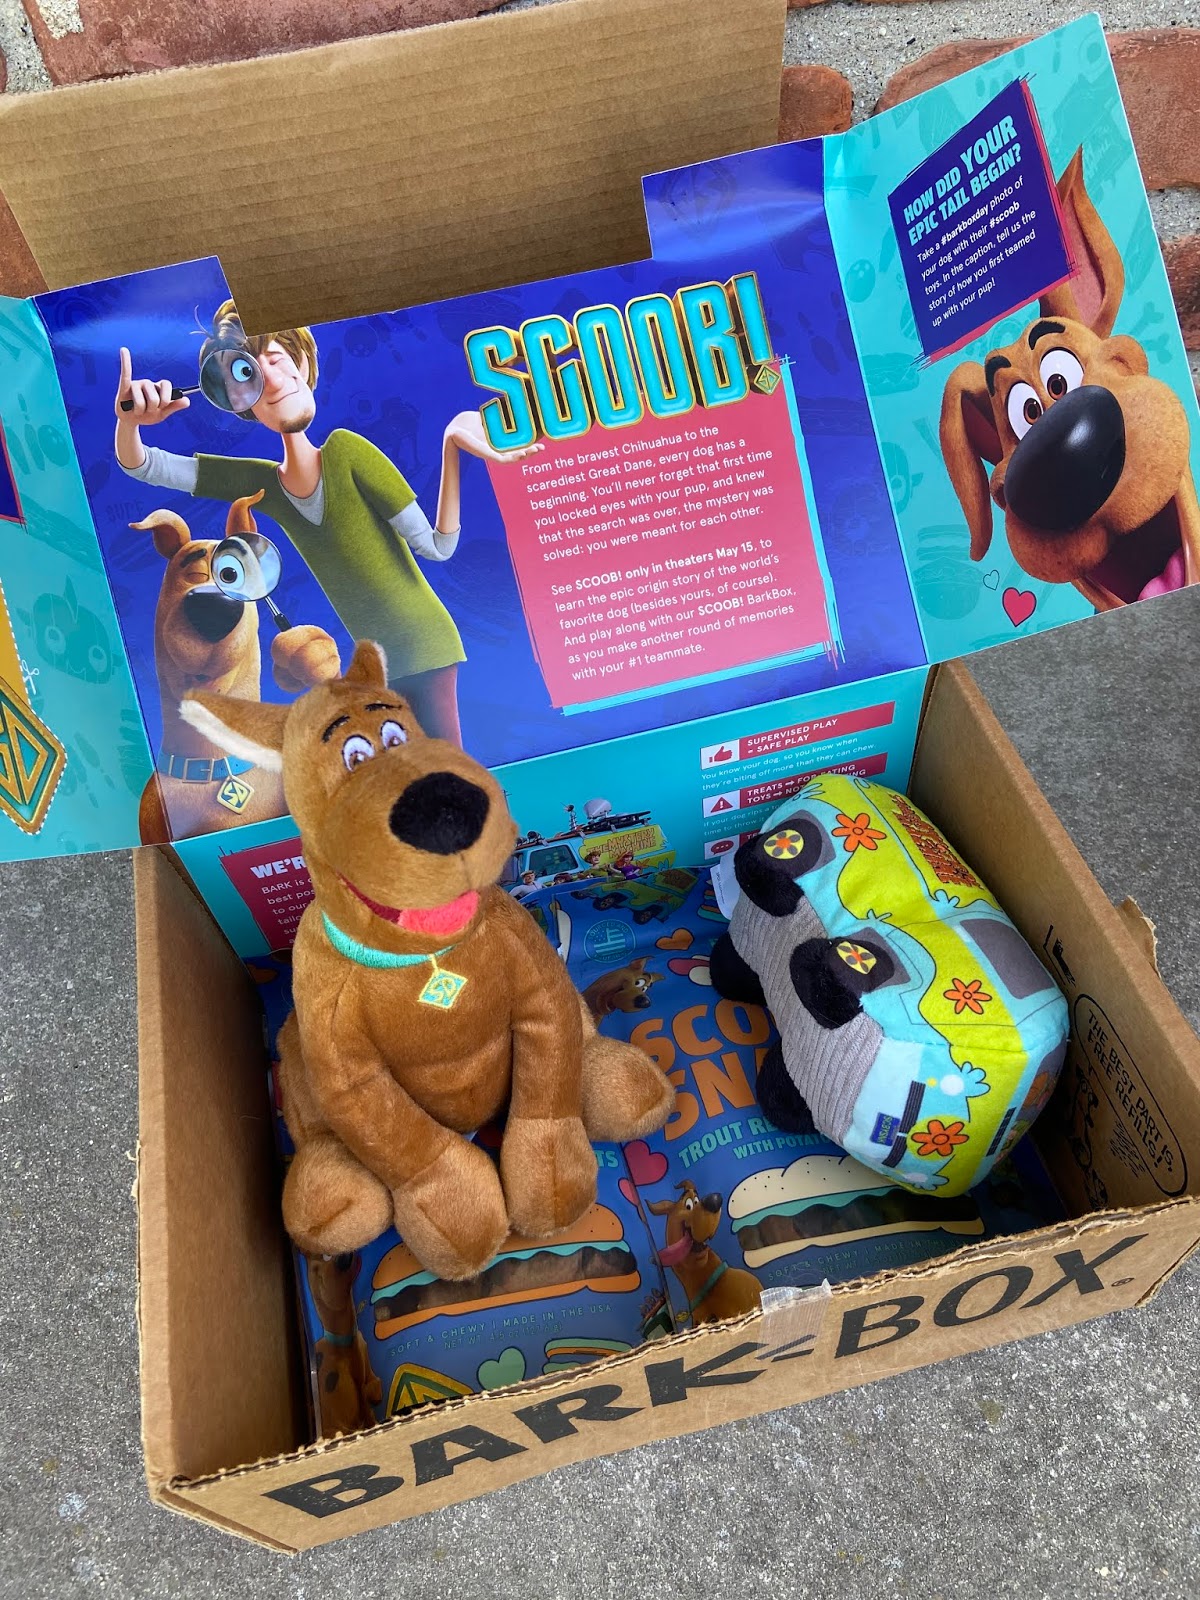
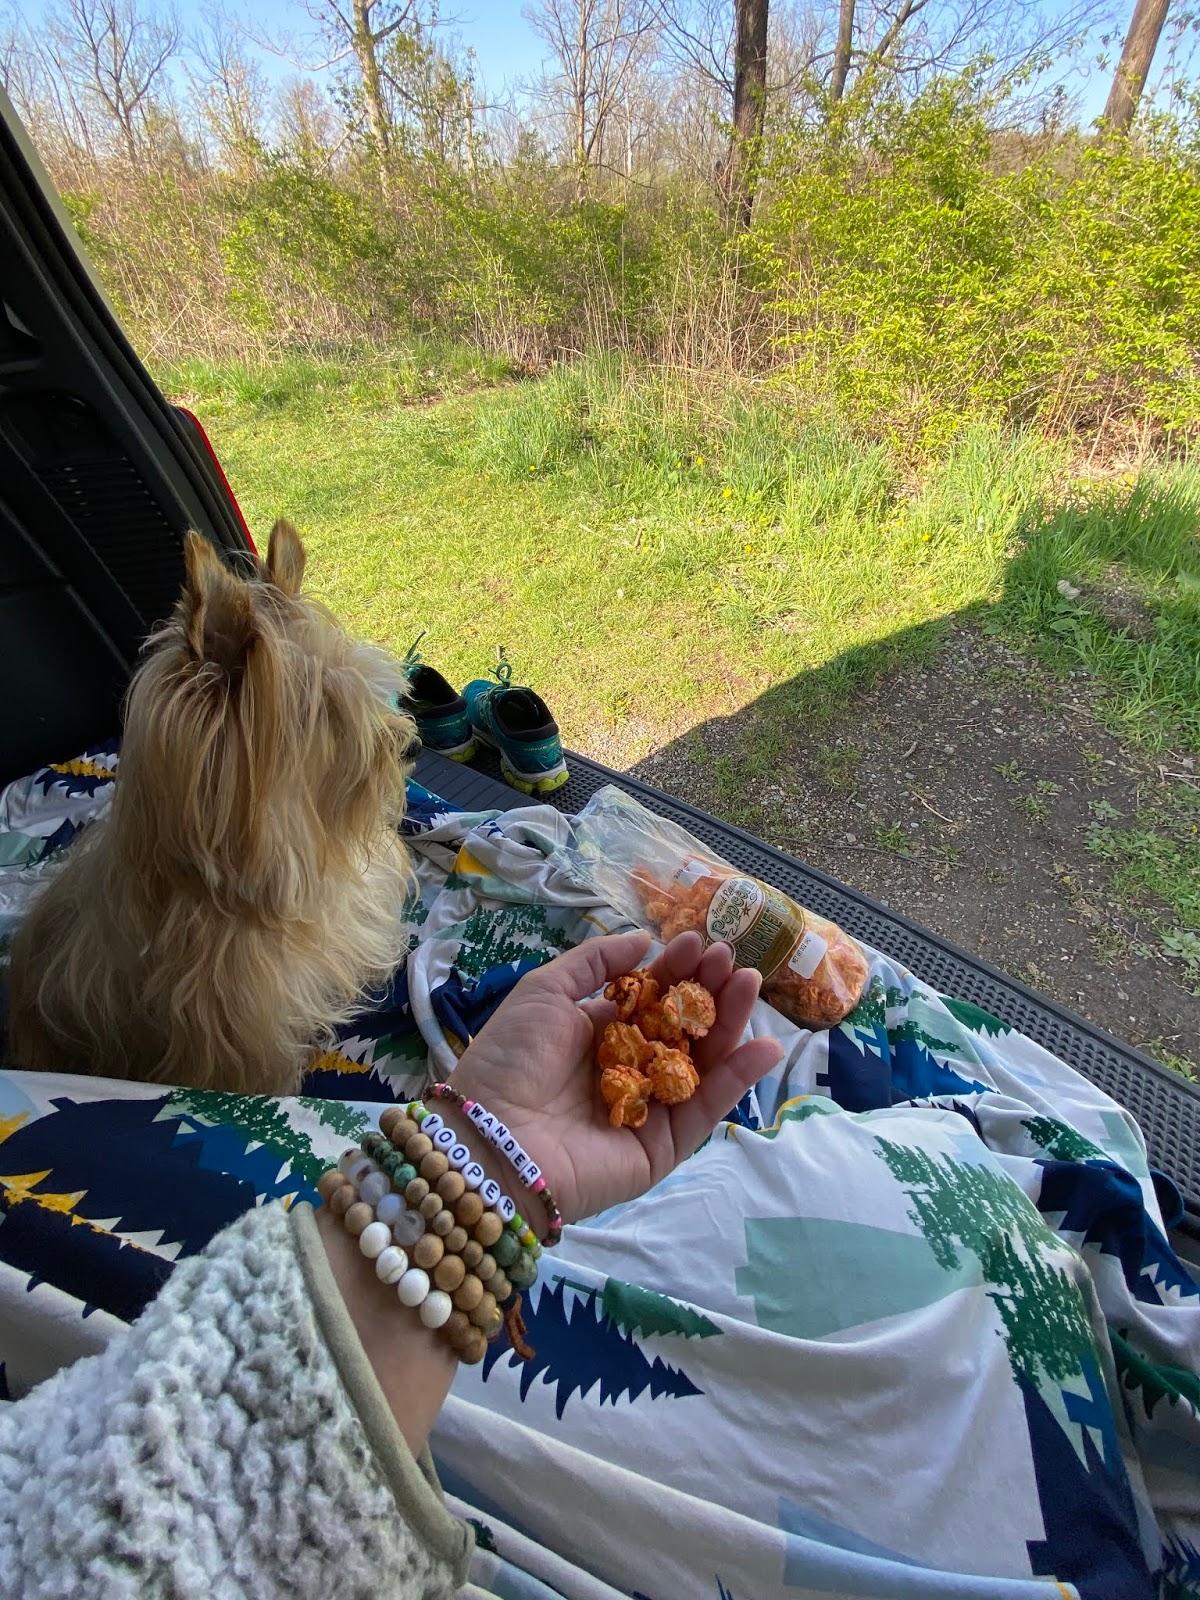
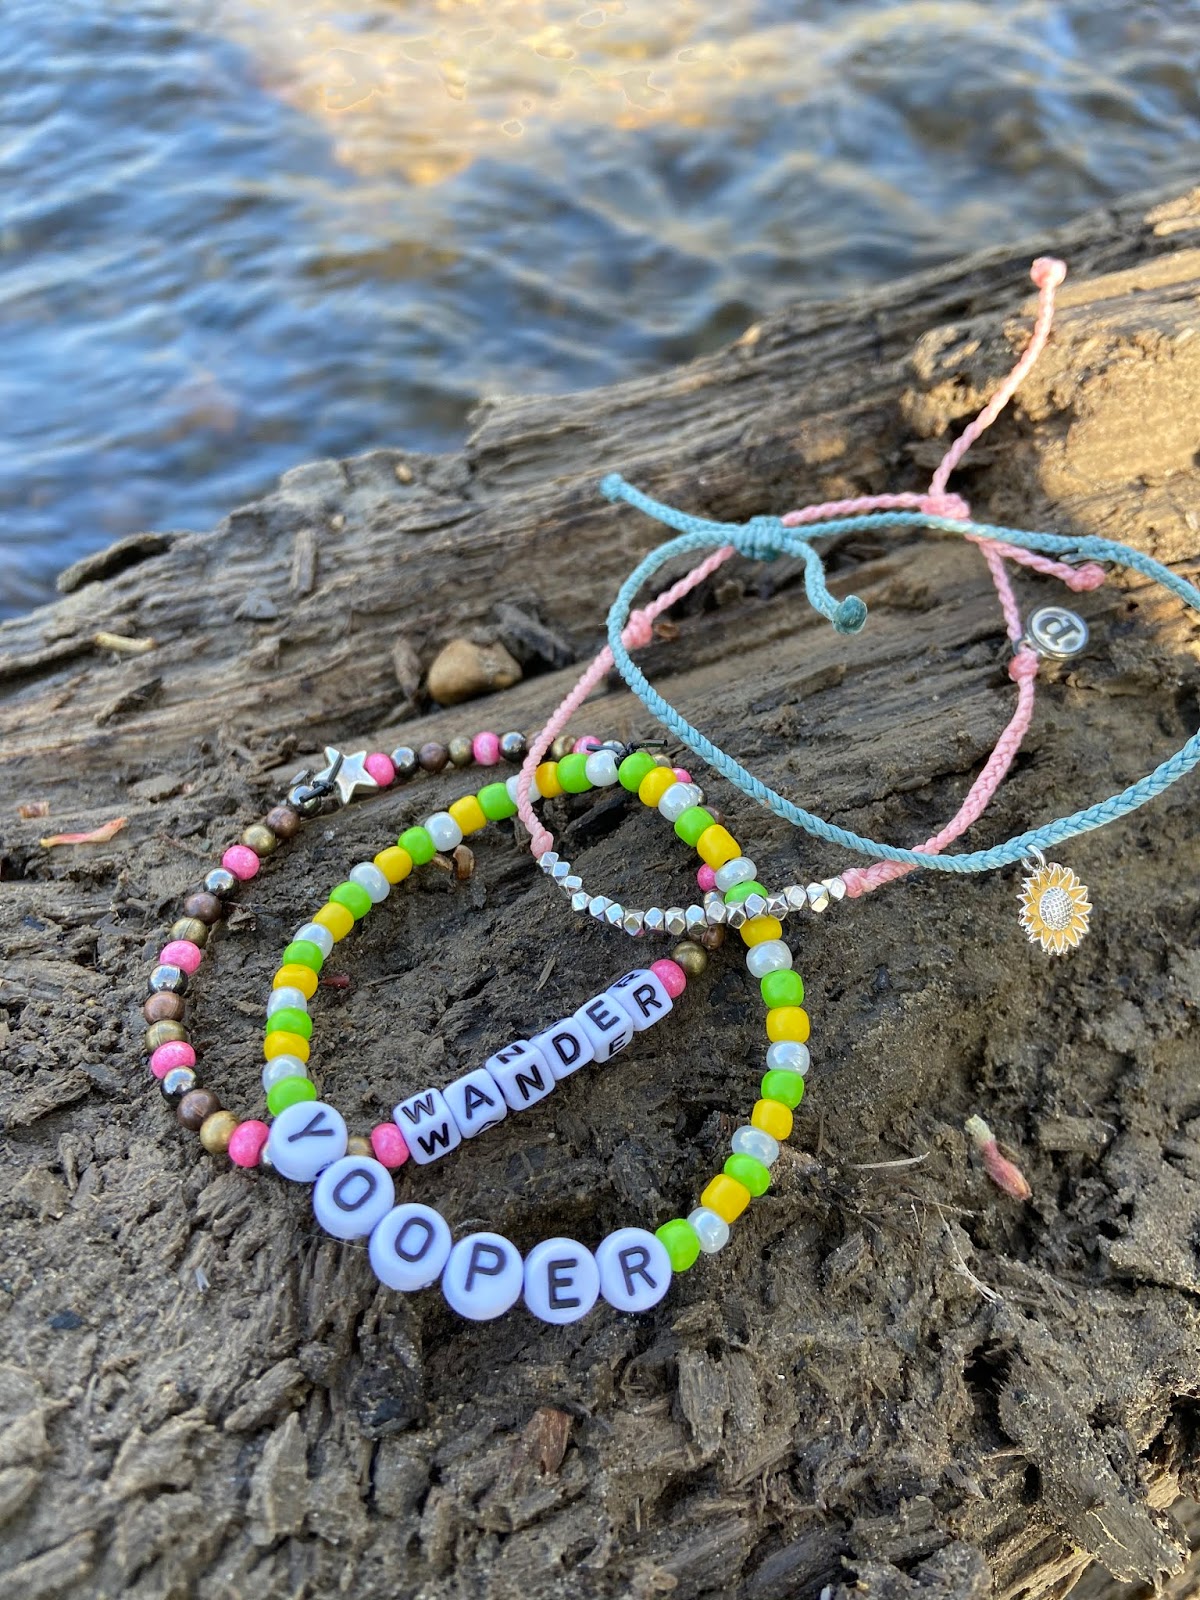
So while tomorrow is unknown, and everything is canceled for the year, instead of me feeling sad and depressed I am filled with all the positive vibes and really feel like I am thriving. With that being said this week\’s five things are filled with everything that has given me all the feel-good vibes this week. Which includes, an amazing package from my friend Megan, views from this week\’s hikes, a super cute BarkBox featuring SCOOB! goodies, a super cute adult swaddle blanket that I cannot wait to use for car camping and campfires and a picture from the amazing Blue Angels flyover that gave me all the feels.
Here is to another amazing week, and don\’t forget to keep up with what Jack and I are doing by following us on Instagram. Trust me, you\’re not going to want to miss the details on how we are watching SCOOB! tonight!


New SCOOB! Movie: Barkbox Edition

What came in the SCOOB! BarkBox?

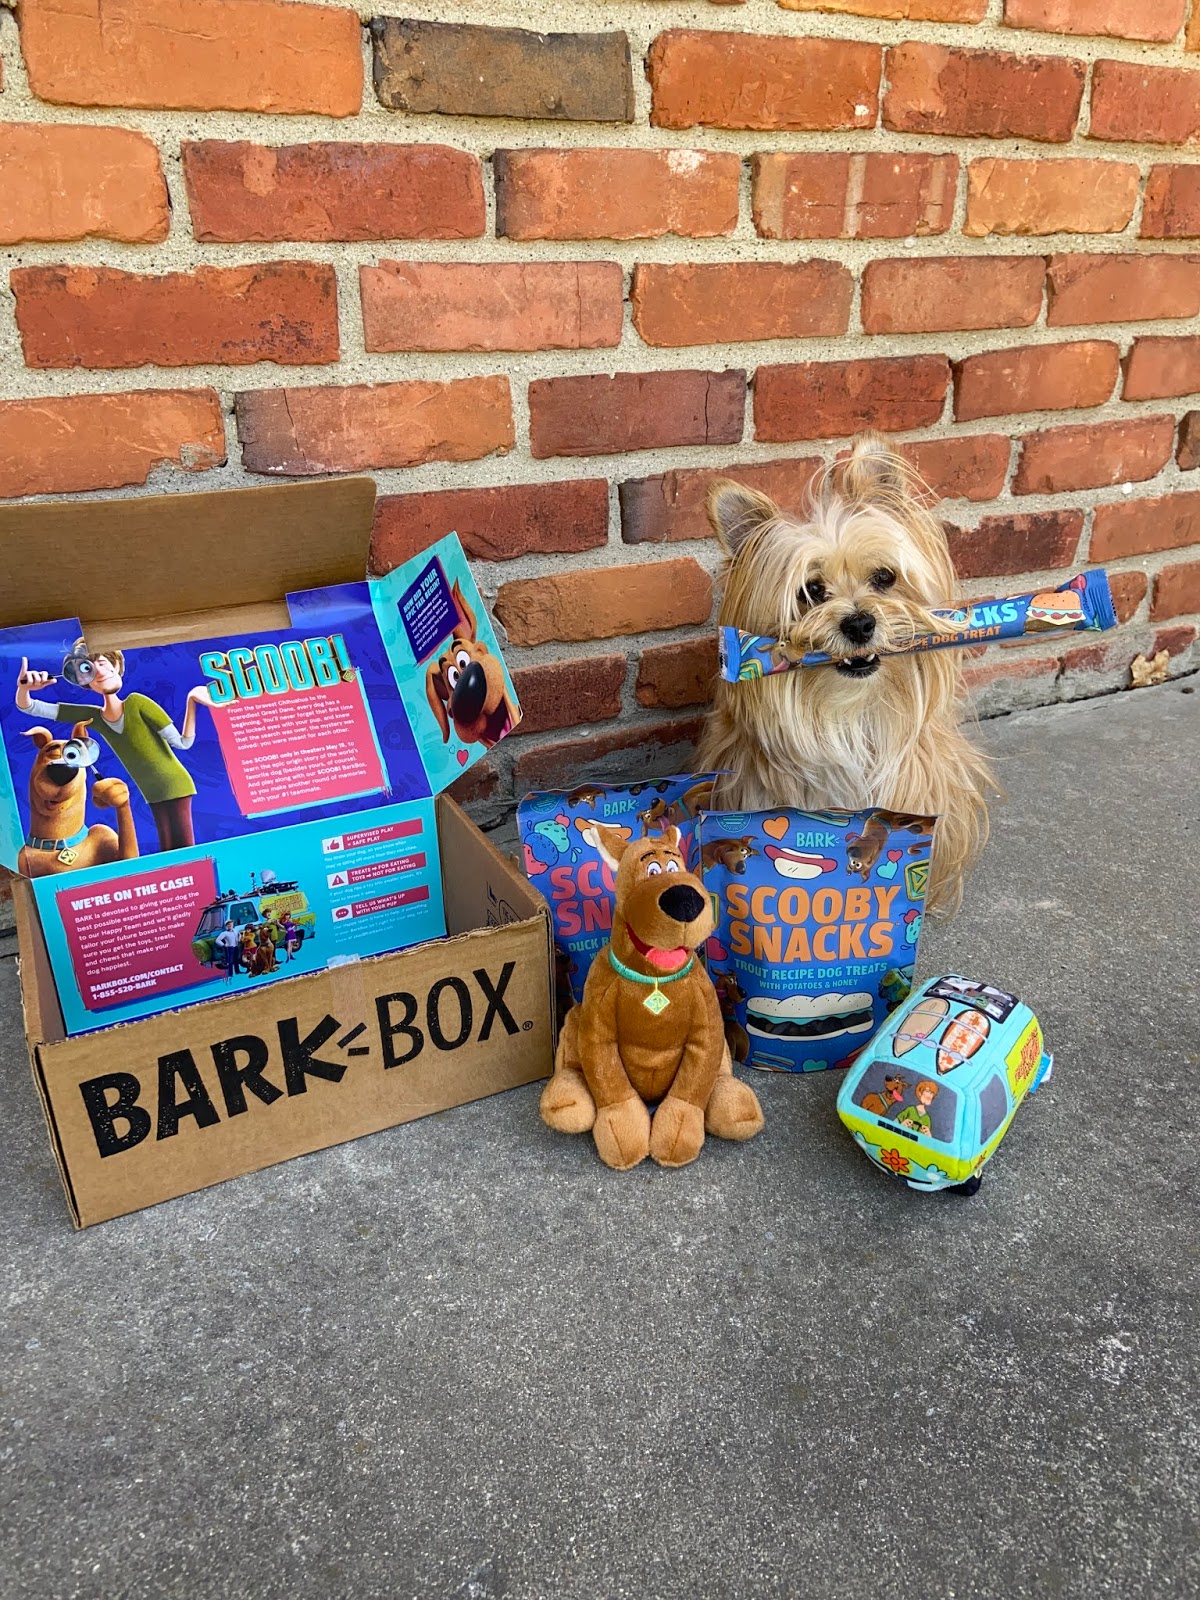
Scooby-Doo of course! Obviously, the coolest dog of them all (besides Jack of course), had to be included! The Scoob stuffy is packed with plenty of fluff, a disc squeaker, and crinkle. This Scoob stuffy is perfect for playing fetch with your pup – after all Scooby-Doo is used to being chased.

Jinkies! You can\’t forget about the Mystery Machine! Packed with all your dog\’s favorites: fluff, crinkle, and of course a disc squeaker.
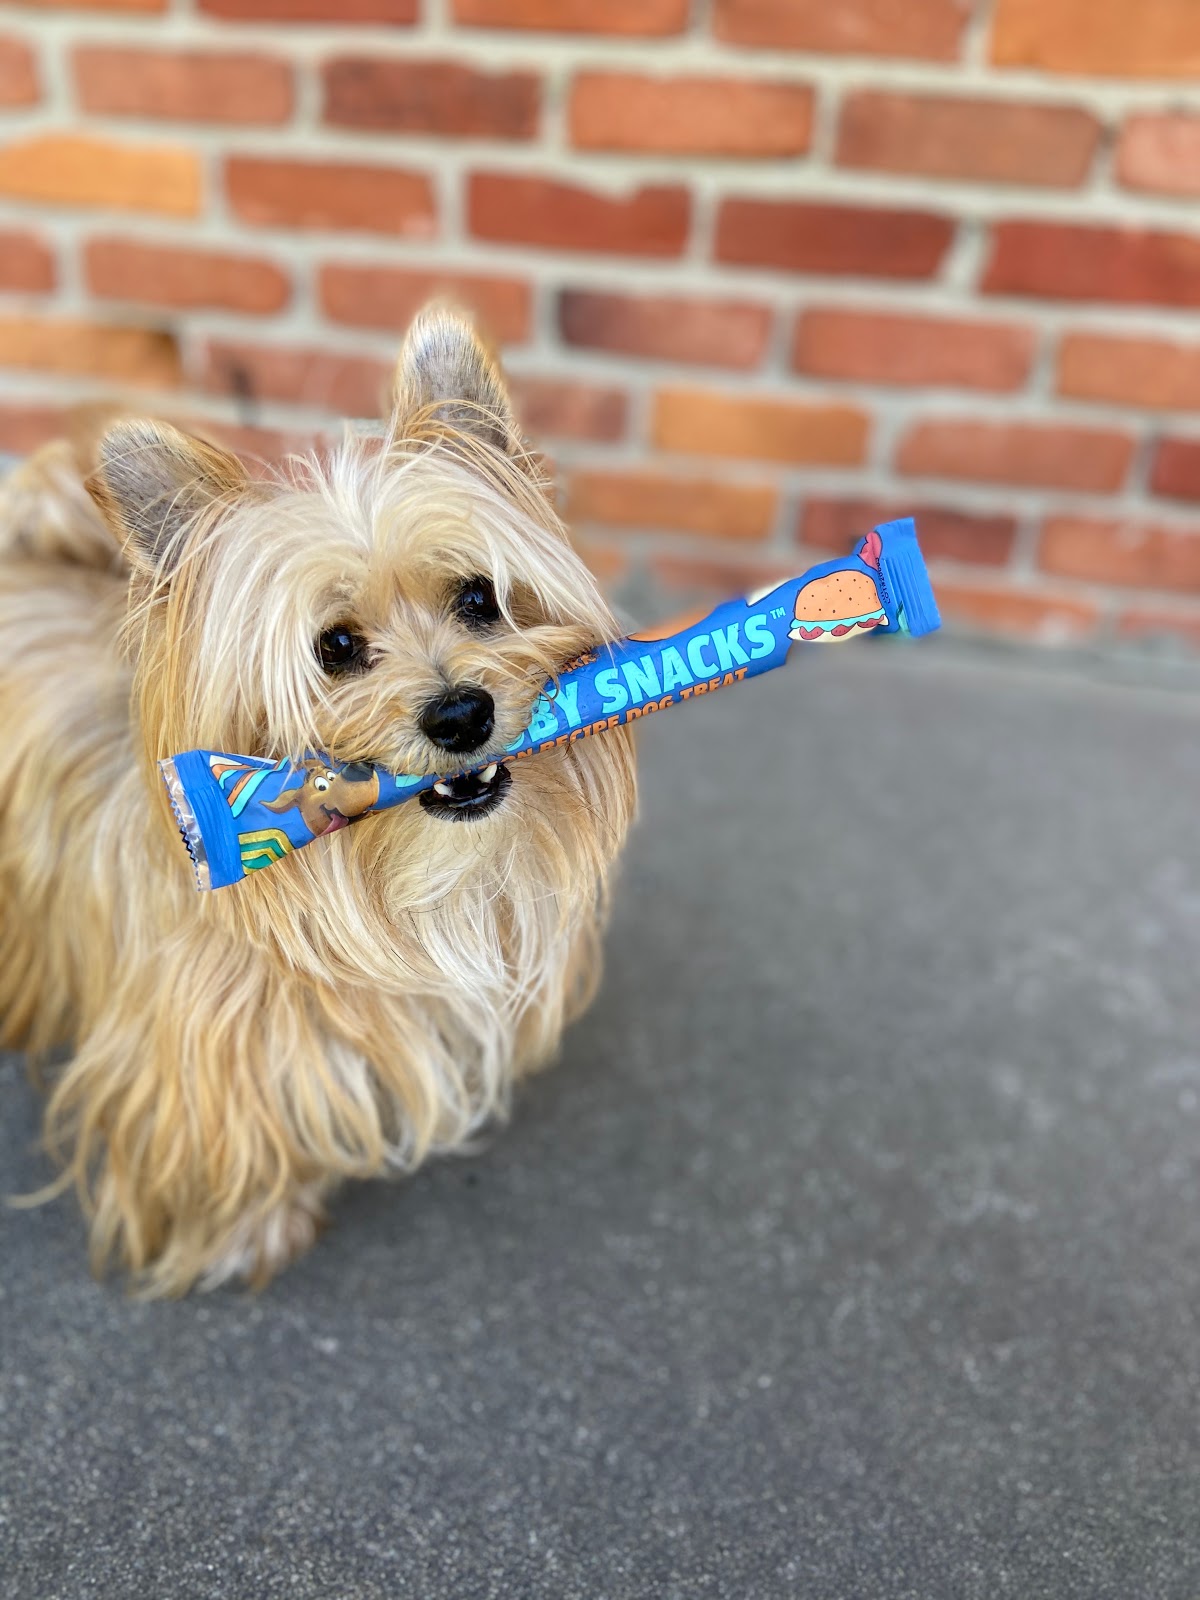
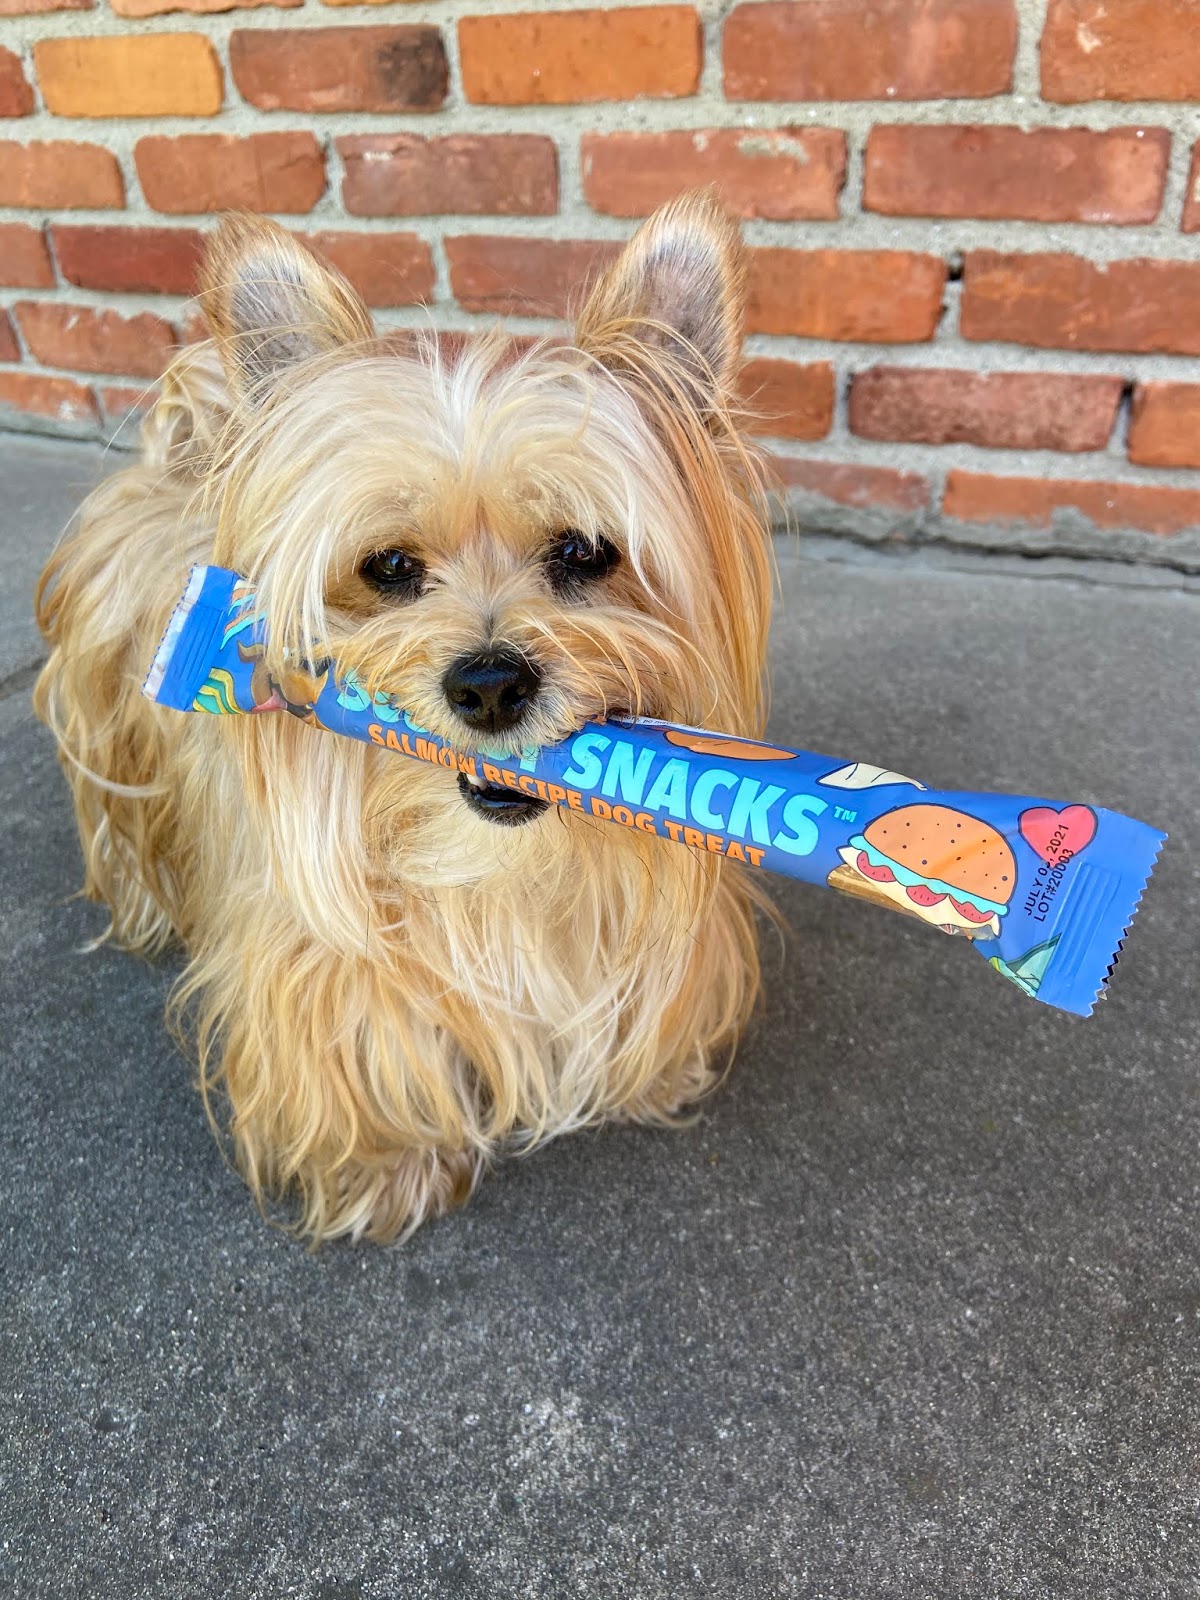
Jeepers! You can\’t forget about the most important part… Scooby Snacks! Jack\’s BarkBox had two packages of Scooby Snacks one was duck and the other was trout. There was also a Scooby Snack salmon chew, that Jack was completely stoked about. This was Jack\’s first time having a salmon treat, and I think it just might be his new favorite – clearly, he takes after his mama because I definitely love salmon. I only give Jack treats that are made in the USA so I loved that these were made in the USA.
Grab your favorite snack and don\’t forget, you can watch SCOOB! at home this Friday, May 15th!

SCOOB Movie Night
Have you heard the news! The gang will be ready to visit your living room this Friday, May 15! As an added bonus you can join in on the SCOOB! Movie Night Premiere Event and Twitter Watch Party featuring a dedicated red carpet pre-show with talent appearances, exclusive content and more. Once the watch party begins you can engage on Twitter using #SCOOBMovieNight, and don\’t forget to purchase SCOOB!.
I\’ll be joining in and watching SCOOB! thanks to the WB to find out how lifelong friends Scooby-Doo and Shaggy first met and joined Fred, Velma and Daphne to form the famous Mystery Inc. Rumor has it the gang will be facing their biggest and most challenging ever, and Jack and I cannot wait to watch!