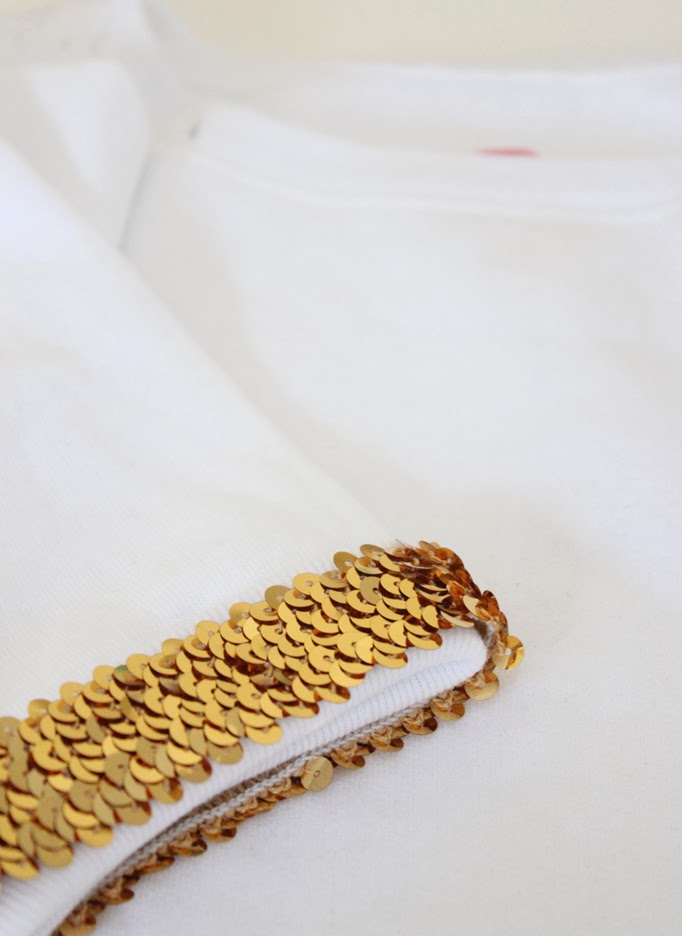
Embellished Cuffs
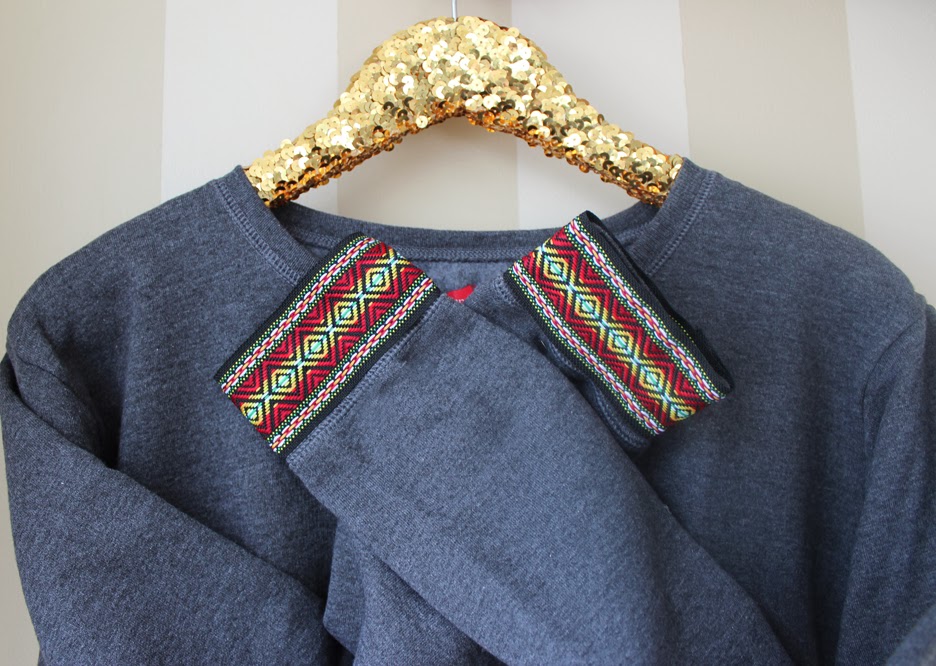
Currently embellished cuffs are all the rage and you can find them at leading retail stores. However with price points of $150 or more I decided to DIY my own this weekend.
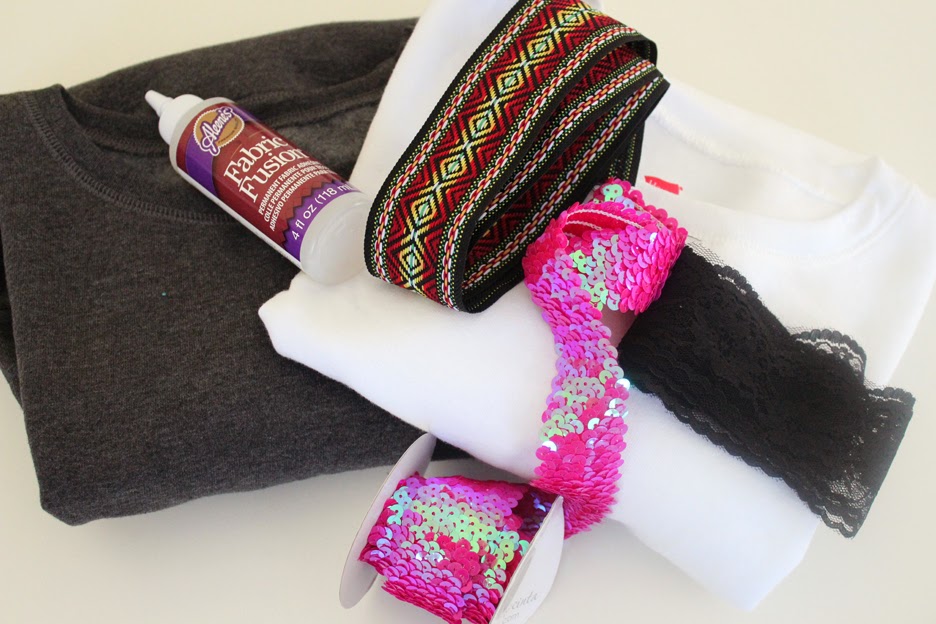

• Plain long sleeved sweater, blouse, jacket or anything with a cuff
• No sew fabric glue
• Embellishment trims*
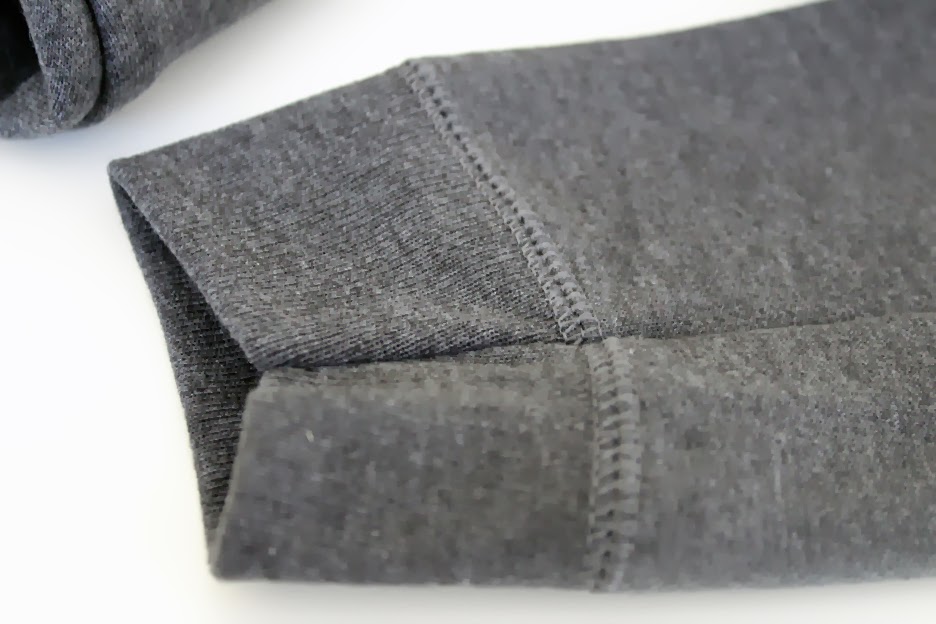
1. Lay out your sweater (or whatever cuffed piece you are using), and iron the sleeves if they’re not flat.
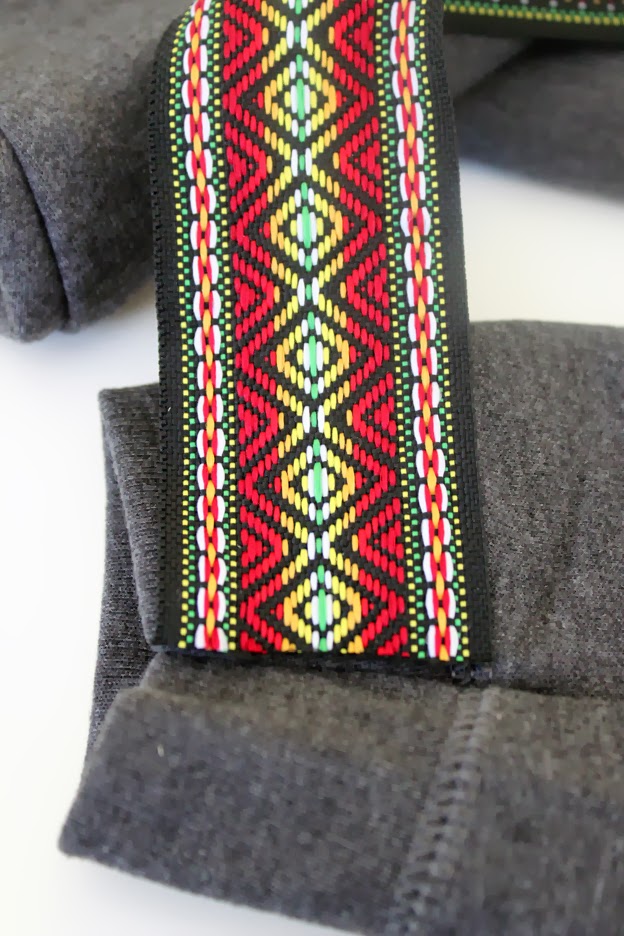
2. Measure the amount of embellishment you will need and cut it so it’s the perfect size for your cuff.
3. Using no sew fabric glue, you want to carefully (this glue will show up on your clothing) dot it on your embellishment in small sections.
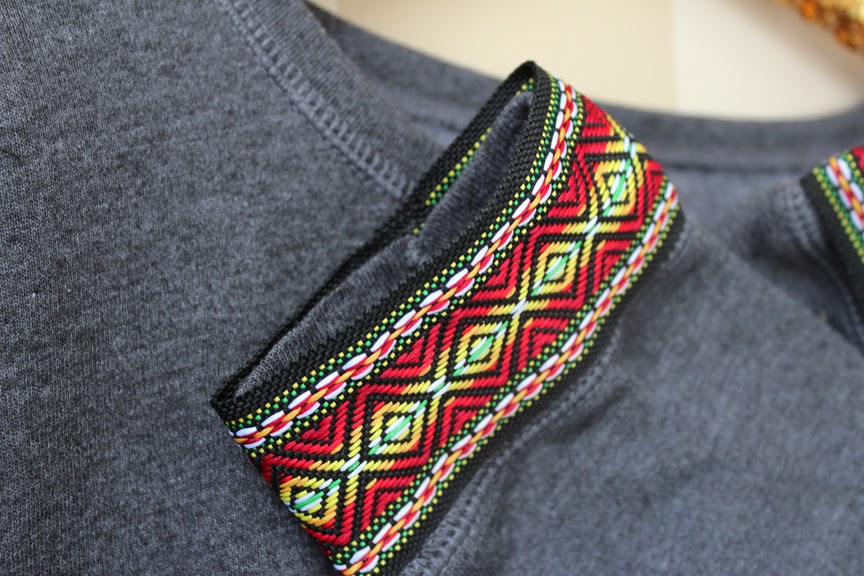
4. Continue dotting on glue until you reach the end of your cuff.
5. Allow the no sew glue to dry for at least 24 hours.
• You can buy the embellishment trims from Joann Fabrics by the yard. Try studs (very trendy right now), sequins, ribbons and more.
• You can also sew on your embellishment.
• If you do not have a seam line for your cuff you can tape off the portion you are adding your embellishment to so you have a finishing spot.
Sparrow Boutique
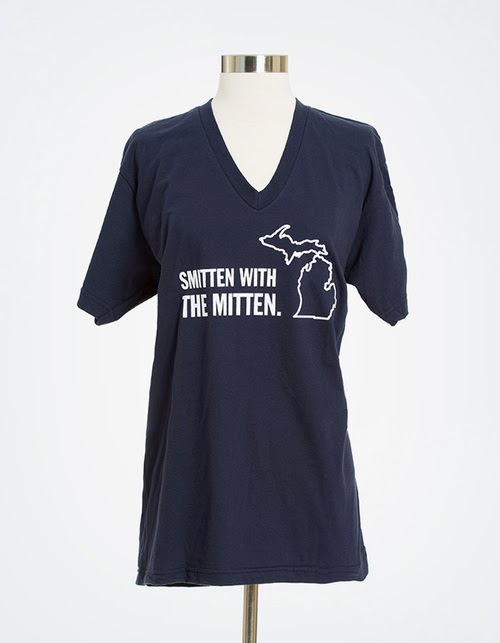
I absolutely love boutiques and recently I discovered the online boutique Sparrow. Sparrow offers a wide range of unique accessories and apparel. The best part the boutique is based in West Michigan! Check out my favorite pieces below and visit the online boutique here.


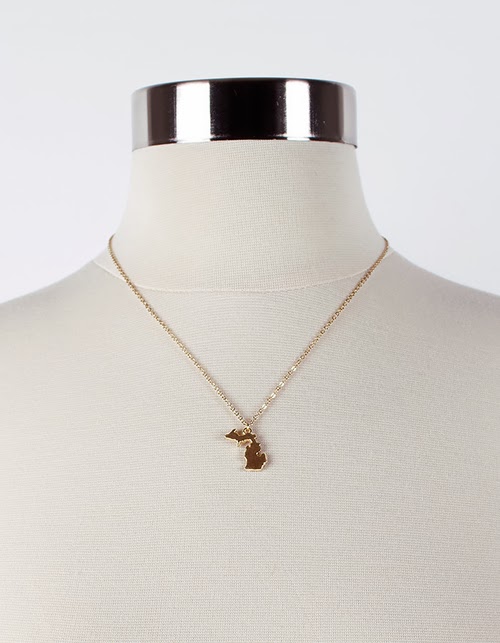
State of Michigan State Love Necklace | $25.00

Mohav Bead Bib Necklace | $34.00
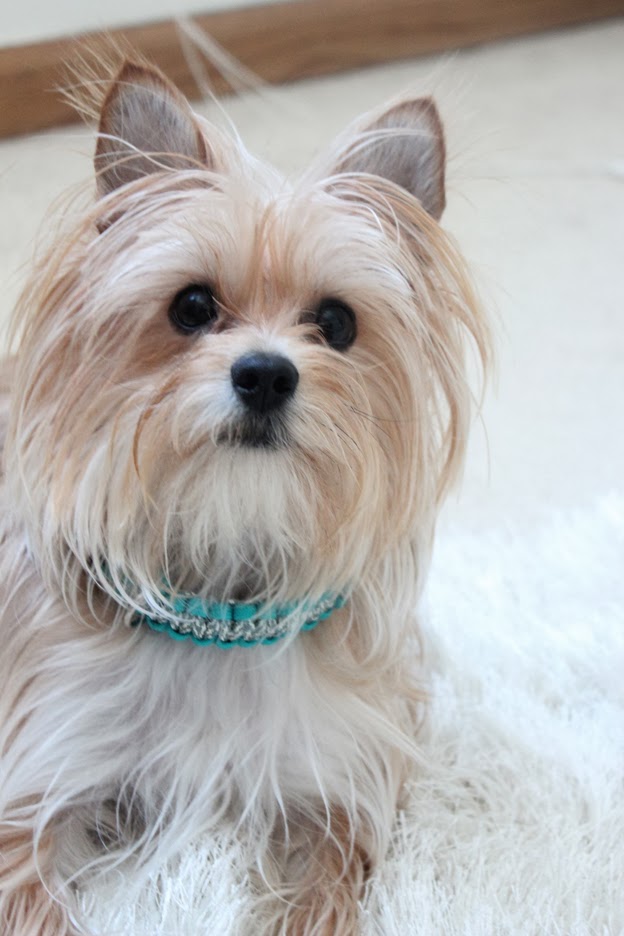
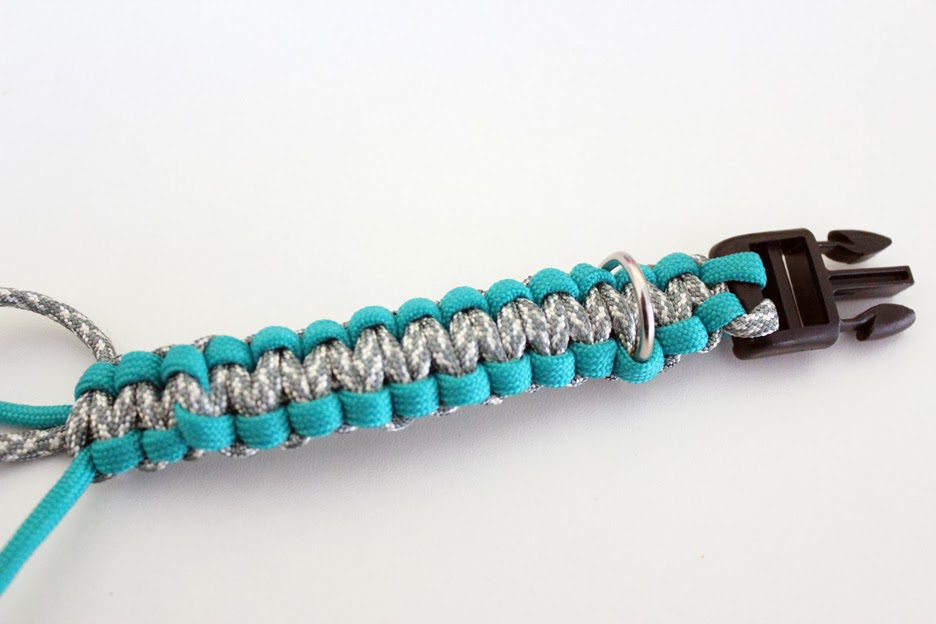
DIY: Paracord Dog Collar


Material List:
Buckle
D ring
Paracord (Michaels, Walmart, Home Depot)
Scissors
Lighter

Step 1: Measure your dog’s neck. You’ll need a foot of paracord for every inch of the collar.
For example, you’d need 8 feet of cord for a 8 inch collar. If you are using 2 colors you’ll need half that amount of each color.
For example: for a 8 inch collar, I am using 4 feet of blue and 4 feet of patterned paracord.
2 colors: melt the end of each color and press them togther until they are firmly attached. 1 color: match the ends up so it’s folded in half.
*Note I add 1/2-1inch to each collar.

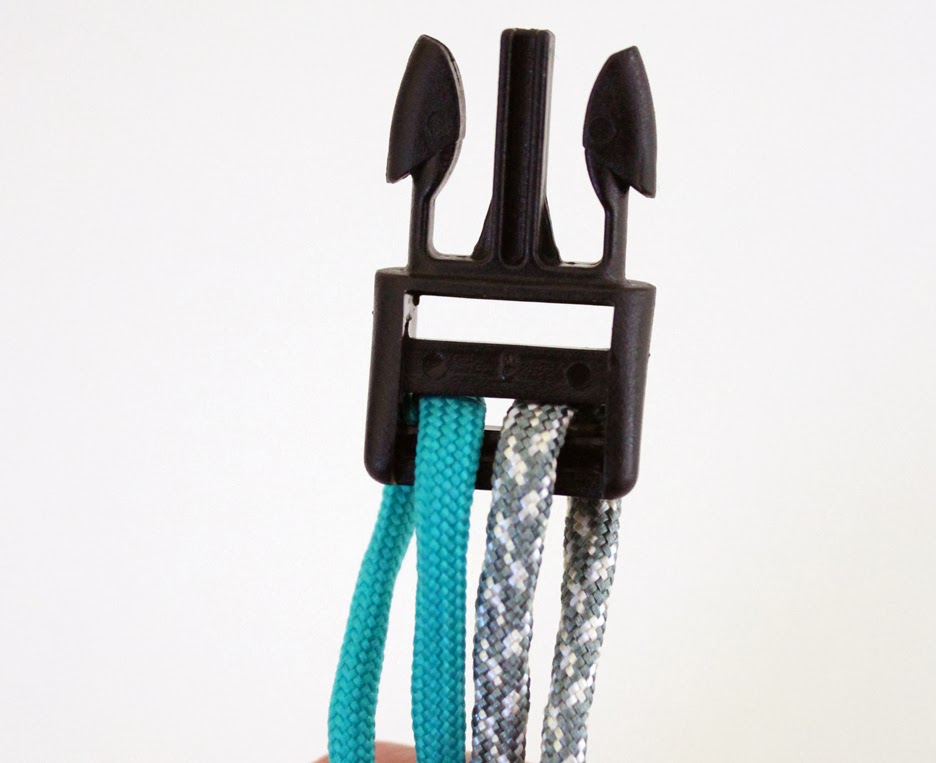
Step 2: Slide both ends through the end of the buckle.


Step 3: Slide the two ends of cord through the buckle and pull through the loop at the end of your cord.

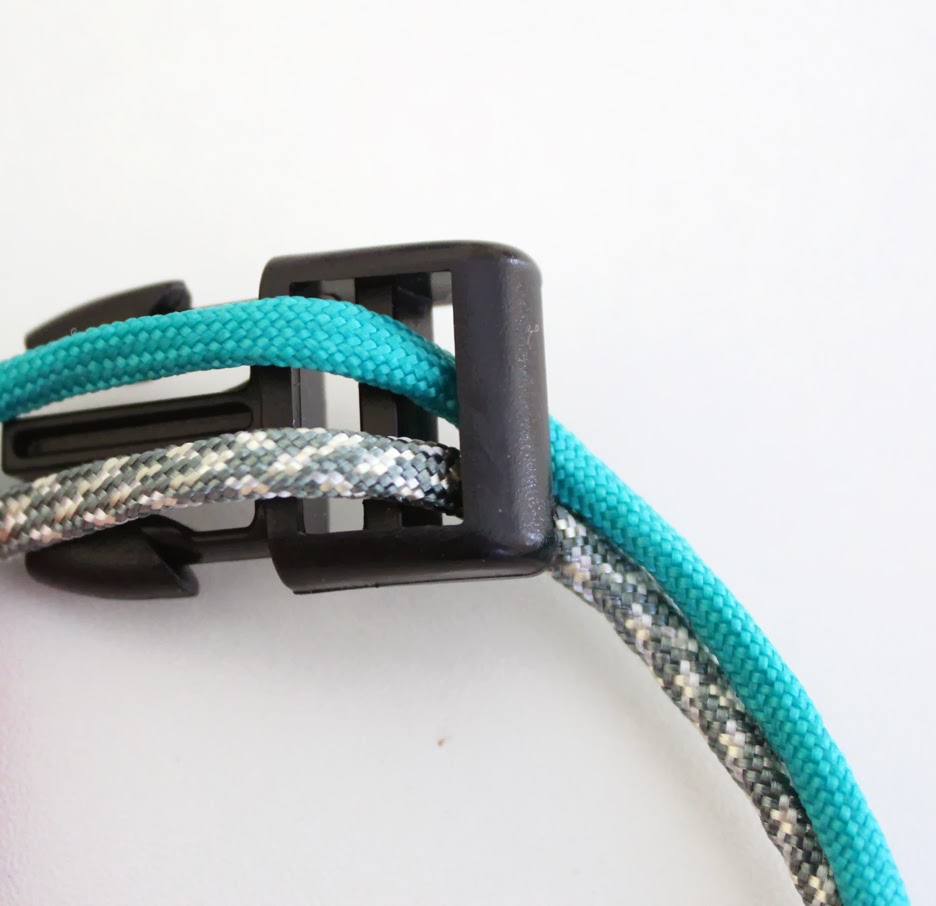
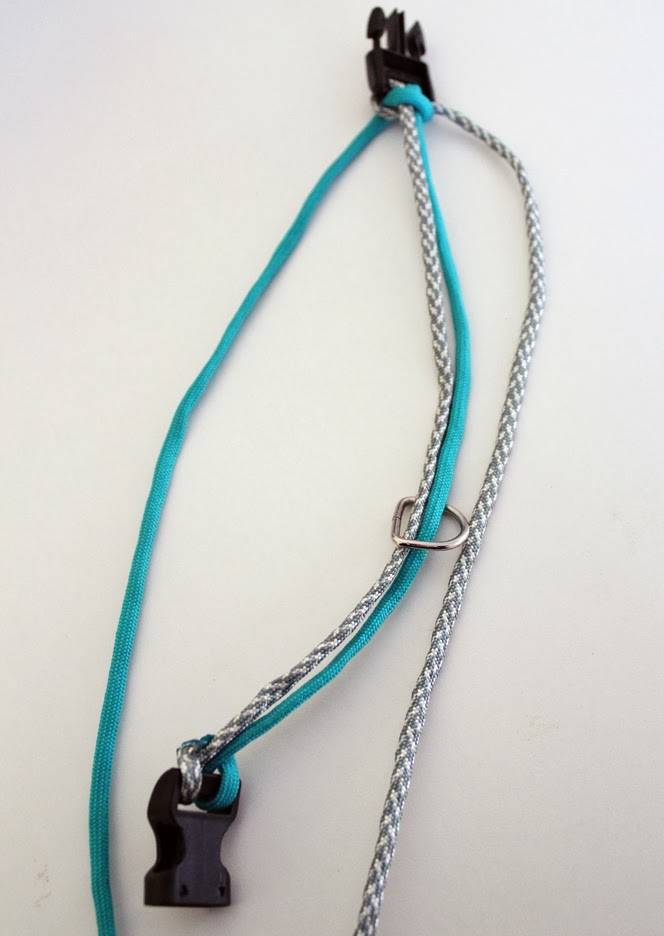
Step 4: Add your D ring (see figure 1 below of how this will end up looking). Now slide both ends of the cord through the other end of the buckle. Slide the buckle up to the length the collar needs to be (ex. Jack is 8.5 inches of cord between each cord).

{NOTE: This picture shows the right color over the left color THIS IS WRONG it needs to go BEHIND the left color!}
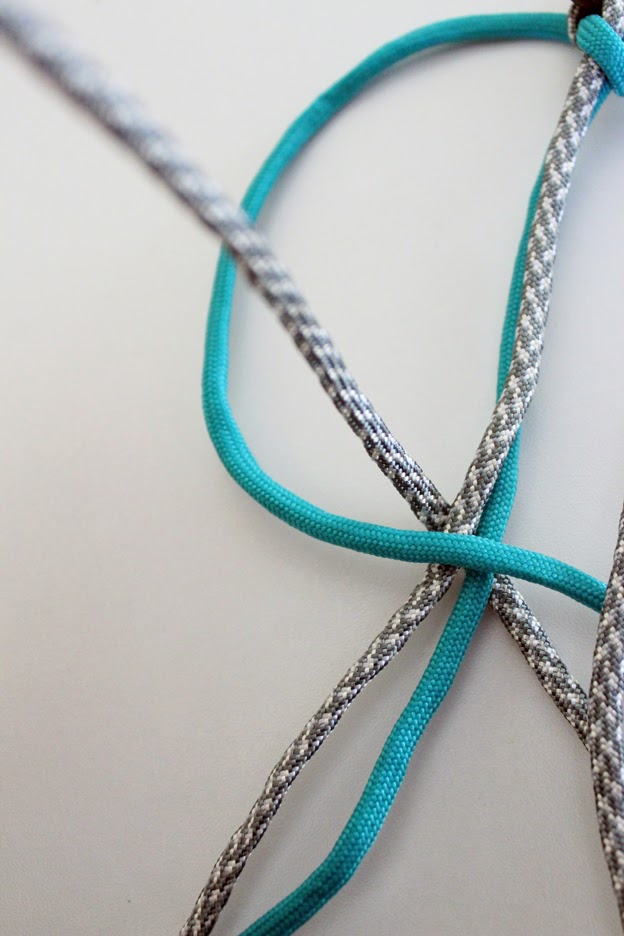
Step 5: Take the right color cross it over the middle two and behind the left color.

Step 6: Pull the color from the left side through the hole at the top and tighten.

Step 7: Create a \”4\” with the left color over the middle and place the color on the right over top the left.
Step 8: Pull the right color through the middle of the \”4\” like above.

Step 9: Make a \”p\” with the right color over the two middle strands, place the left color over top the right color and pull through the center like in Step 8.

Step 10: Repeat steps 7, 8 and 9 again, and then add the D ring (in this picture you\’re looking at the back of the collar – make sure you put the ring on the proper side).

Step 11: Repeat steps 7, 8 and 9 until you reach the other buckle.

Step 12: Cut your ends.

Step 13: Melt the ends with a lighter, and press them against the back of the collar until they are attached
No collar is indestructible, please be mindful and check for wear and tear of your dogs collar. It is the responsibility of the furparent to determine the suitability of the collar for their pet.
Copycat: Chick-fil-A Nuggets

Serves 2
Ingredients
2 large chicken breast, cut into bite-size pieces; season with salt & pepper
¾ cup milk
¼ cup pickle juice
1 egg
1 cup flour *(Forget the flour and make it Gluten Free)
2 tablespoons cornstarch
2 tablespoons powdered sugar
½ cup peanut oil (canola or vegetable will work as well they just use peanut)
1. Whisk together egg, milk and pickle juice.
2. Pour into a large Ziplock bag, add chicken pieces and marinate in the refrigerator for 3 hours.
3. Combine flour, cornstarch, powdered sugar, dash or salt & pepper in a large Ziplock bag, shake to combine.
4. Remove chicken from the marinade, and add to bag. Shake to coat chicken.
5. Heat the oil in a large skillet over medium-high heat.
6. Test the oil by dropping in a bit of the flour mixture. When it sizzles the oil is ready, if it pops your temp is too high.
7. Using tongs gently place chicken into the oil.
8. Cook chicken 4-5 minutes, or until golden brown on one side.
9. Turn the chicken over and allow to cook 4-5 more minutes or until chicken is fully cooked.
10. Place chicken on a paper towel lined plate.
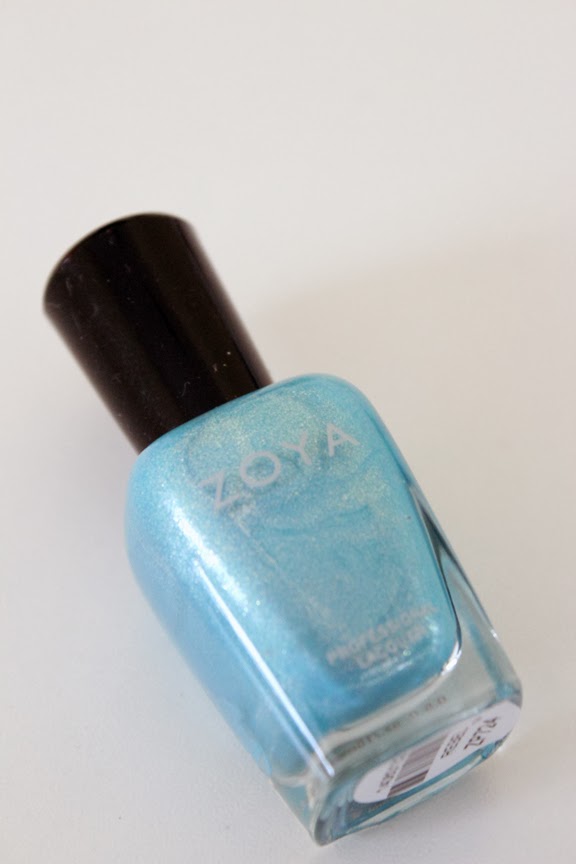
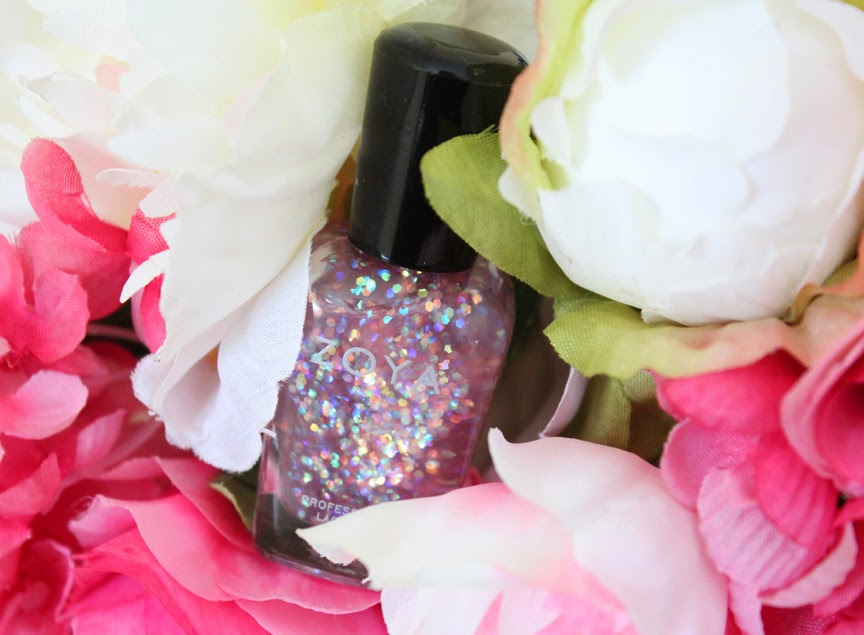
Zoya Spring 2014: Awaken & Monet

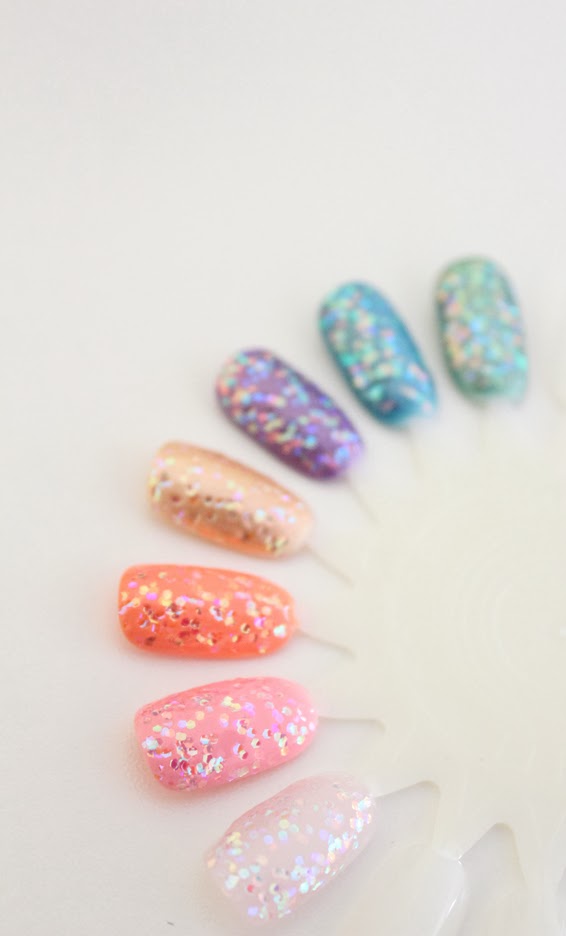
Zoya Awaken and what I am calling “the game changer” their new glitter topper Monet, take spring to the next level. With dreamy creams reminiscent of childhood favorites, sparkling candied pastels and a glowing gold you won’t want to miss.

Brooklyn is a buttery gold with a pearl-satin finish. Gold is hot for spring and Brooklyn is the perfect way to incorporate into your wardrobe. This polish is kind of streaky so watch your lines.
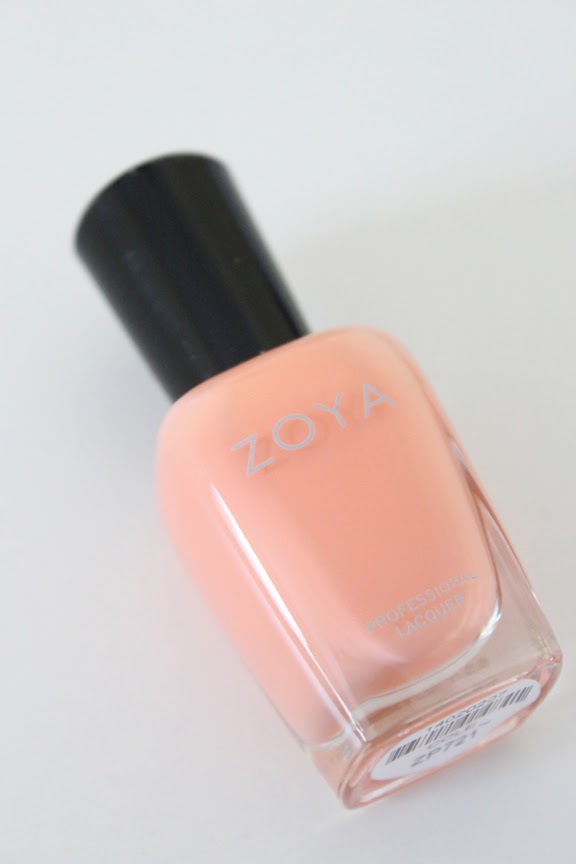
Cole is a creamsicle orange crème. Loving this shade it’s soft, shiny and a very flattering shade of orange. I used three coats.
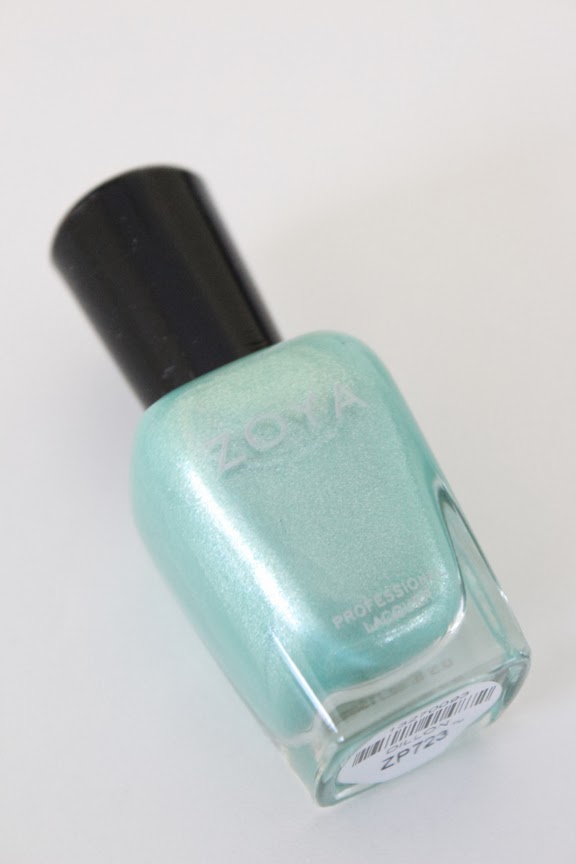
Dillion is a pale, seafoam green packed with golden shimmer. The color is gorgeous and reminds me of Lake Superior in the spring. I used two coats.

Dot is cotton candy pink créme. If you love pink as much as I do Dot is definitely the don’t want to miss color of the collection. It’s the best cotton candy pink I have ever been able to find, and perfect for your nails and toes this spring. I used three coats.