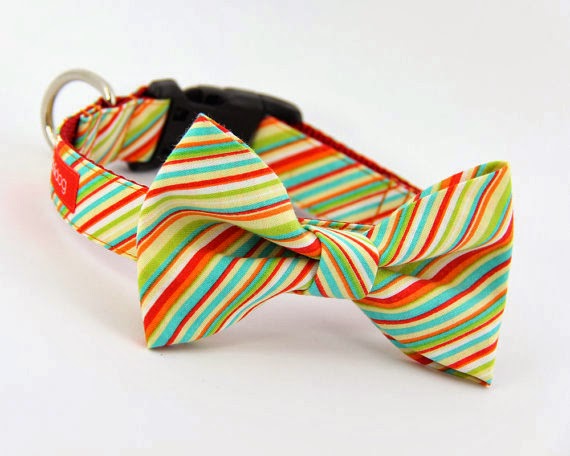
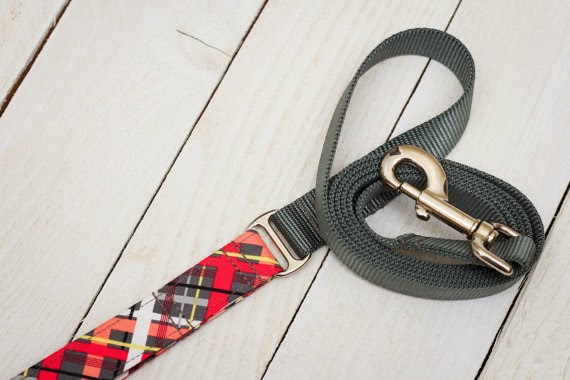
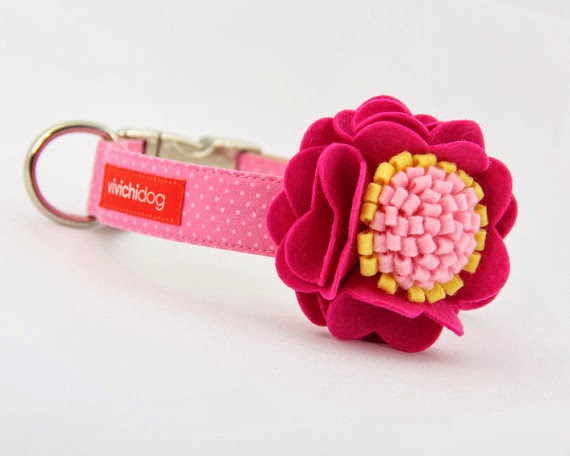
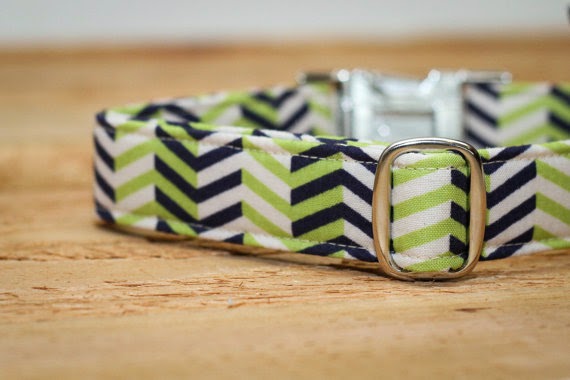
Jack\’s Favorite: Etsy Pet Shops

handmade in the Yorkshire Dales

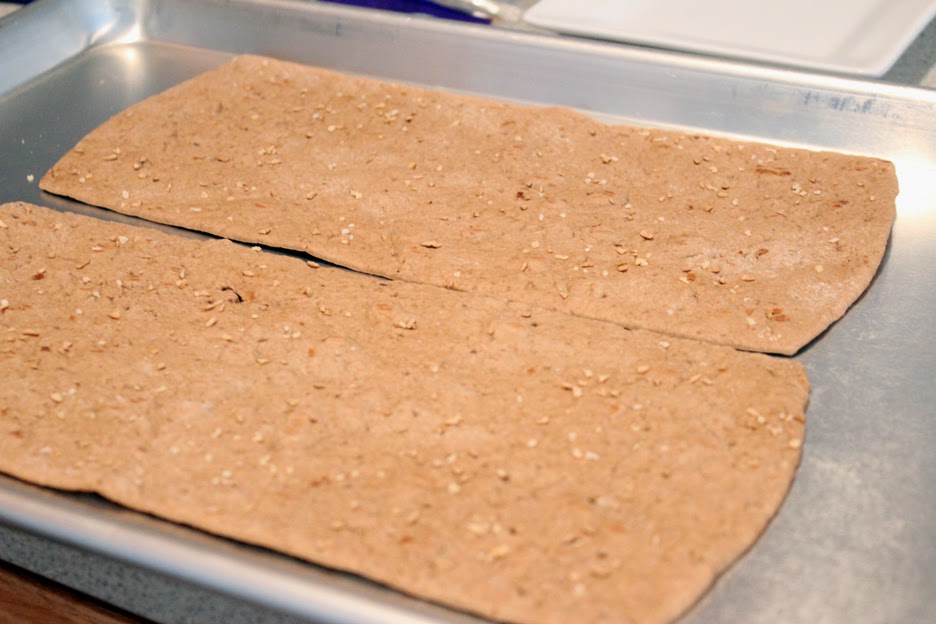
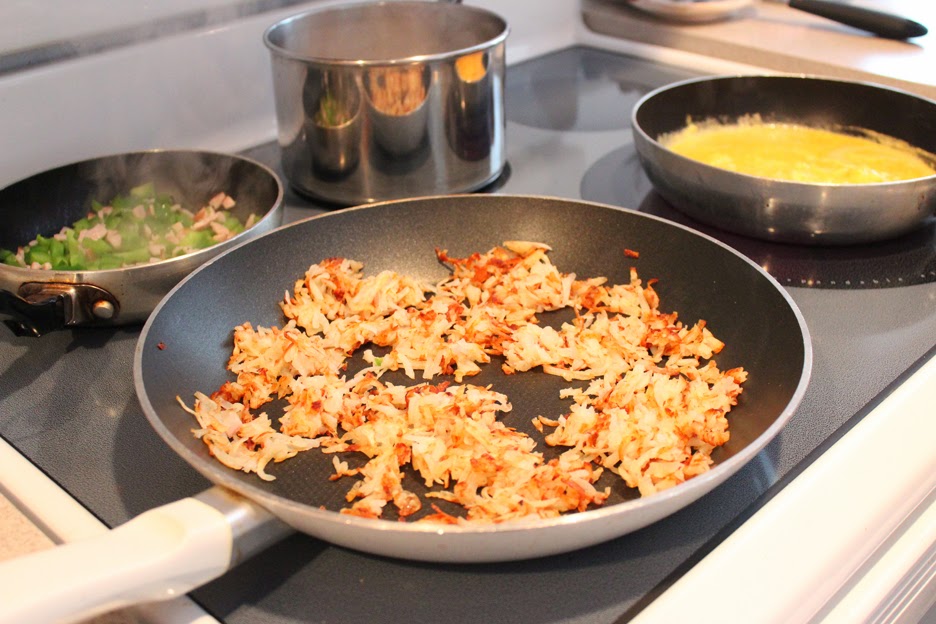
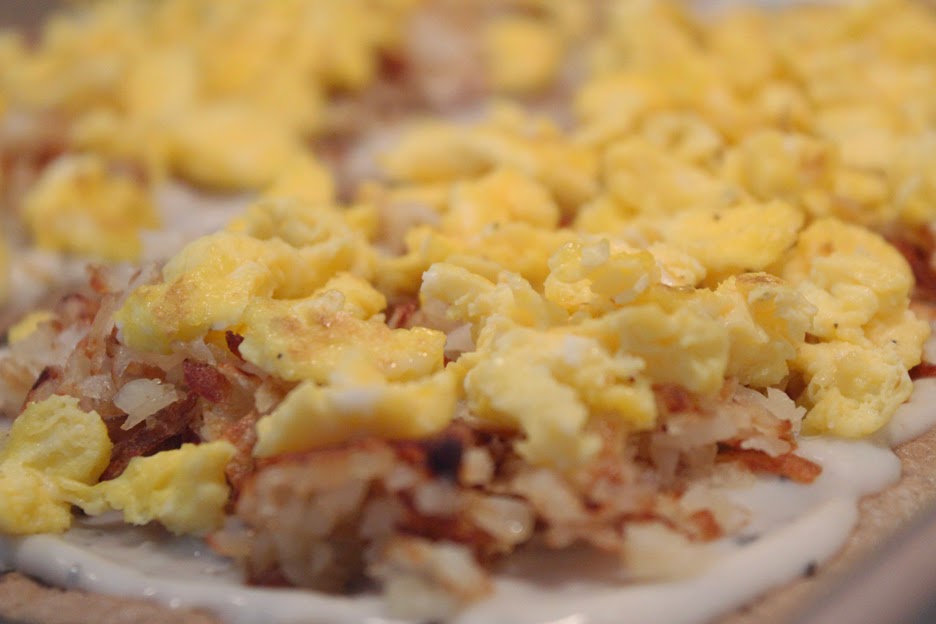
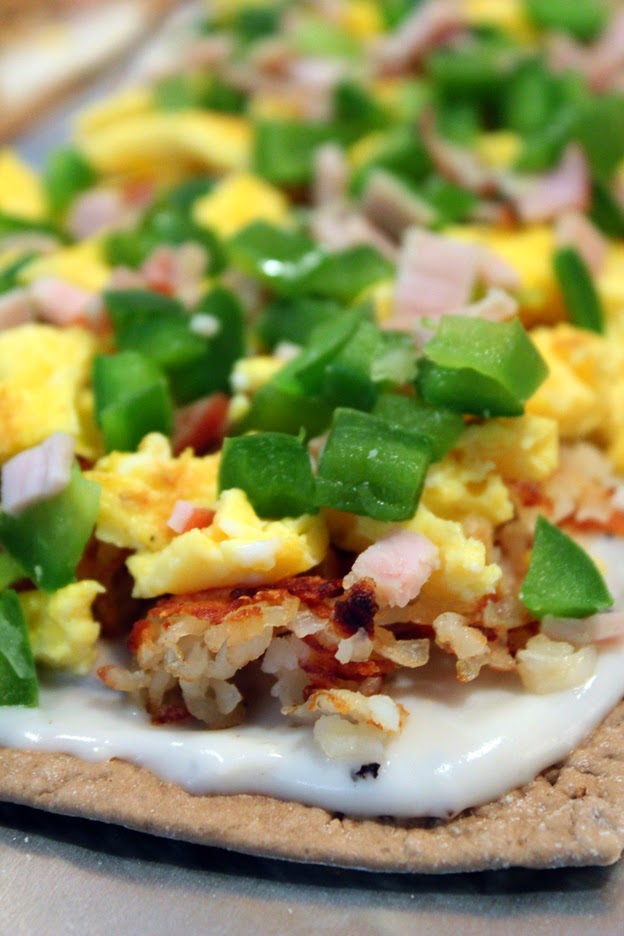
Breakfast Pizza
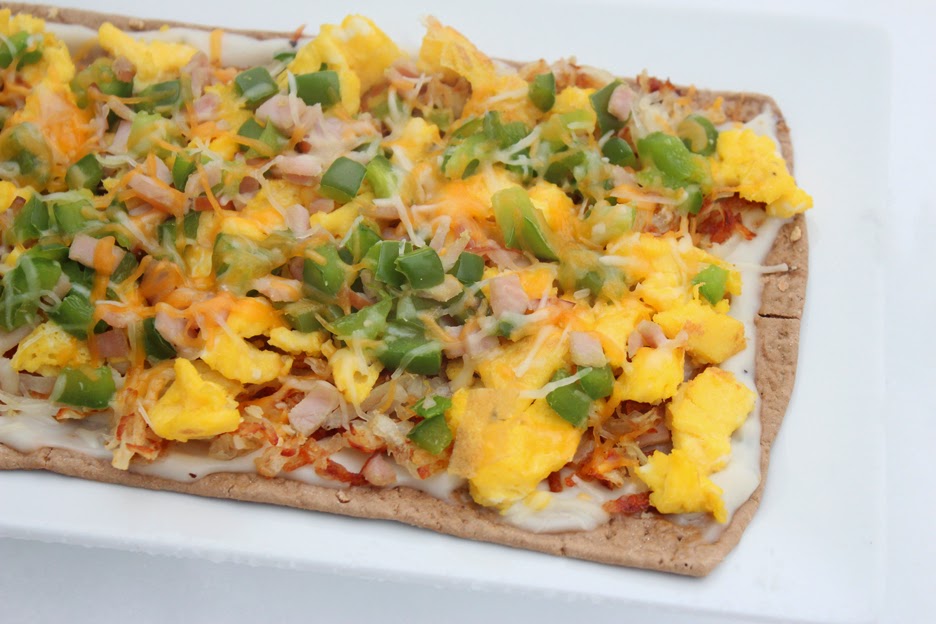
Breakfast pizza is the meal I usually make when my parents come to visit or other special occasions like my birthday yesterday. All you need is Flatout thin crust (you\’ll want to heat them at 350 for about 5 minutes), breakfast gravy (I made a McCormick packet), hash browns (I cooked ones from the frozen food section), scrambled eggs, Canadian bacon, green pepper and cheese. It\’s simple to make but time consuming.


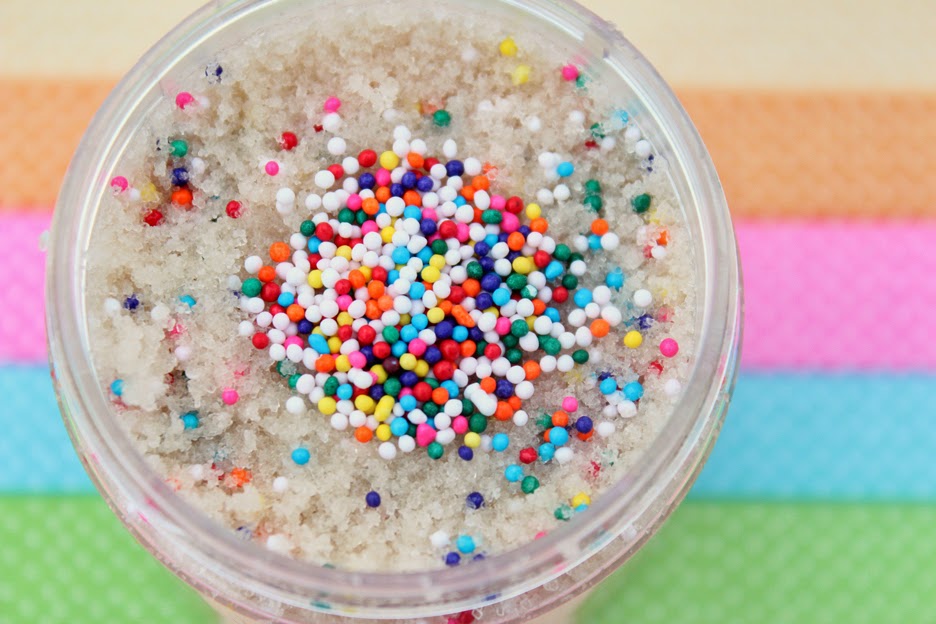
Birthday Cake Sugar Scrub
Ingredients:
1.5 cups sugar (I used organic cane sugar)
3 tablespoons extra virgin refined coconut oil
¼ cup almond oil
20-30 drops of your favorite scent (I used birthday cake)
Sprinkles
Directions:
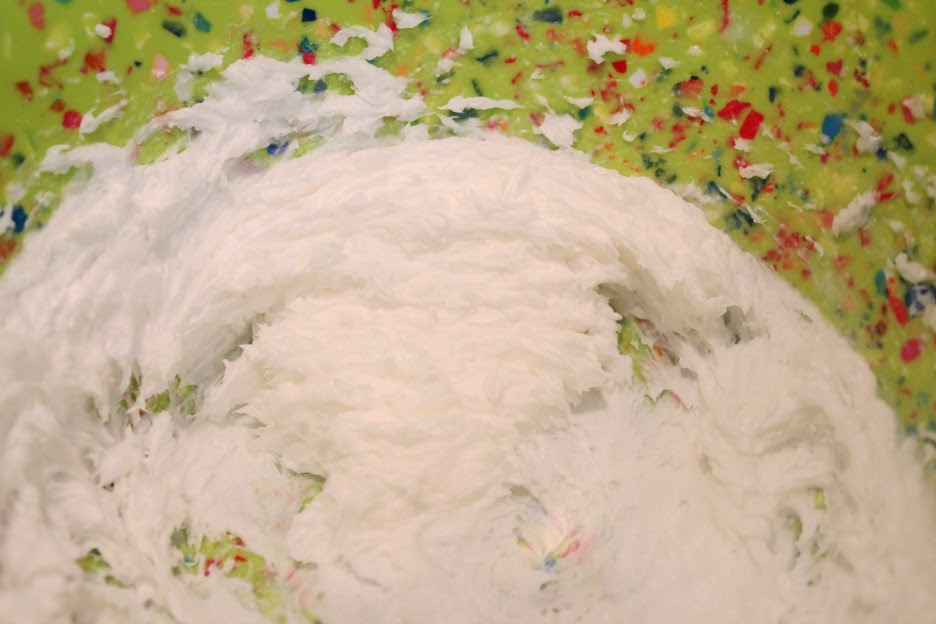
1. Whip your coconut oil using a mixer until it turns into “fluffy frosting”.
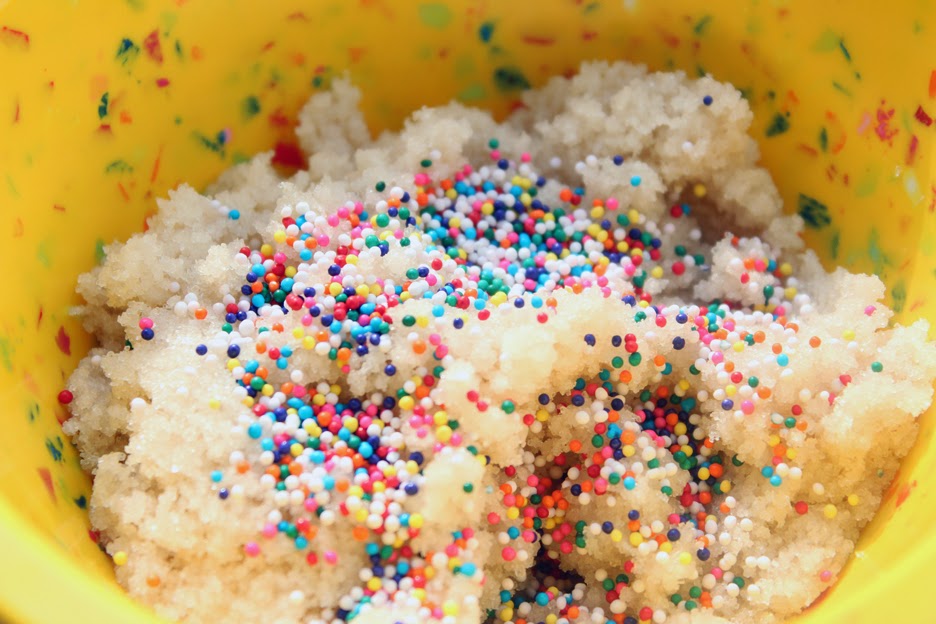
2. Add sugar and almond oil mixing until combined.
3. Add in your scent; mix well.
Scrub should be wet and thick add more coconut oil or sugar as needed.
4. Add sprinkles.
5. Place into a container of your choice.
Review: Healthy Dogma
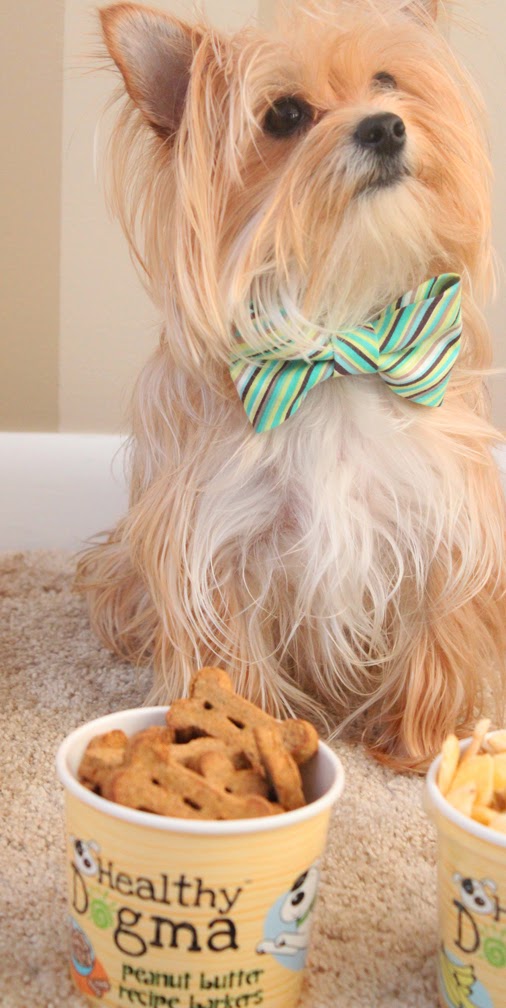
As someone from Michigan I am a big believer in supporting Michigan made products. Recently I discovered Healthy Dogma offering healthy treats, and supplements made in Michigan (Lake Orion to be exact) for you dog.
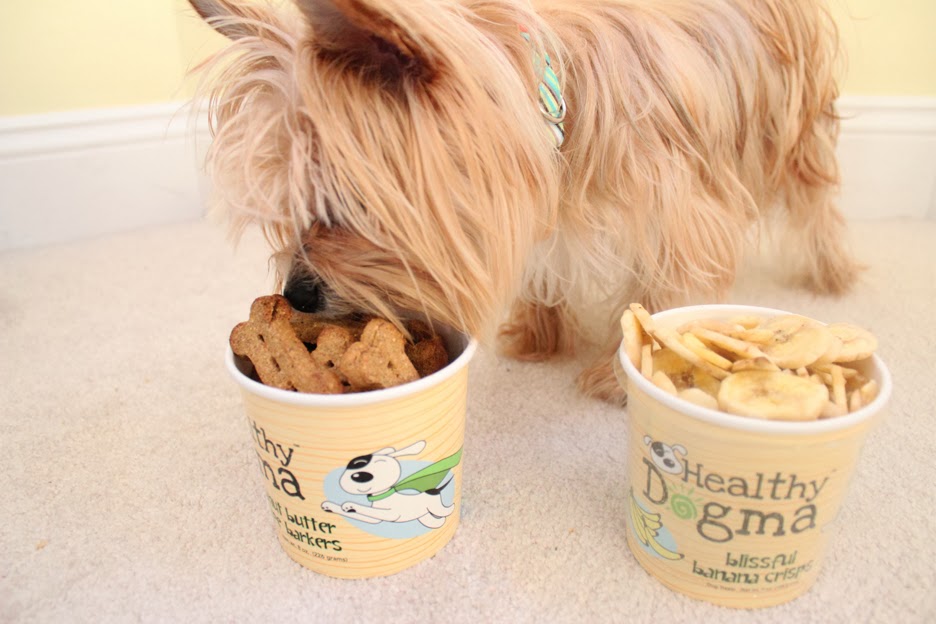
Jack put Blissful Banana Crisps and Peanut Butter recipe Barkers to the test:
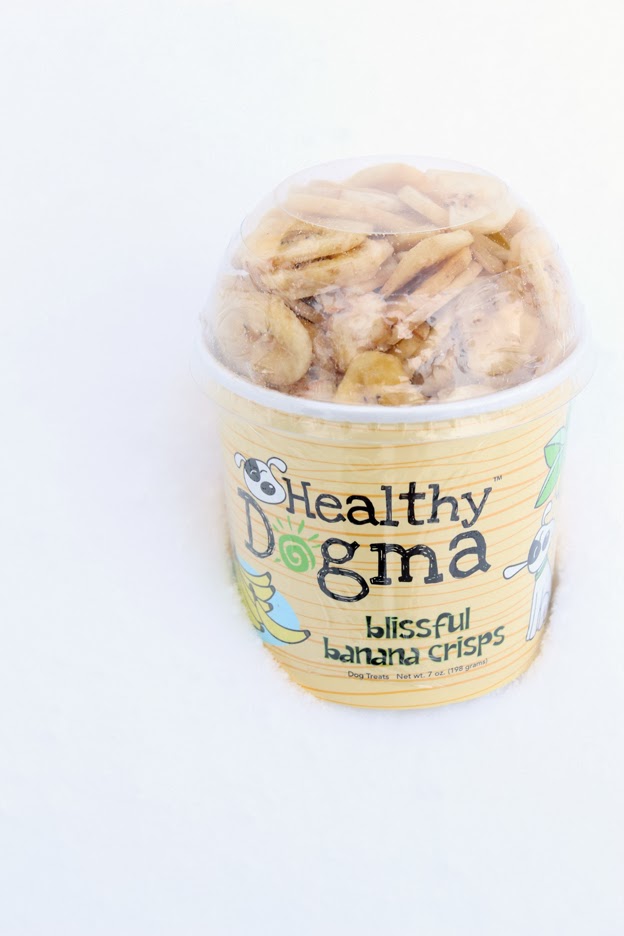
Blissful Banana Crisp: Bananas and coconut oil are the only ingredients in these treats. Jack loves bananas so these quickly became one of his favorite new treats.
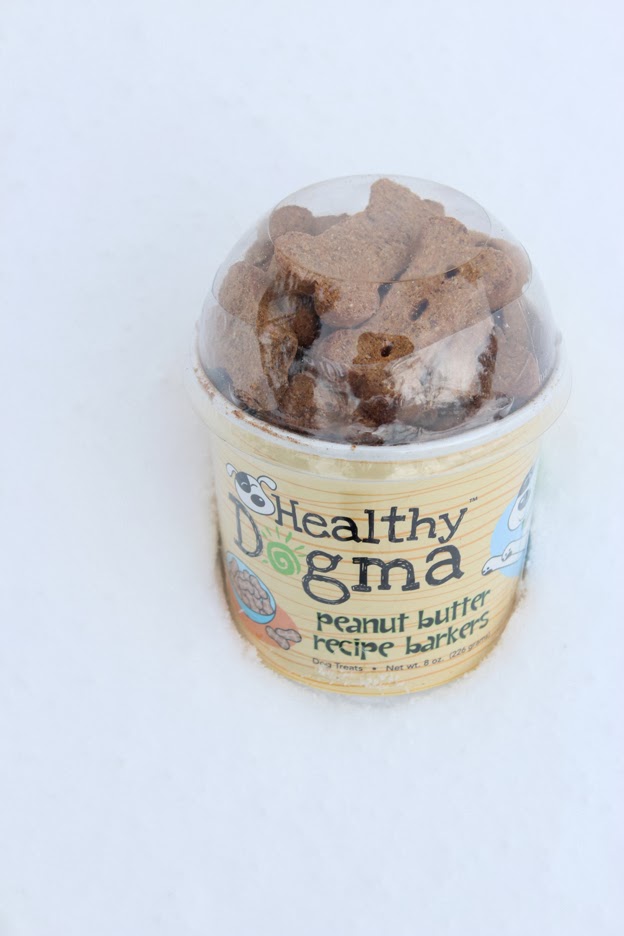
Peanut Butter recipe Barkers: What dog doesn’t love peanut butter? These treats have no additives or artificial flavors, plus you actually understand all the ingredients used in the product. These are a great alternative to Milk Bones that have a ton of crazy ingredients in them.
Perfecting Omelette\’s
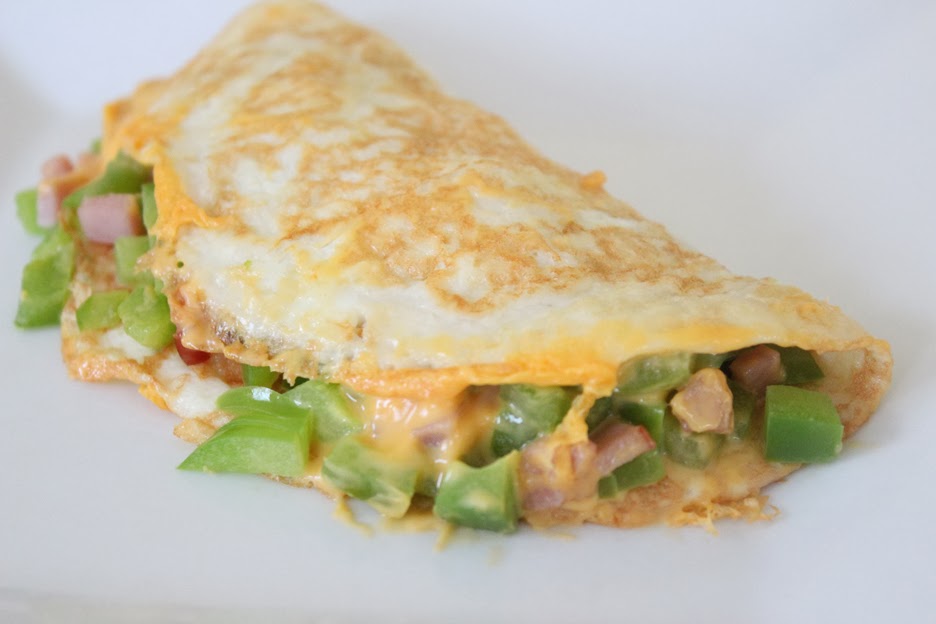


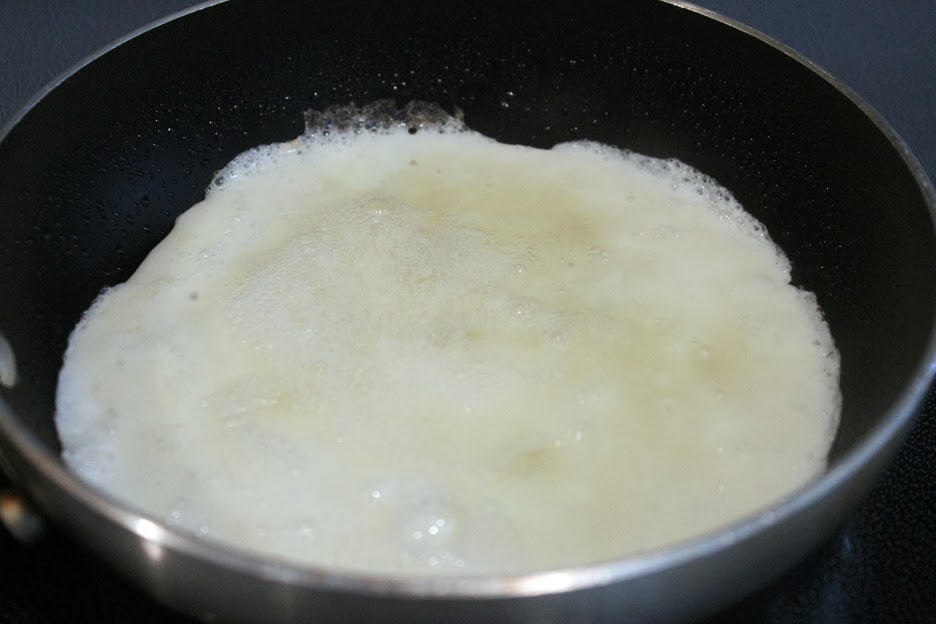


Top with desired cheese (I used sharp cheddar). Use the spatula to gently fold over the remaining half of the egg onto the filling, cook for one minute, place on your plate and enjoy.
