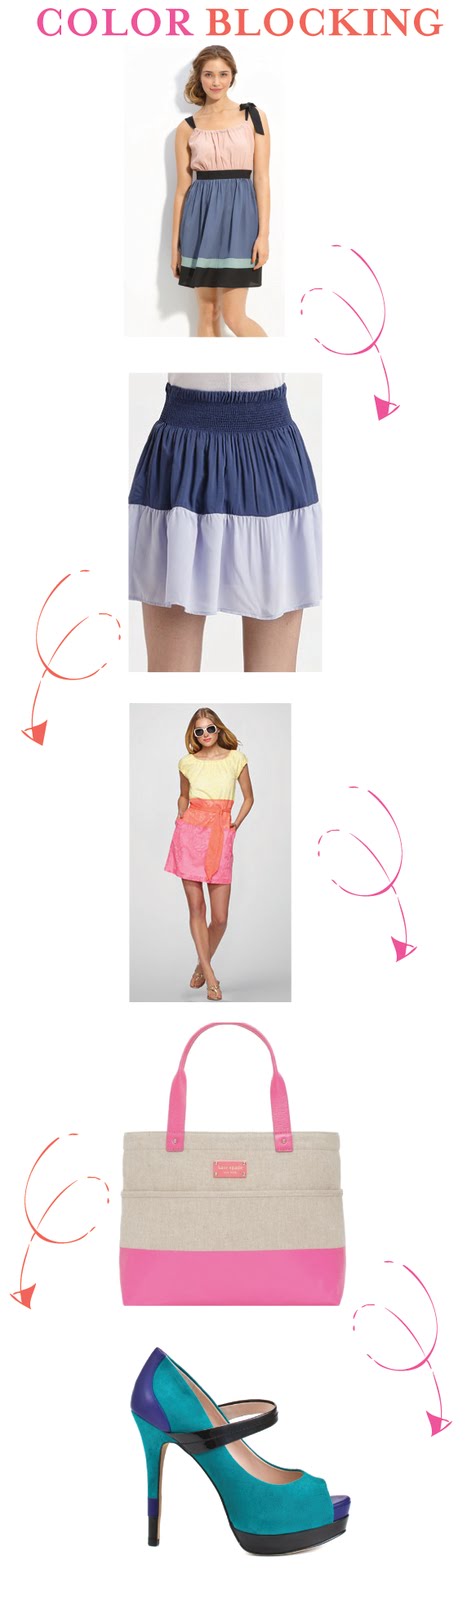

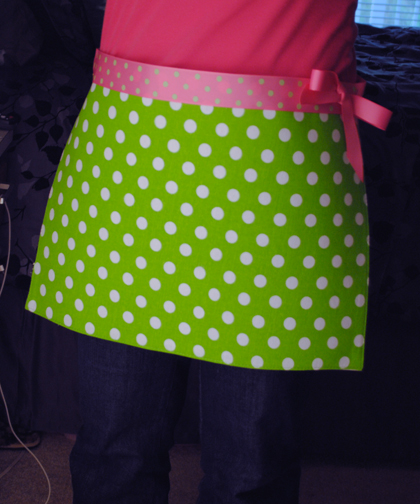
The under 15 Minute Apron
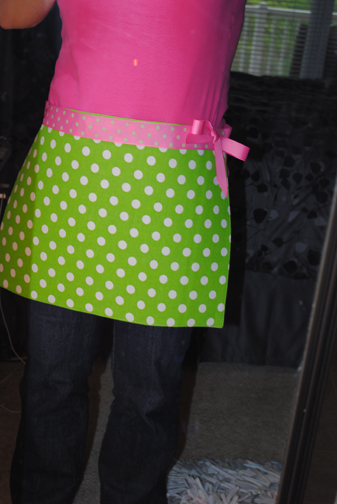
I have a super easy placemat apron tutorial for you today!
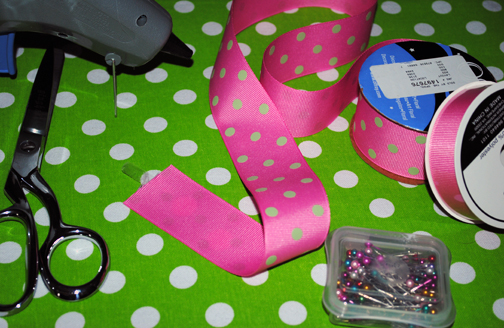
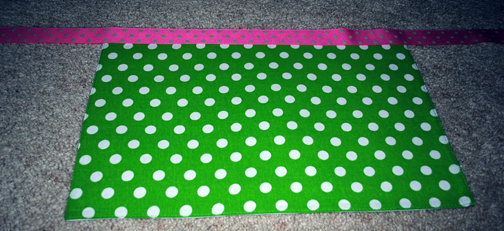
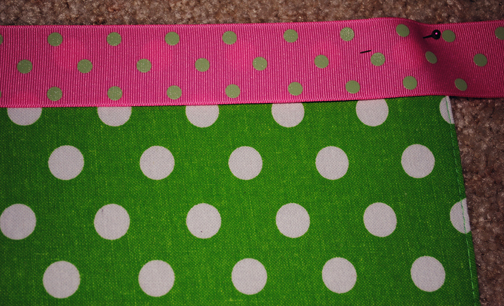
Step 2: Center your ribbon so it is equal on both sides and pin the ribbon to one end of your placemat so you are sure to glue the proper area.
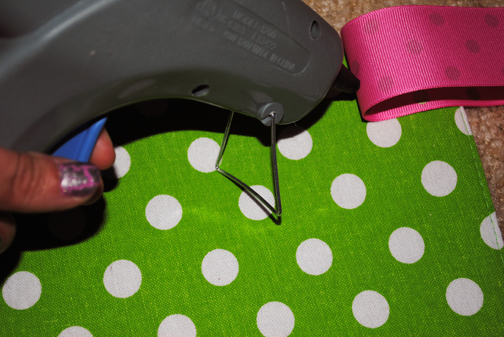
Step 3: Glue the edges. I did the bottom and top edge so it wouldn\’t look bumpy. Then add any embellishment you\’d like! I chose to make a ribbon bow.
Happy Crafting!
Pirates take over OPI


This season I am definitely obsessed with pastel manicure\’s and pedicure\’s. While they look like Easter eggs in the bottle on nails they are beyond gorgeous. They give a soft and sweet feminine look that I am absolutely adoring. That\’s why when I saw OPI\’s Pirates of the Caribbean on Stranger Tides collection I knew it was going to be love at first polish.

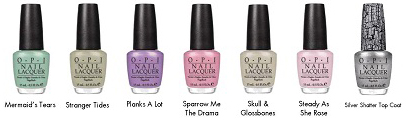
This is the collection I have been waiting for! It contains six fabulously gorgeous cremes as well as silver shatter!
PS don\’t mind how horrible my cuticles and nails look I got a professional manicure and the girl tore my cuticles and nails apart! ![]()

Steady as she Rose is the perfect mauve shade of polish.

Skull & Glossbones is a gorgeous taupe with sage undertones.

Stranger Tides is a murky seaweed sage
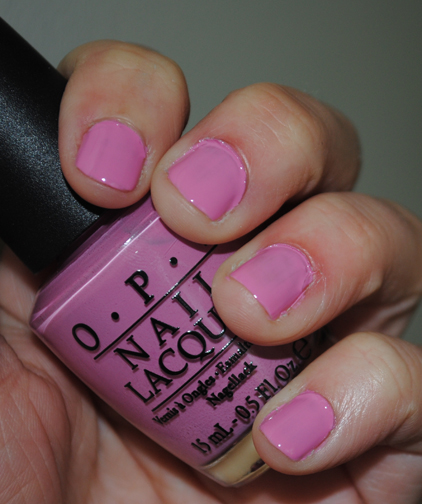
Sparrow me the Drama is a semi bright pink mauve that would still be considered a pastel

Mermaid\’s Tears is a dusty minty sea green.

Planks a lot is a misty grape pop purple.
What do you think about this collection?
I am absolutely loving it. It\’s one of my favorite collections that have come out this year. Pastels are finally making a comeback and I absolutely love it! This is a must have collection!

Get your Spa on
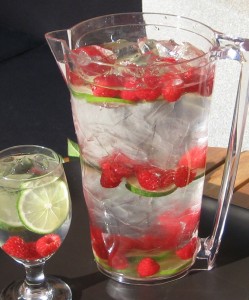
I don\’t know about you, but I absolutely love going to a spa. Not only is the atmosphere amazing, and the after mud room mini cookies delish, but I love to drink the Spa Water. What is Spa Water? Well it\’s water that has been infused with fruits, herbs, flowers etc. To create an amazing and healthful drink. It\’s said that you should drink at least eight – 8 oz. glasses of water per day which is 64 oz. Do you come close to this? Usually I am at that or under, but when I make spa water – I easily drink a gallon of water.
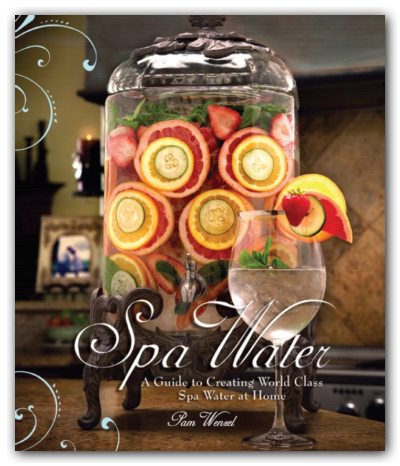
I recently discovered an amazing book, created by the ever so brilliant Pam Wenzel. The book is titled \”Spa Water, a guide to creating world class spa water at home.\” The Spa Water book offers amazing spa water recipes from across the world. Pam has really taken drinking water to the next level. Prior to owning this book I only would infuse my water with lemon or just squeeze some lemon in – how boring!
The pictures in this book are absolutely amazing, and the recipes are brilliant. This book is definitely a must have for everyone in your life!

Random note: Many of you have complimented how flawless my skin looks. Well water is said to help give your skin a flawless look. I drink about a gallon of water a day which helps to leave my skin looking like a china doll. If you want gorgeous skin I honestly suggest Pam\’s Spa Water Book.
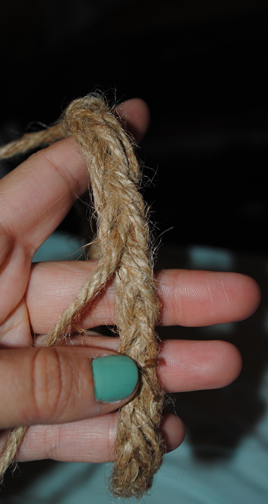
How to: Turk\’s Head Knot Bracelet
Summer is approaching which mean time on the beach, by the pool or out in the water. Nautical themed items are flooding the stores. One of my favorite items for summer is a Turk\’s Head Knot Bracelet or more commonly called a Sailor\’s Knot Bracelet.
What you need
• 3.5 yards of twine/cotton twine/rope whatever you like
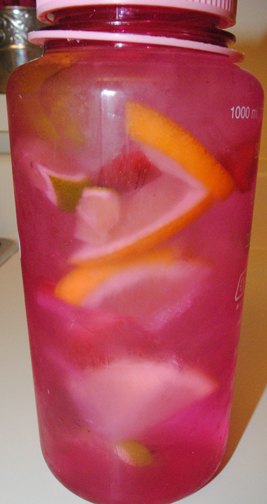
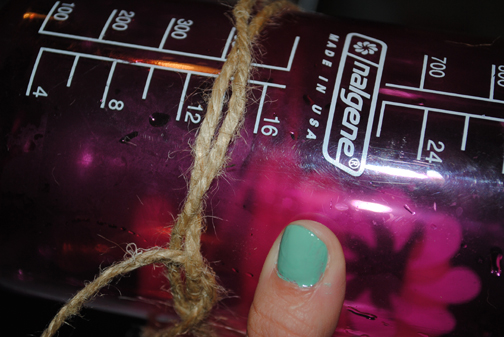
• 14 oz. can for a smaller bracelet or a 20 ounce can for a larger bracelet. Really any round object to match the circumference of your wrist will do. *NOTE: For this tutorial I used my Nalgene bottle obviously it\’s too big for my wrist I just wanted to make sure you could see what I was doing.
@font-face { font-family: \”Courier New\”; }@font-face { font-family: \”Times\”; }@font-face { font-family: \”Wingdings\”; }@font-face { font-family: \”Cambria\”; }p.MsoNormal, li.MsoNormal, div.MsoNormal { margin: 0in 0in 10pt; font-size: 12pt; font-family: \”Times New Roman\”; }div.Section1 { page: Section1; }ol { margin-bottom: 0in; }ul { margin-bottom: 0in; }

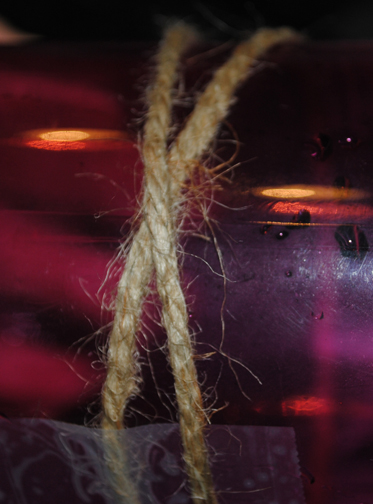
Wr@font-face { font-family: \”Courier New\”; }@font-face { font-family: \”Times\”; }@font-face { font-family: \”Wingdings\”; }@font-face { font-family: \”Cambria\”; }p.MsoNormal, li.MsoNormal, div.MsoNormal { margin: 0in 0in 10pt; font-size: 12pt; font-family: \”Times New Roman\”; }div.Section1 { page: Section1; }ol { margin-bottom: 0in; }ul { margin-bottom: 0in; } 1. Wrap one end of the twine around your round object to shape an X. Leave about a 4\” tail. You will need this at the end to finish the bracelet.
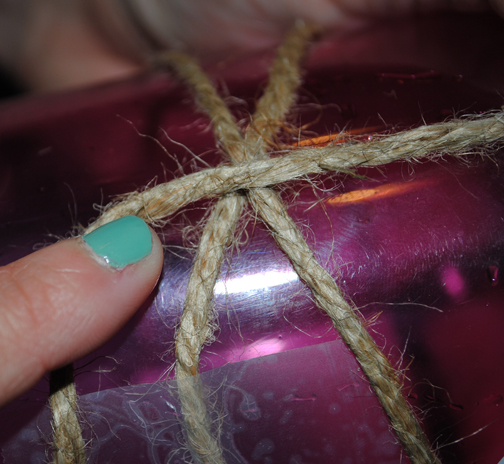
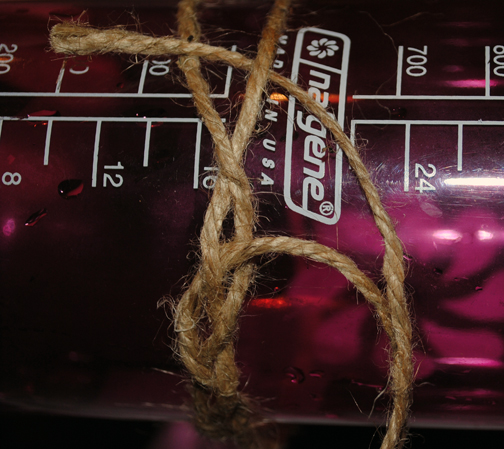
2. Wrap the long end of the twine around your round object again and bring it up to the middle of the X.
3. Pass the long end of the twine under the right, upper leg of the X and pull the long end all the way through.
@font-face { font-family: \”Times\”; }@font-face { font-family: \”Cambria\”; }p.MsoNormal, li.MsoNormal, div.MsoNormal { margin: 0in 0in 10pt; font-size: 12pt; font-family: \”Times New Roman\”; }div.Section1 { page: Section1; } 4. Next move the upper left leg of the X over the right leg of the X to create an oval shape.
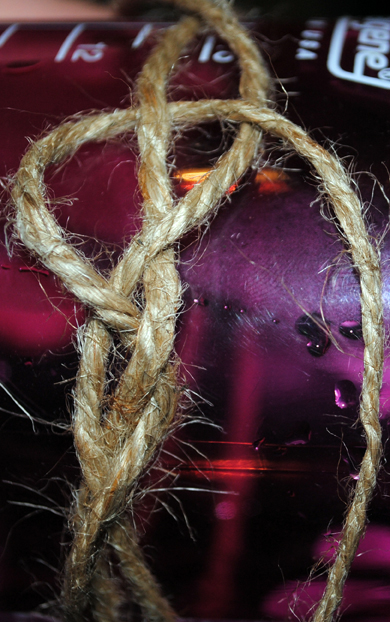
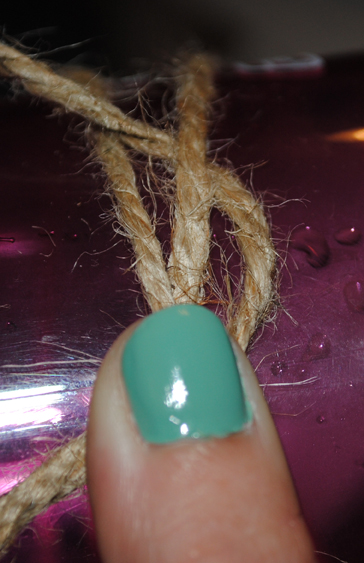
5. Pull the long end of the twine through the oval shaped opening you just set up.
6. Turn your round object just a tiny bit and you will now see that the oval shape has created another x shape. Again, pass the long end of the twine under the right upper leg of the X and pull the end through.
7. Repeat steps 3-6 until you make it back to the beginning.
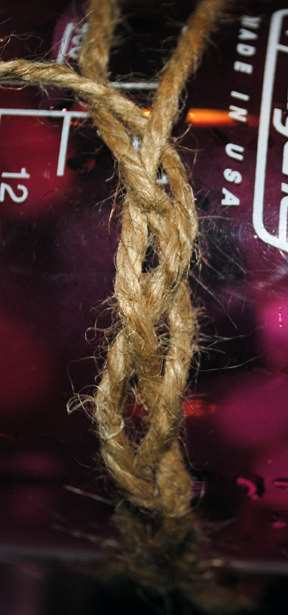
8. You will now see that you have a three stranded braid. Create a parallel second line by following the twine you originally laid out, and continue around your round object. You may need to use tweezers to pull your twine through. Also I recommend taking it off of your round object when working to finish this. It will make the bracelet easier to work with.
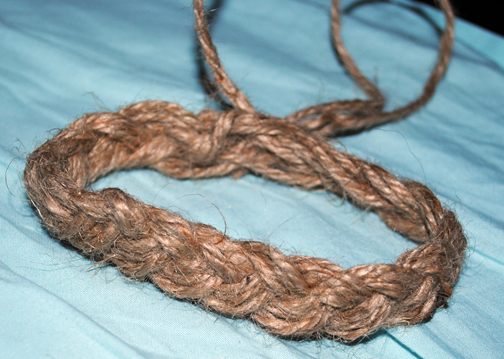
9. You are continuing to knot the twine or rope around the bracelet until each strand of the braid has at least one parallel line. It took me a total of three time around to make this happen. At this point if you would like to create the traditional Turk\’s Head Knot you will need to do another three passes so that you will have three parallel lines. To finish off just knot the ends together and weave the extra twine or rope into your bracelet.
