Coming to Detroit and Giveaway: Rock of Ages

Broadway’s Best Party is turning up the volume to ten! The ROCK OF AGES Tenth Anniversary Tour is blazing across North America and will appear at the Fox Theatre for three appearances from January 18-19, 2019 as part of the Fox Theatre Series. Now is your chance to win a family 4-pack of tickets to see the show on January 18 at 7:30 p.m. Enter below, and good luck!

Tickets (starting at $34) are on sale now and can be purchased at 313Presents.com, Little Caesars Arena XFINITY box office and Ticketmaster.com. To charge tickets by phone, call (800) 7453000.
Fox Theatre Series subscription packages and discounts for groups of 10+ are available by calling the Olympia Entertainment Group Sales Department at (313) 471-3099. Subscription packages include savings of up to 20 percent when purchasing three or more Fox Theatre Series titles.
Nominated for five Tony® Awards, including Best Musical, ROCK OF AGES captures the iconic era that was the big bad 1980s Hollywood. “Know What Love Is,” “Feel the Noise” and “Take Your Best Shot” at one of the Sunset Strip’s last epic venues, a place where the legendary Stacee Jaxx returns to the stage and rock-n-roll dreamers line up to turn their fantasies into reality.
Featuring the music of hit bands such as Styx, Poison, Twisted Sister and Whitesnake among many others, this Tenth Anniversary production features a dynamic new cast revisiting the larger than life characters and exhilarating story that turned ROCK OF AGES into a global phenomenon.
This is one for the ages that will have you singing “Here I Go Again.”
Performance Schedule:
Friday, January 18, 2019 7:30 p.m.
Saturday, January 19, 2019 2 p.m. & 7:30 p.m.
Dog Treats: Gingerbread

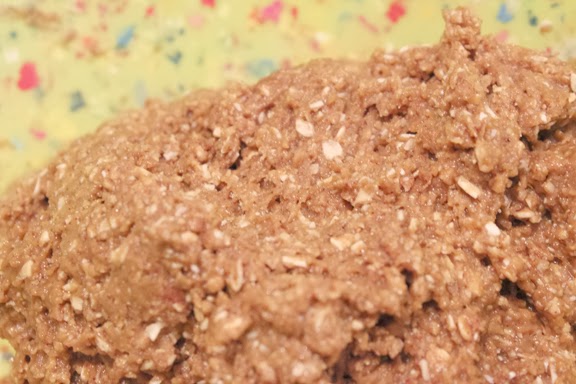
Your pup wants to be apart of Christmas traditions too, that is why I am sharing Jackers favorite Gingerbread Biscuit recipe. It\’s quick and easy to make and every pup on your street is sure to go crazy for them.
Ingredients
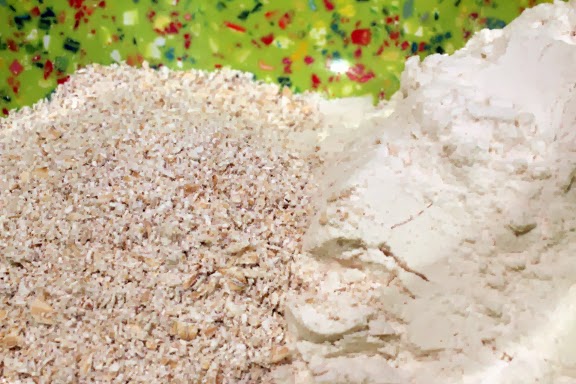
1.5 cups flour* (see notes below)
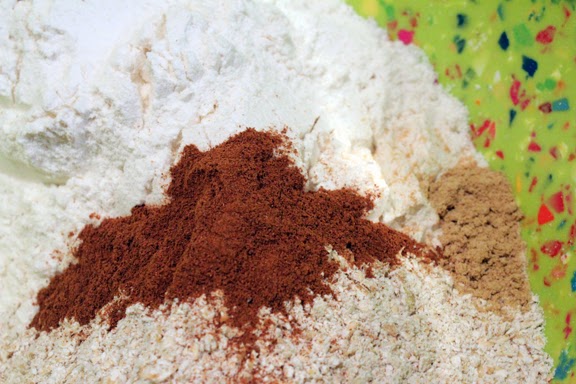
1/2 teaspoon ginger
1 teaspoon cinnamon
1/4 cup water
4 tablespoons vegetable or canola oil
1/4 cup molasses
Directions
1. Preheat oven to 325.
2. Cover cookie sheets in parchment paper.
3. Mix together all ingredients.
4. Let rest for 15 minutes.
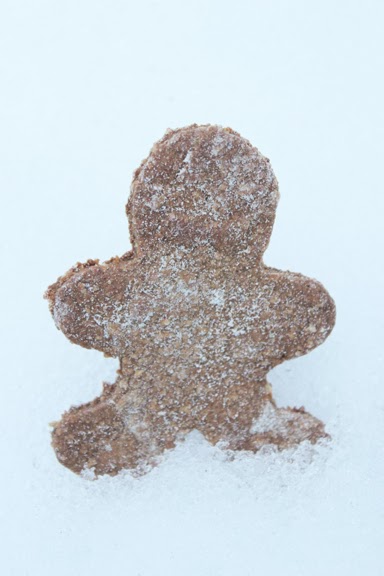
5. Roll out onto a lightly floured surface to 1/4 inch thick.
6. Using holiday themed or bone-shaped cookie cutters (large or small) cut out the cookies.
7. Place on baking sheet and bake for 12-20 minutes depending on size and crispness.
Simple Sprinkle Cookies
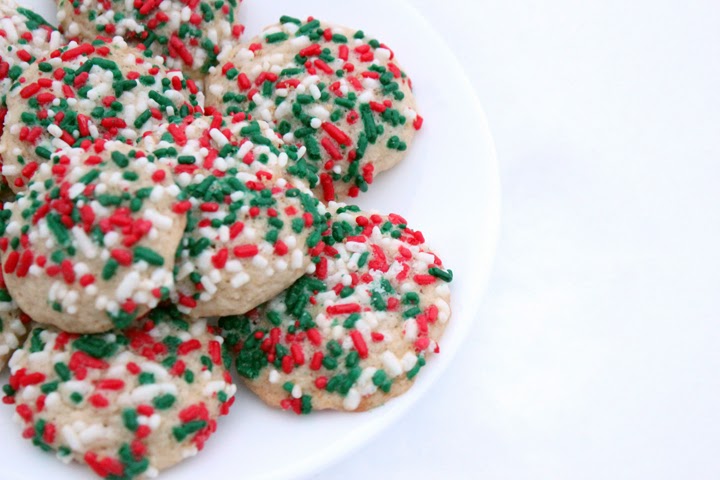
There\’s a small Italian bakery near my parents house. While they have absolutely amazing cakes, I am a huge fan of their holiday sprinkle cookies. If you know me you know I am a firm believer that anything is better with sprinkles. At a cookie exchange a few years ago one of the girls shared their Italian Sprinkle Cookie recipe with me, and I have been making it ever since. This year I thought I would share the amazing recipe with all of you.

Sprinkle Cookies
Ingredients
1.5 cups flour
1.5 teaspoons baking powder
dash of salt
12 tablespoons unsalted butter, softened
3/4 cup sugar
1 egg
1.5 teaspoons vanilla extract
2 teaspoons almond extract
1 egg white, lightly beaten
multi-colored sprinkles
Directions
1. Beat butter, and sugar on medium-high for 3 minutes.
2. Add vanilla, almond and egg; beat until smooth.
3. Add flour, baking powder and salt; beat until just combined.
4. Use a cookie scoop drop into balls onto a parchment lined baked sheet.
5. Press each ball into disks.
6. Chill disks for 40 minutes (I placed my cookie sheets outside -it\’s freezing out).
7. Heat oven to 350 degrees.
8. Using a pastry brush, lightly brush tops of cookie disks with the egg white and press into sprinkles.
9. Return cookies to baking sheet.
10. Bake for 10 minutes or slightly brown on the bottom (time varies based on oven) rotating the cookie sheet halfway through.
11. Allow to cool before serving.
How To: Properly Wrap a Present

In high school I worked as a sales assosicate at a Hallmark store. While working at the store I learned a lot about presentation, and how to make gifts look absolutely beautiful. Boxes are probably the easiest things to wrap, so if you’re giving an awkwardly shaped gift, putting it in a box first is the easiest solution. The hard edges allow you to create a tidy and professional-look. Here is how Hallmark taught me how to wrap a gift.

Step 1: Place the box face down on the paper, and pull up the short side and secure it with a piece of tape.

Step 2: Fold the other side in about an inch.

Step 3: Secure the folded side to the paper that you already secured down.

Step 4: Turn the present right way up and fold down the overhanging paper against the side of the box that remains exposed.

Step 5: Press in two side folds, smoothing the edges to give a clean finish. Next fold the bottom flap up to cover all the edges creating an envelope effect.

Step 6: Secure with tape. Turn over and repeat the process for the other side.

How To: Make a Blanket Scarf

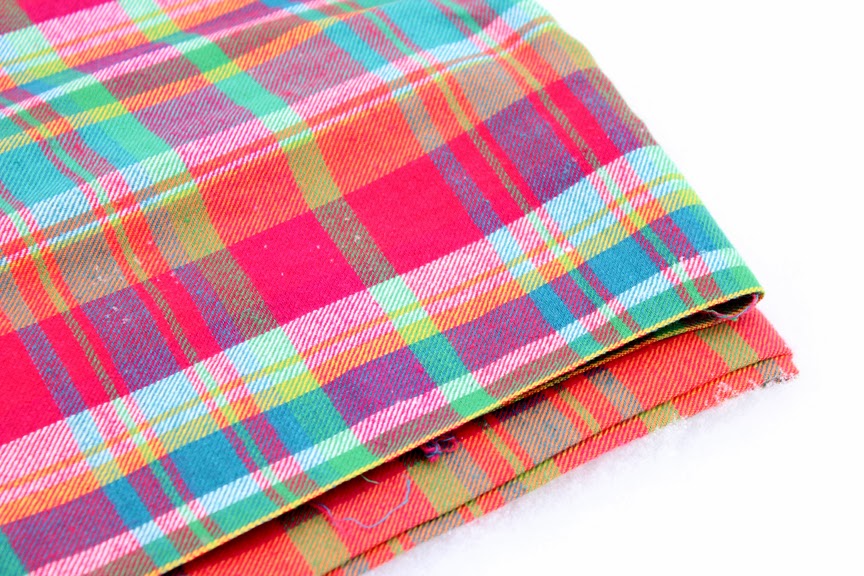
Blanket scarves have been trendy for the past few years, and it looks like the trend is here to stay for awhile. While roaming around Joann Fabric I found some absolutely gorgeous fabric that would make a beautiful scarf, and decided to buy two yards and create my very own blanket scarf – all you have to do is fray the edges.
Material List:
2 yards of your chosen fabric. I used cotton flannel from Joann Fabrics (7.99 /per yard)
Measuring Tape
Scissors
Needle.
Step 1: Cut down the width of the fabric to 25” wide (x72” long). Use the fabric’s plaid grid as a guide when cutting your fabric to help you create straight, clean cuts.
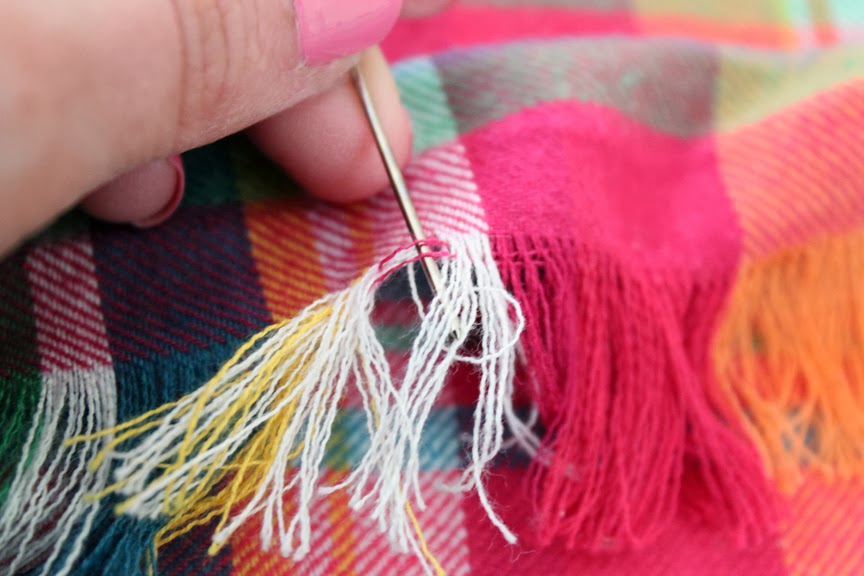
Step 2: To create on the ends of the scarf, simply remove the fabric’s weft yarns (the yarns that run left to right) along the short side of the fabric. I used a needle to release the yarns. Continue removing yarns until you reach your desired fringe length. I decided on 1 ½” fringe.
Step 3: Repeat step 2 on the opposite end of the fabric. You should now have fringe on both of the short sides of the scarf.