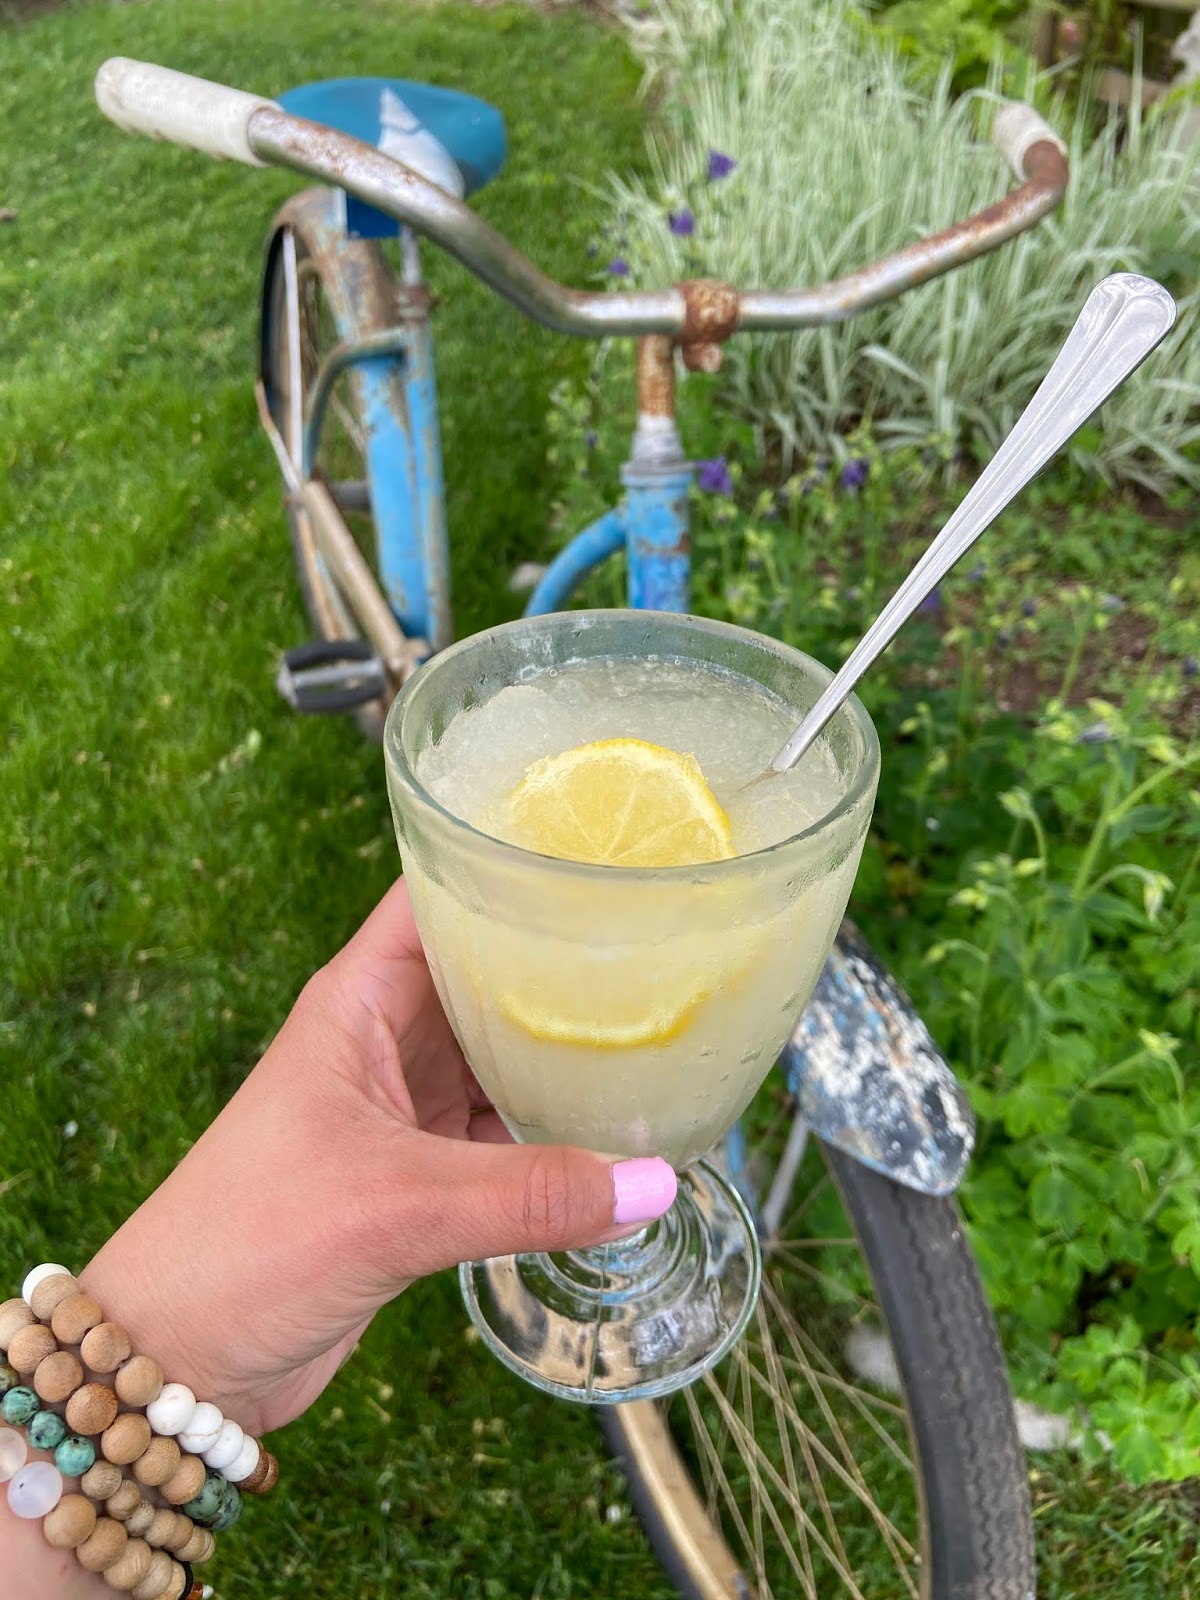
How to Make a Lemonade Slushee
When I lived in Pittsburgh, I would constantly go to Pirates baseball games. I remember there being a guy who sold lemonade and I am pretty sure he is the reason that lemonade started to become my summer staple.
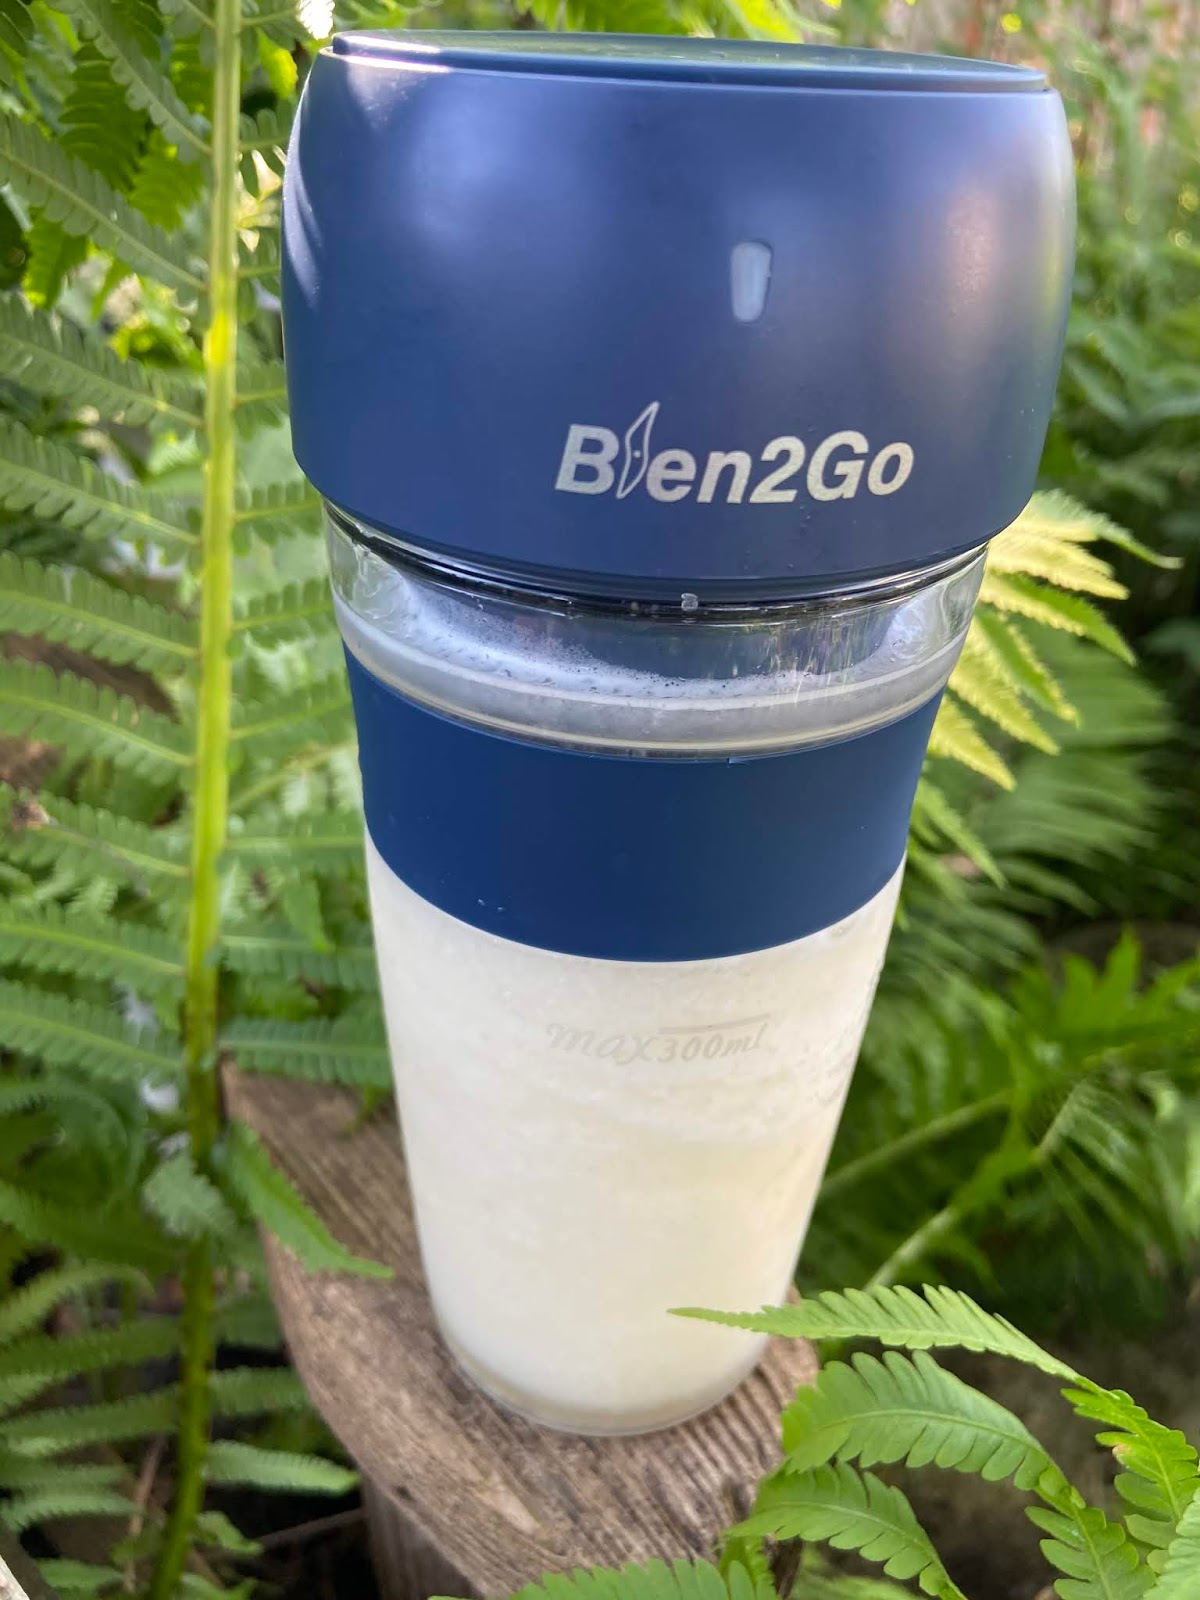
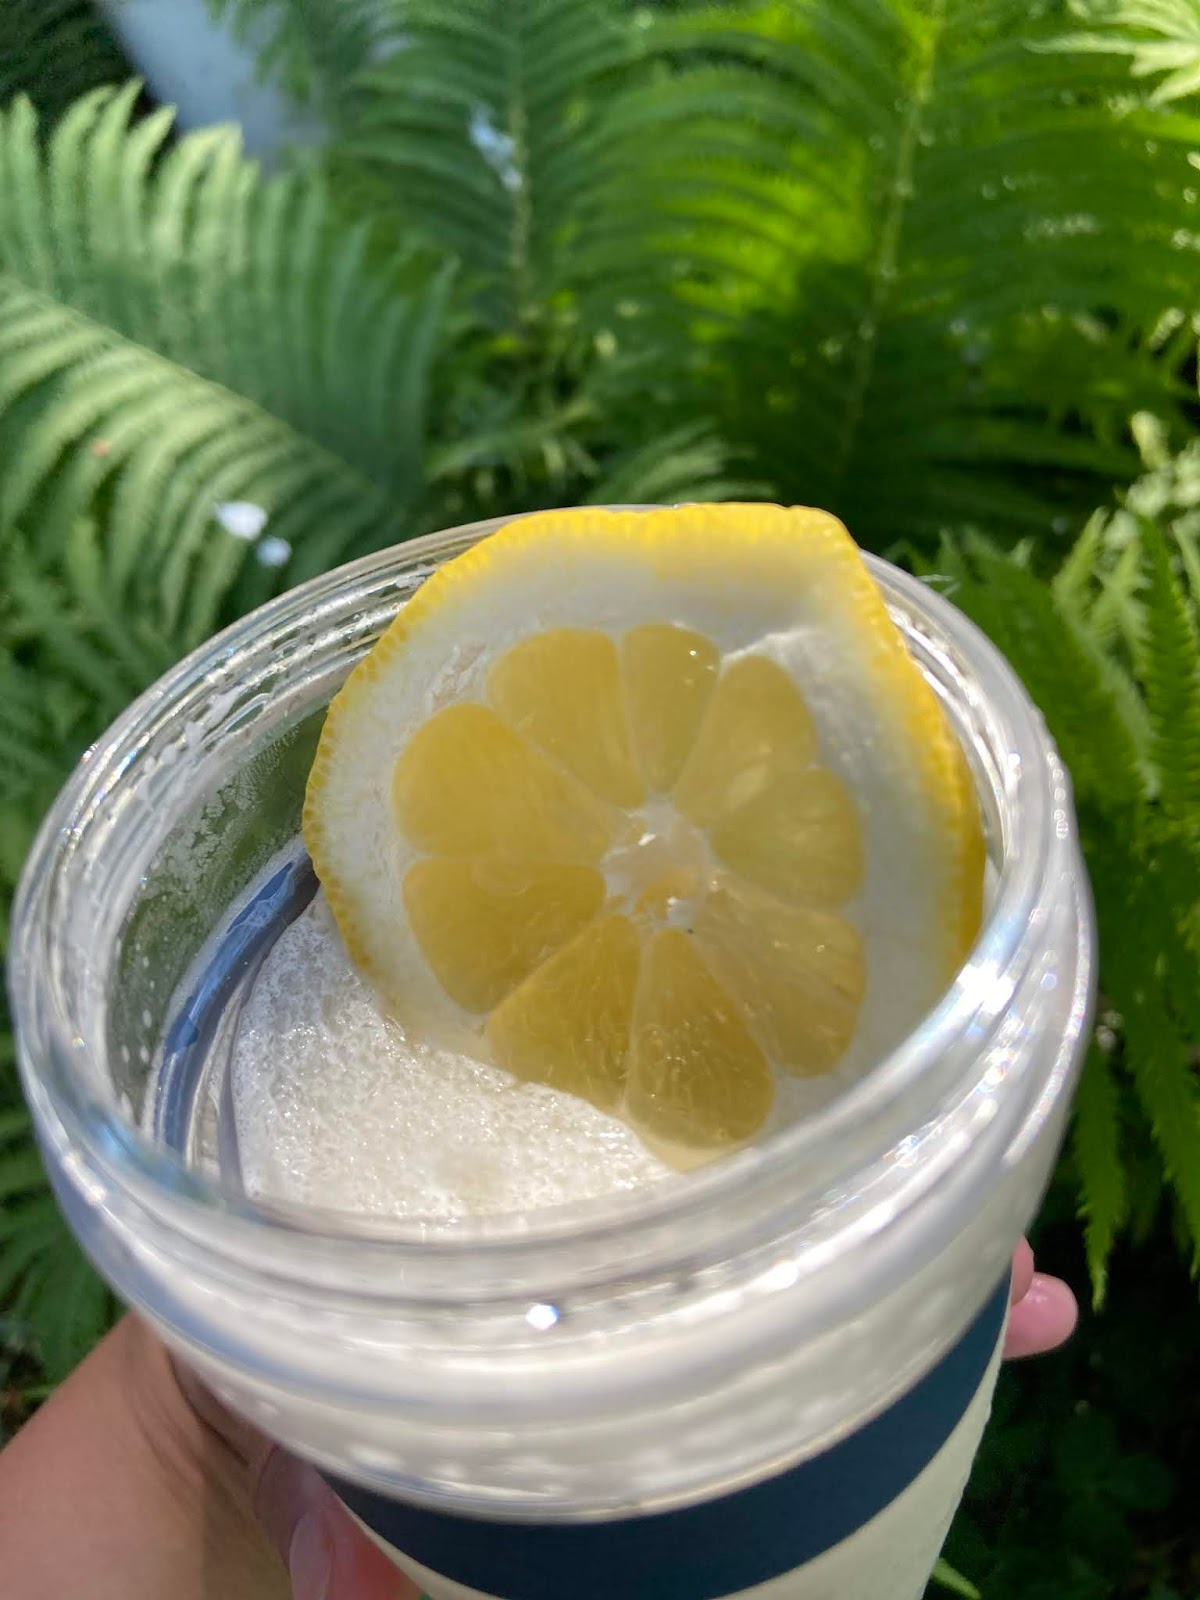
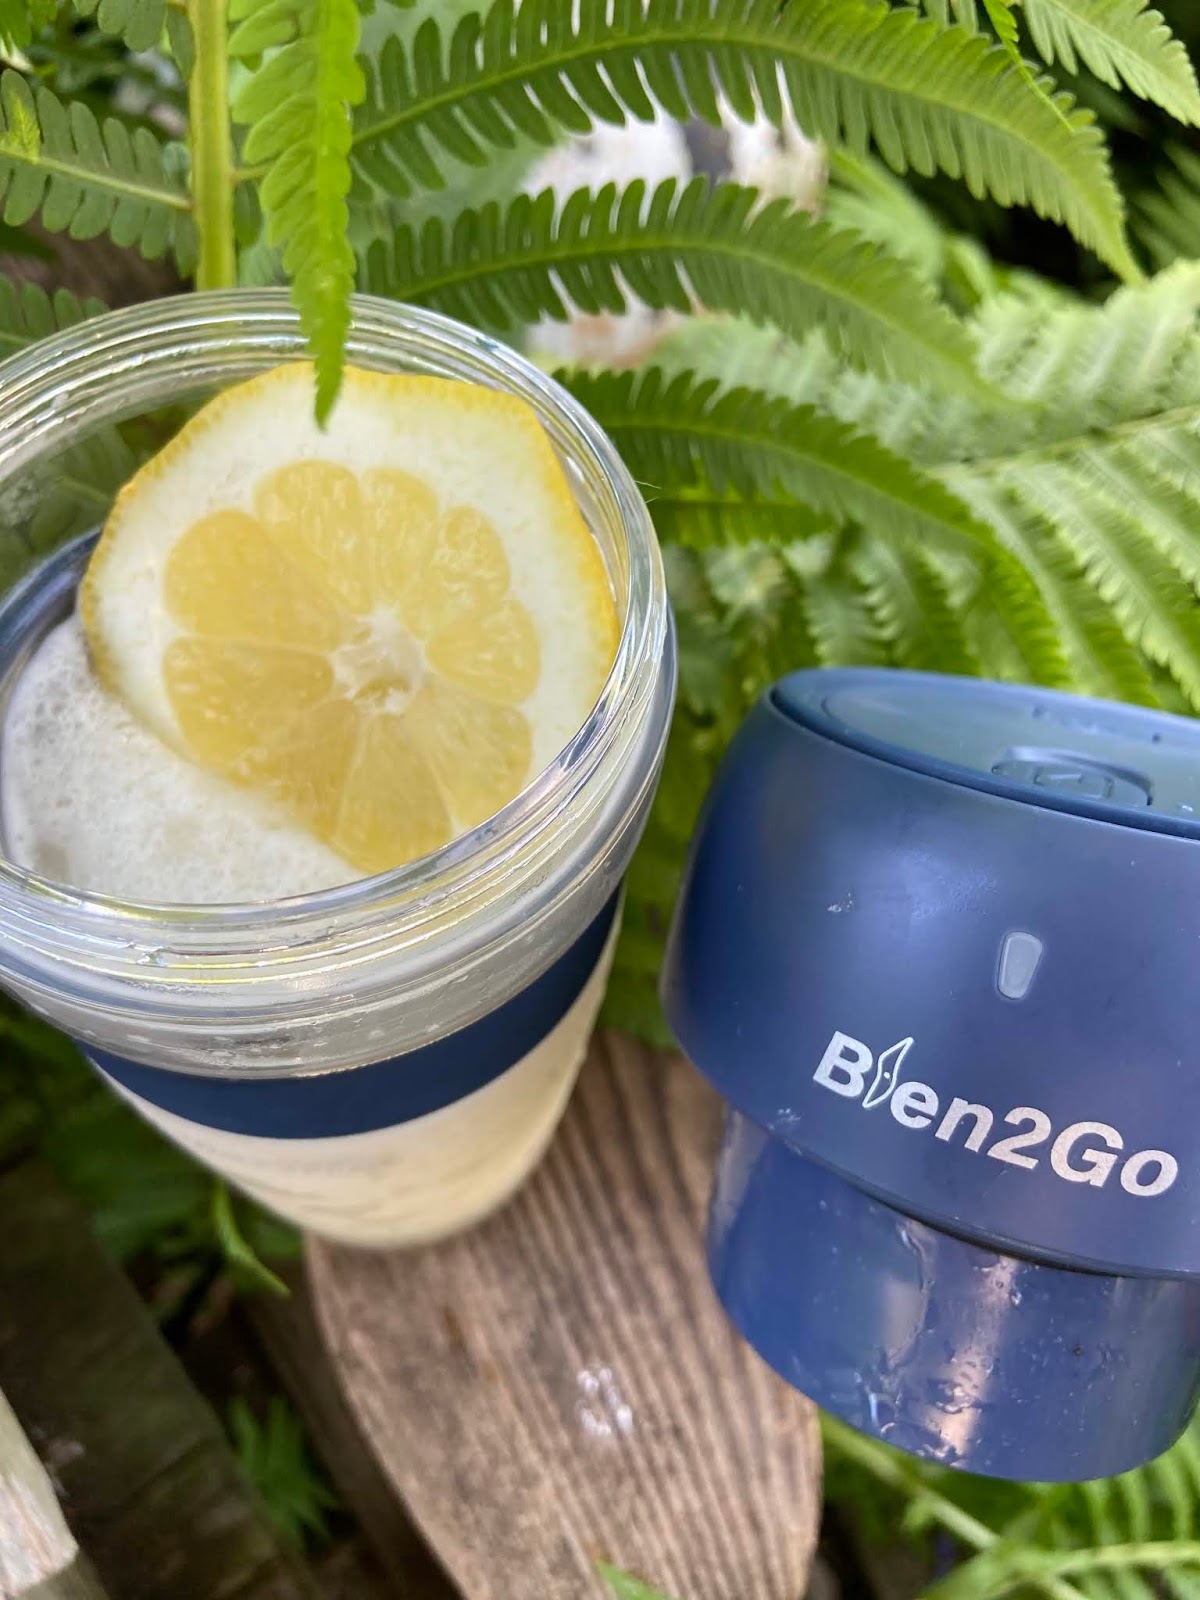
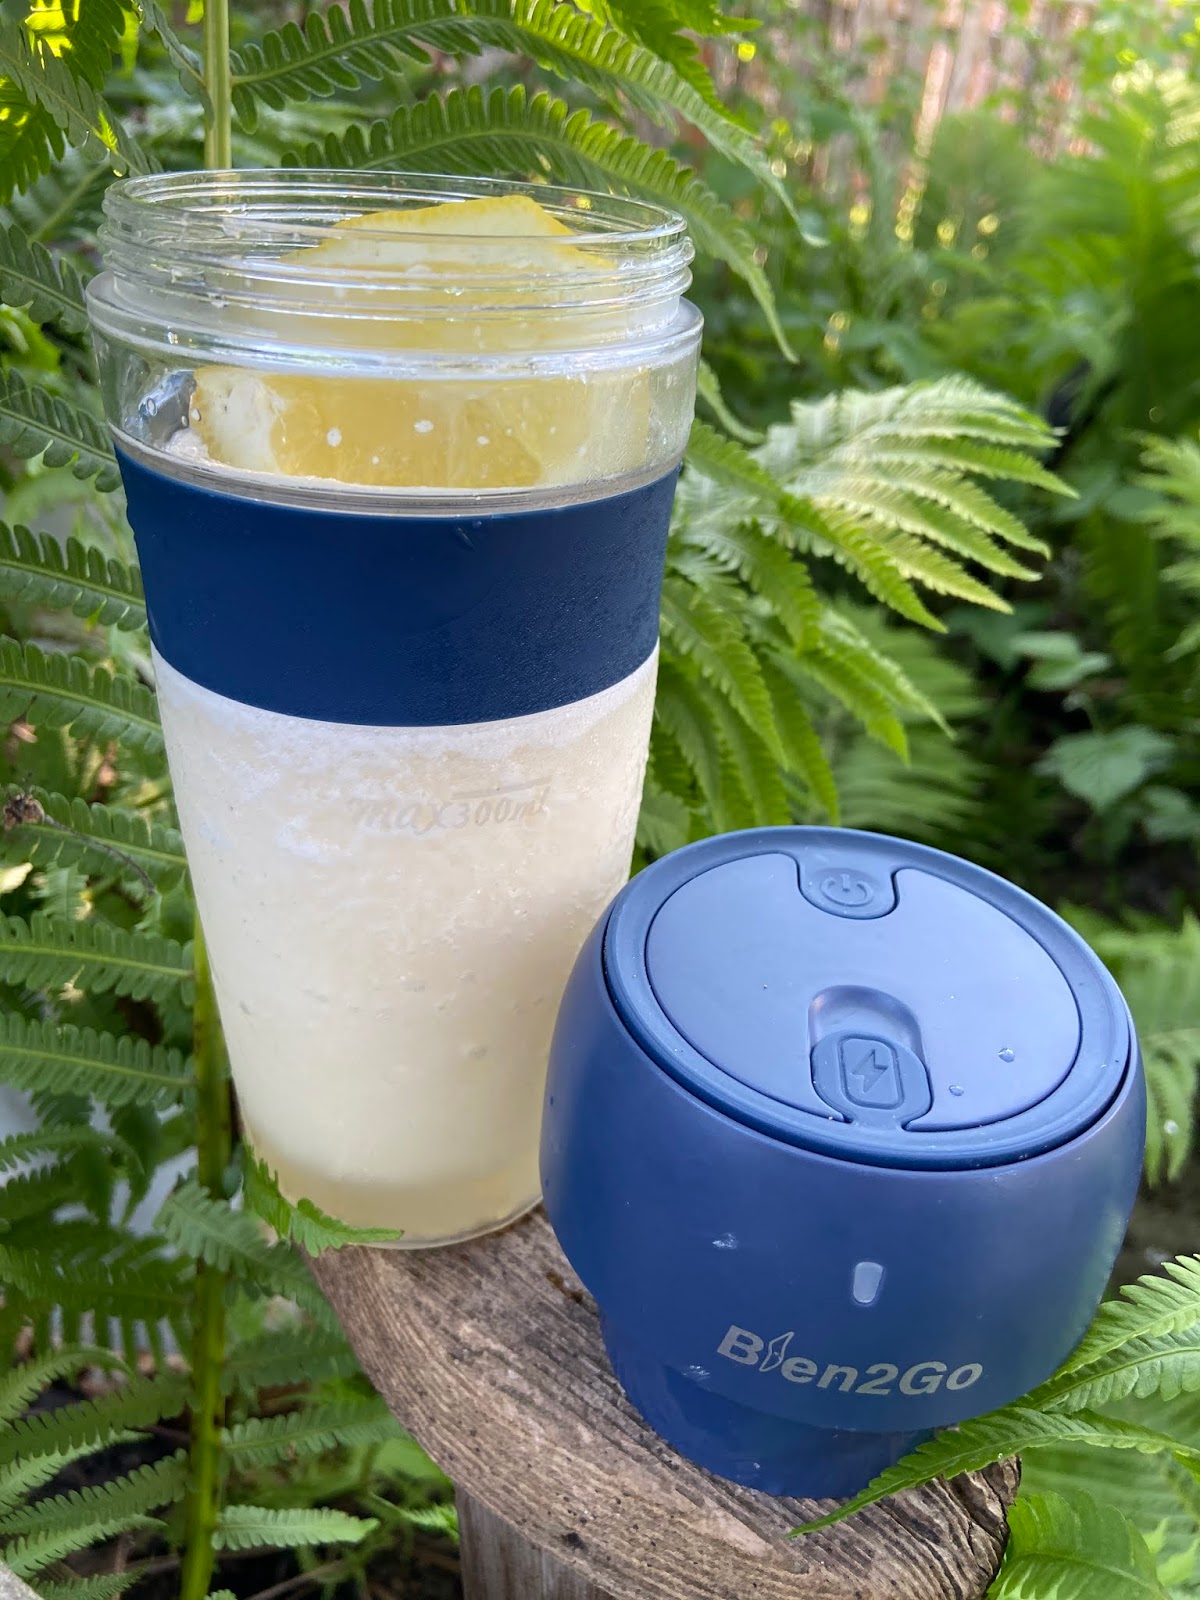
With temperatures starting to creep up, I have been craving the ice-cold lemonade that he would chant about. I decided to change it up a bit, inside of a tall glass of lemonade packed with ice, I filled a blender with lemonade and packed it with ice to create a delicious and refreshing lemonade slushee. The end result was more delicious than I could have imagined. I like convenience on the go, so I used a portable blender so I could take my slushee on the trail with me.
Lemonade Slushee
Ingredients
1 cup of lemon juice (I used fresh lemons)
½ cup sugar
4 cups of ice
Directions
1. Put everything into a blender.
2. Turn the blender on and mix until smooth and creamy.
3. Enjoy.


Beginners Guide to Hiking: 9 Essential Tips
If you’ve been following me on Instagram, you’ve probably seen me out on plenty of hiking adventures. Hiking is one of my favorite ways to spend the day, I love checking out new trails and scenery, meeting people along the way and of course traveling to new hiking destinations.
Unlike walking on a treadmill, or paved path, hiking involves more and sometimes comes with unpredictable variables. I once came across a ladder in a rock “wall” that I had to climb up. Recently, I have received a lot of questions in regards to hiking, and I thought I would share my 9 essential hiking tips for beginners that will help you when you’re out on your first trek.

9 Essential Hiking Tips for Beginners
1. Start small
Choose a hike a little shorter than the distance you can normally walk on a level paved surface. Make sure that the hike is right for your fitness level.
Pro Tip: To estimate the time required to hike a trail, figure a pace of approximately 2-miles per hour. For every 1,000 feet of elevation, you should add an hour to your time.
2. Get familiar with the trail
This is something I didn’t do in the beginning. Not only did I end up walking 6 miles on sand dunes out of my way one time in 90-degree weather, but I also ran out of water. Knowing where the trail goes is now one of the most important tips that I can give. Find out if the trail is a loop or if you will need to backtrack. Do trails intersect? If they do this is where you could potentially make a wrong turn if you know where you are going this is less of an issue.
Pro Tip: I like to find a lunch spot with a view, and being familiar with the trail before I get on it allows me to plan accordingly.
3. Tell someone where you will be
It is important that someone who is not on the hike knows where you will be and what the itinerary is.
Pro Tip: The “worry time” I give someone is several hours later than my planned finished time. I do this because sometimes I stop so many times for amazing views it adds hours onto my hike. I also have a knee that will act up sometimes, and therefore slow me down. Just make sure someone knows where you are and you give them a comfortable “worry time.”
4. Check the weather
This one might seem obvious, but it has definitely gotten hikers into trouble. Leading up to your hike and even right before, check the weather. Not only will it help you know what you need to pack and how you need to dress, but it will help you avoid surprise weather changes while you’re out.
5. Wear the right shoes and socks
Painful feet are a quick way to ruin anyone’s day. If you’re going to hike make sure you invest in quality hiking shoes and socks.
Pro Tip: Do not wear cotton socks, make sure you wear wool or synthetic socks. Also, be sure that the socks do NOT have a seam, seams are a great way to cause blisters and destroy your toenails.
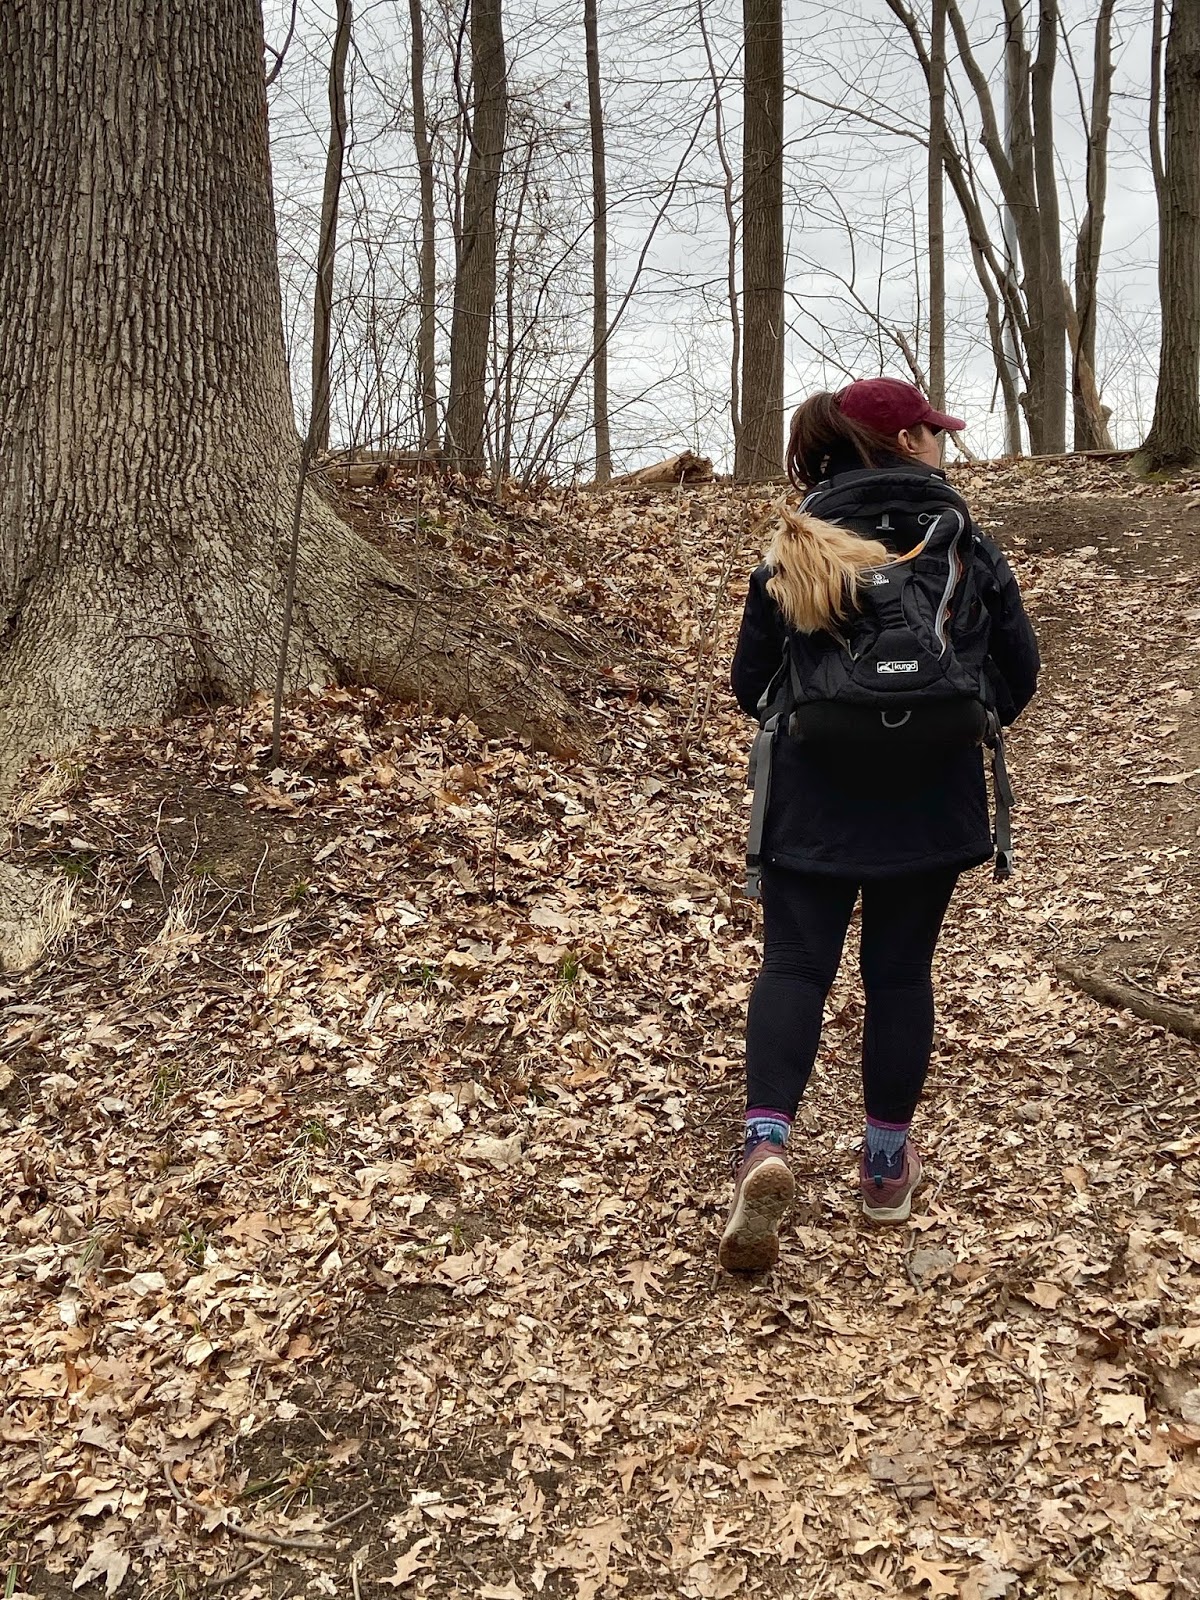
7. Bring a hiking pack
Even if you’re just going on a “quick” little hike, I still recommend a backpack. It’s great to hold sun protection, food, water, and first aid supplies. Of course, if you’re going on a longer hike (especially if it is more remote), you will want to pack other supplies.
8. Pace yourself
Remember, this is not a race. You don’t want to burn off all your energy at the beginning of the hike, you want to save it for times when you really need it, such as a couple of miles uphill.
9. Leave no trace
This is probably one of the most important things you can do when you’re out on a hike. The trails will only remain beautiful if we take care of them. So make sure when you’re out you leave no trace. Don’t leave wrappers or banana peels behind. Take everything back with you that you came with.
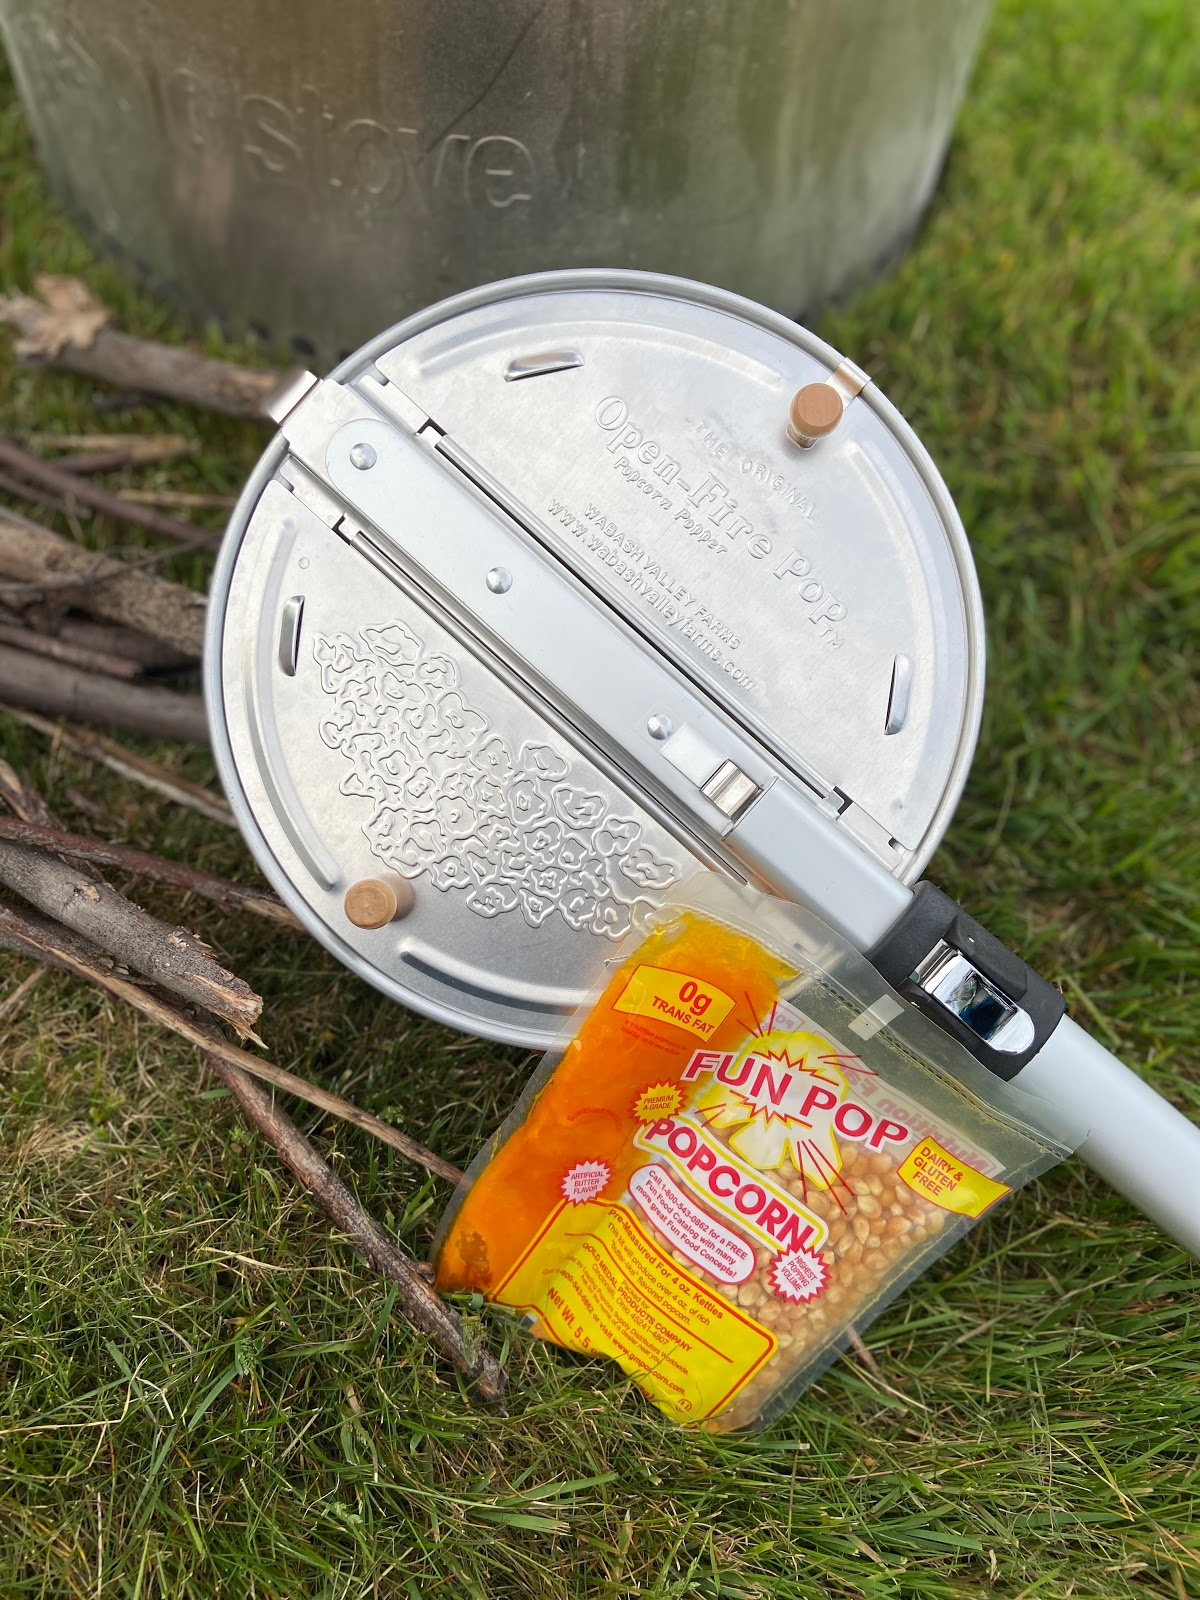
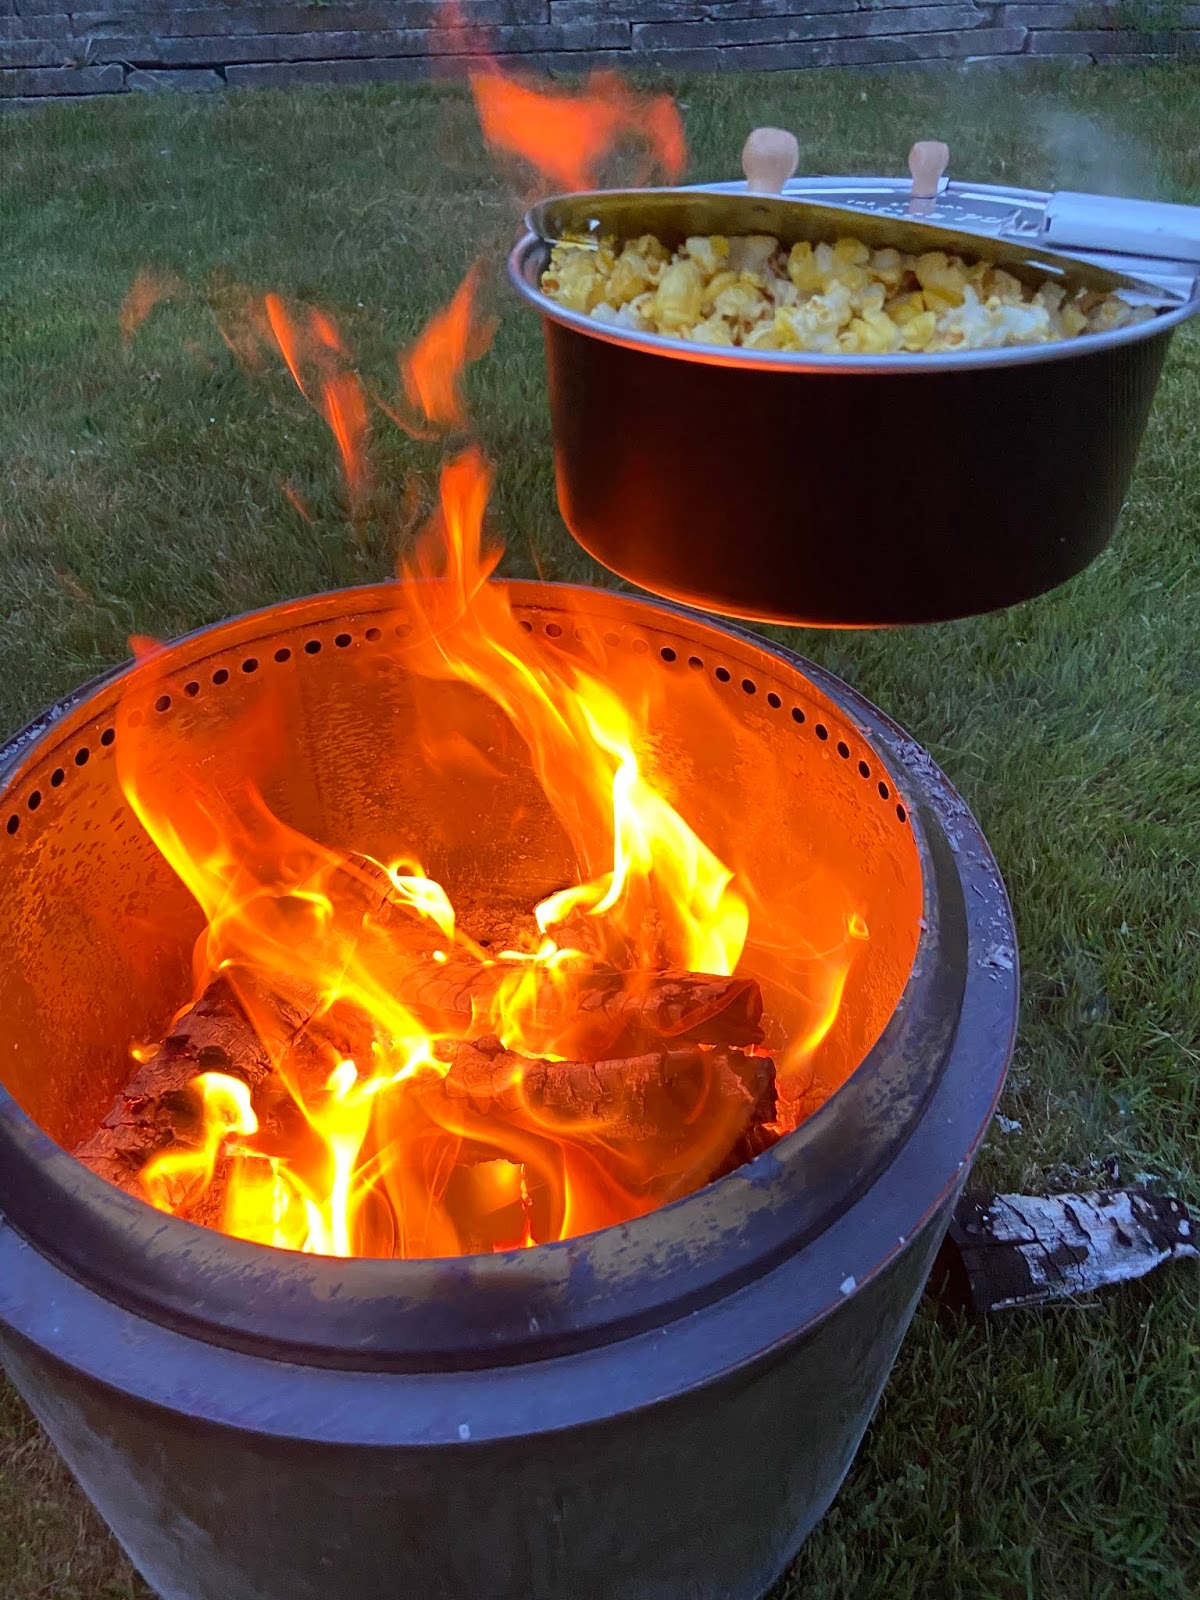
Campfire Popcorn

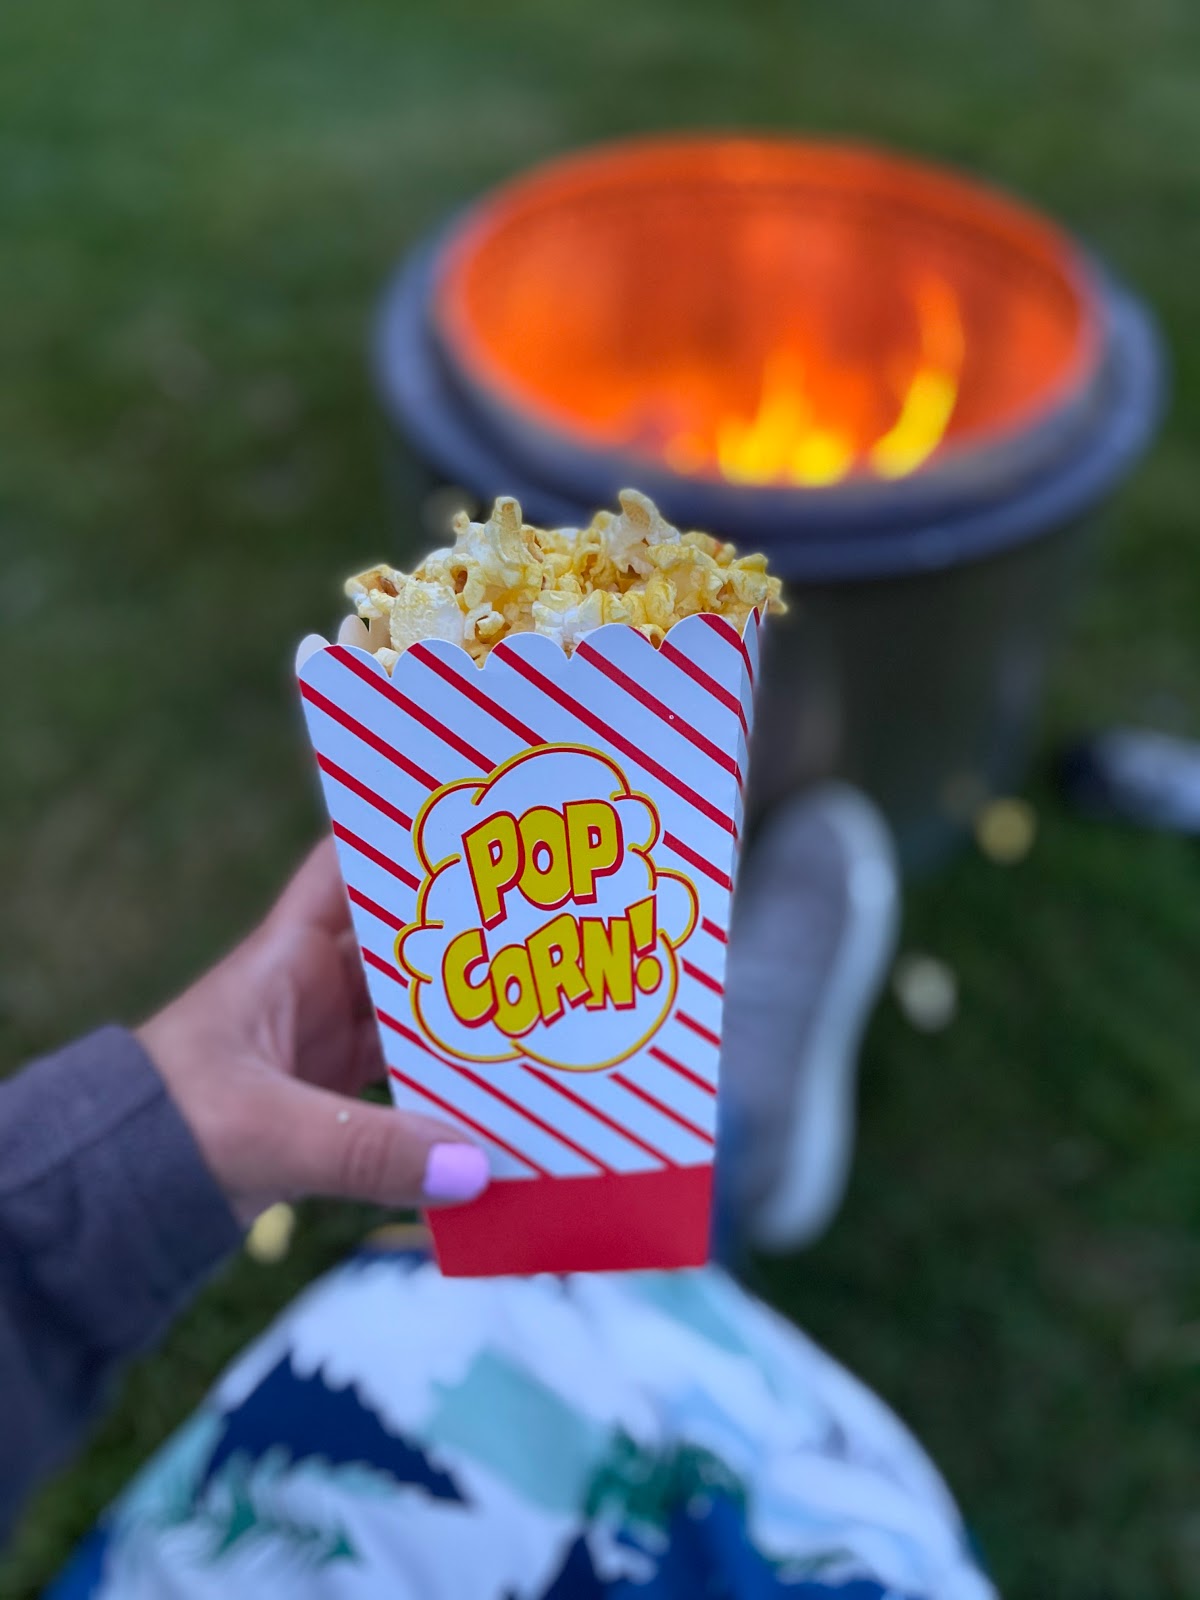
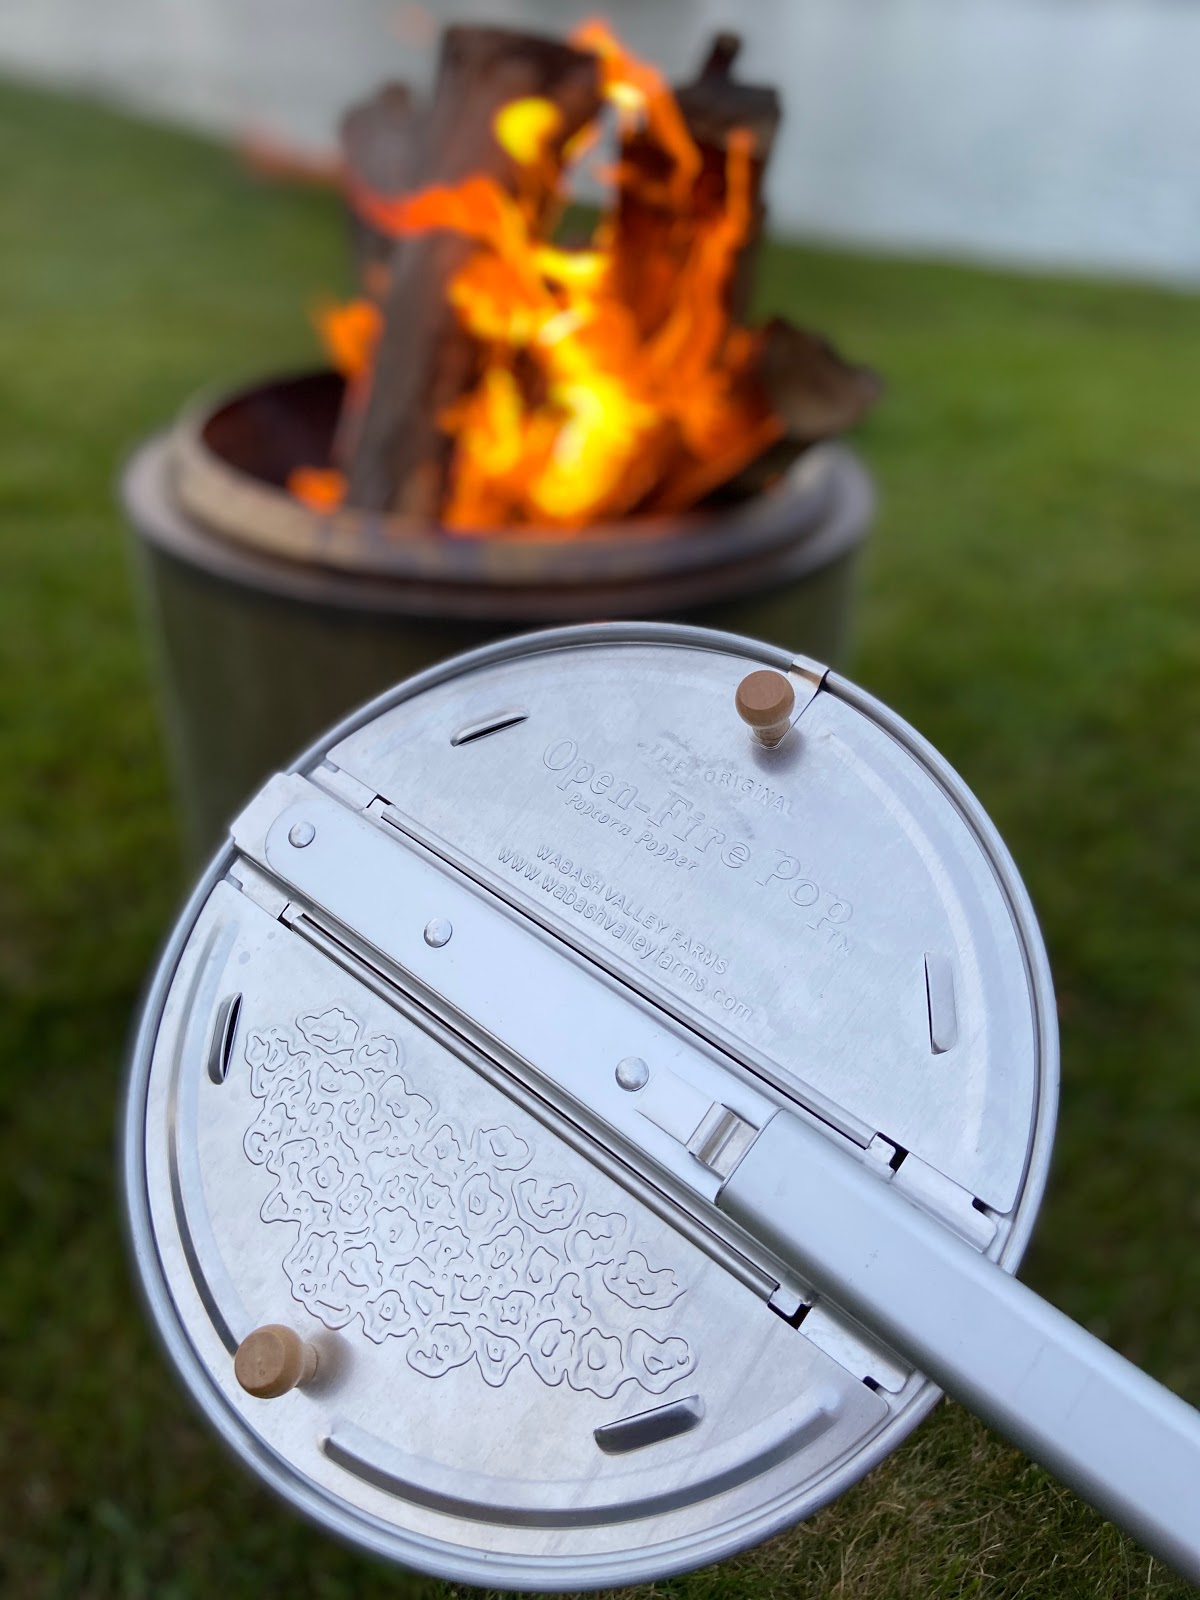
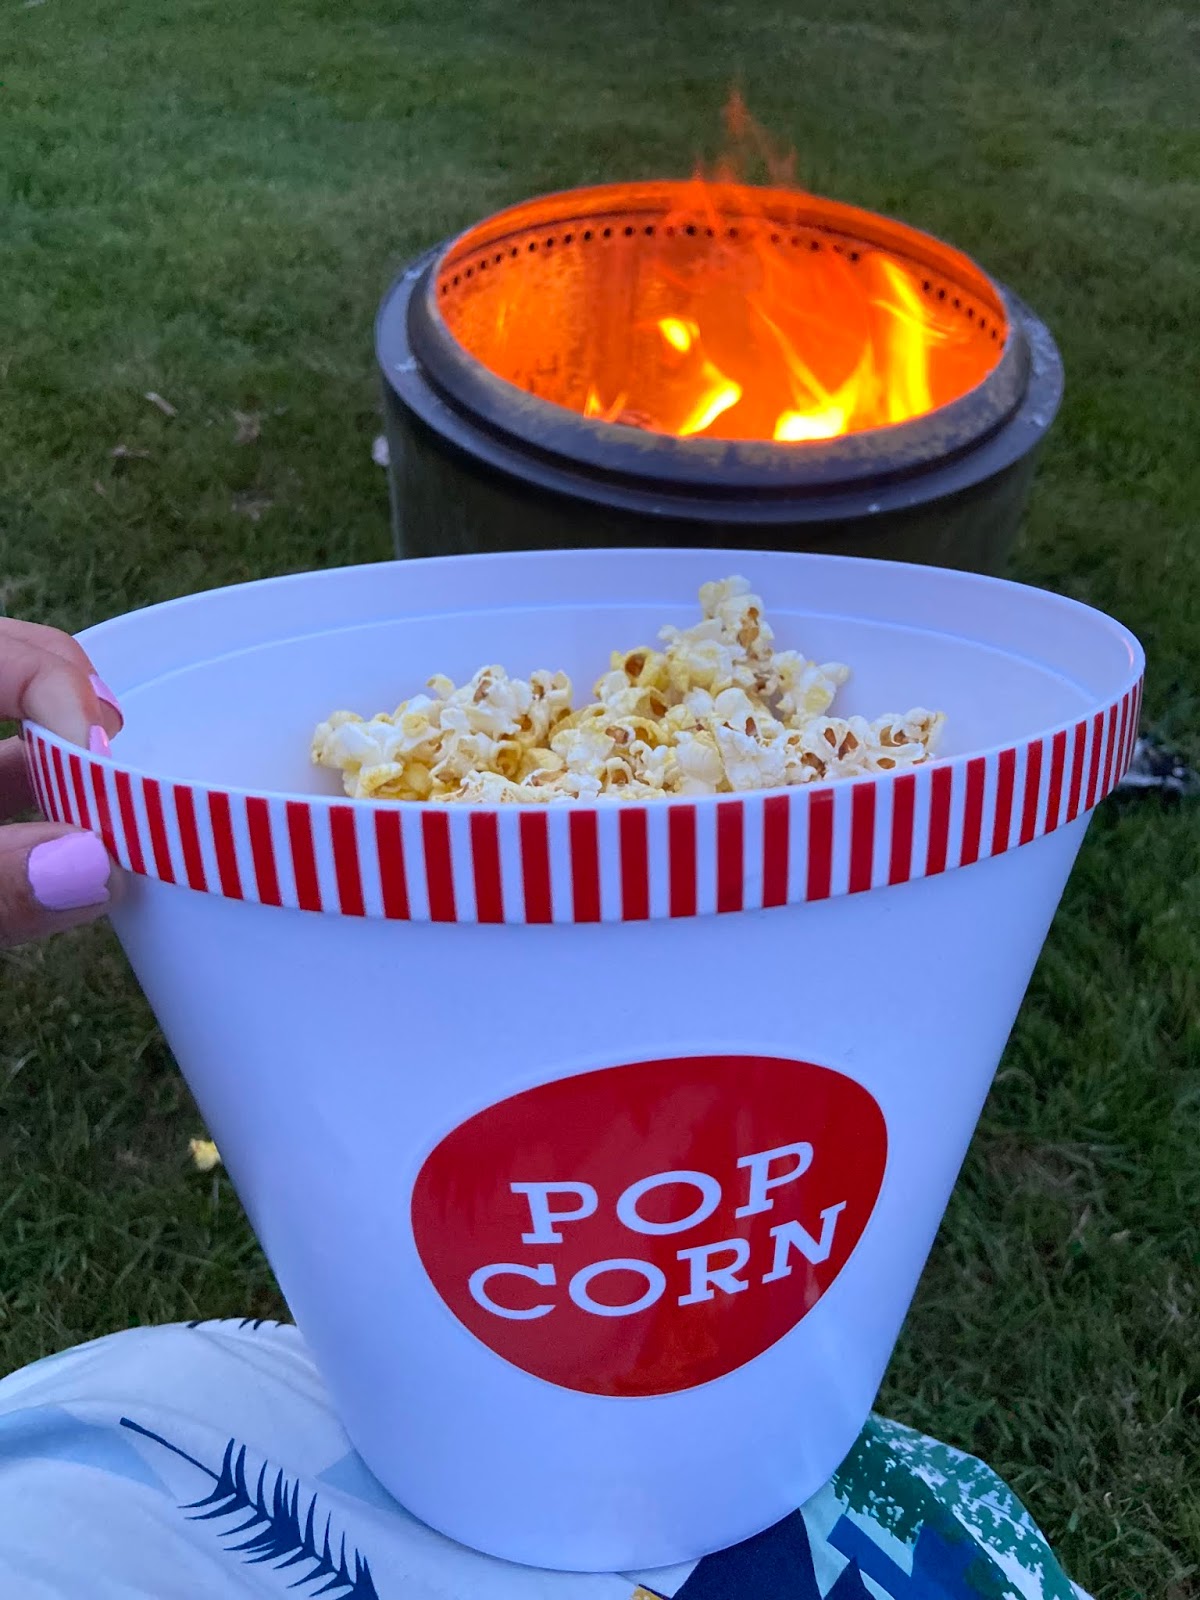
There is nothing better than sitting around a campfire at night and enjoying a big pot of freshly popped popcorn. If you have never made popcorn over a campfire before, you are definitely missing out. Campfire popcorn has quickly become my favorite. I will even go as far as to say that I prefer it over s’mores!
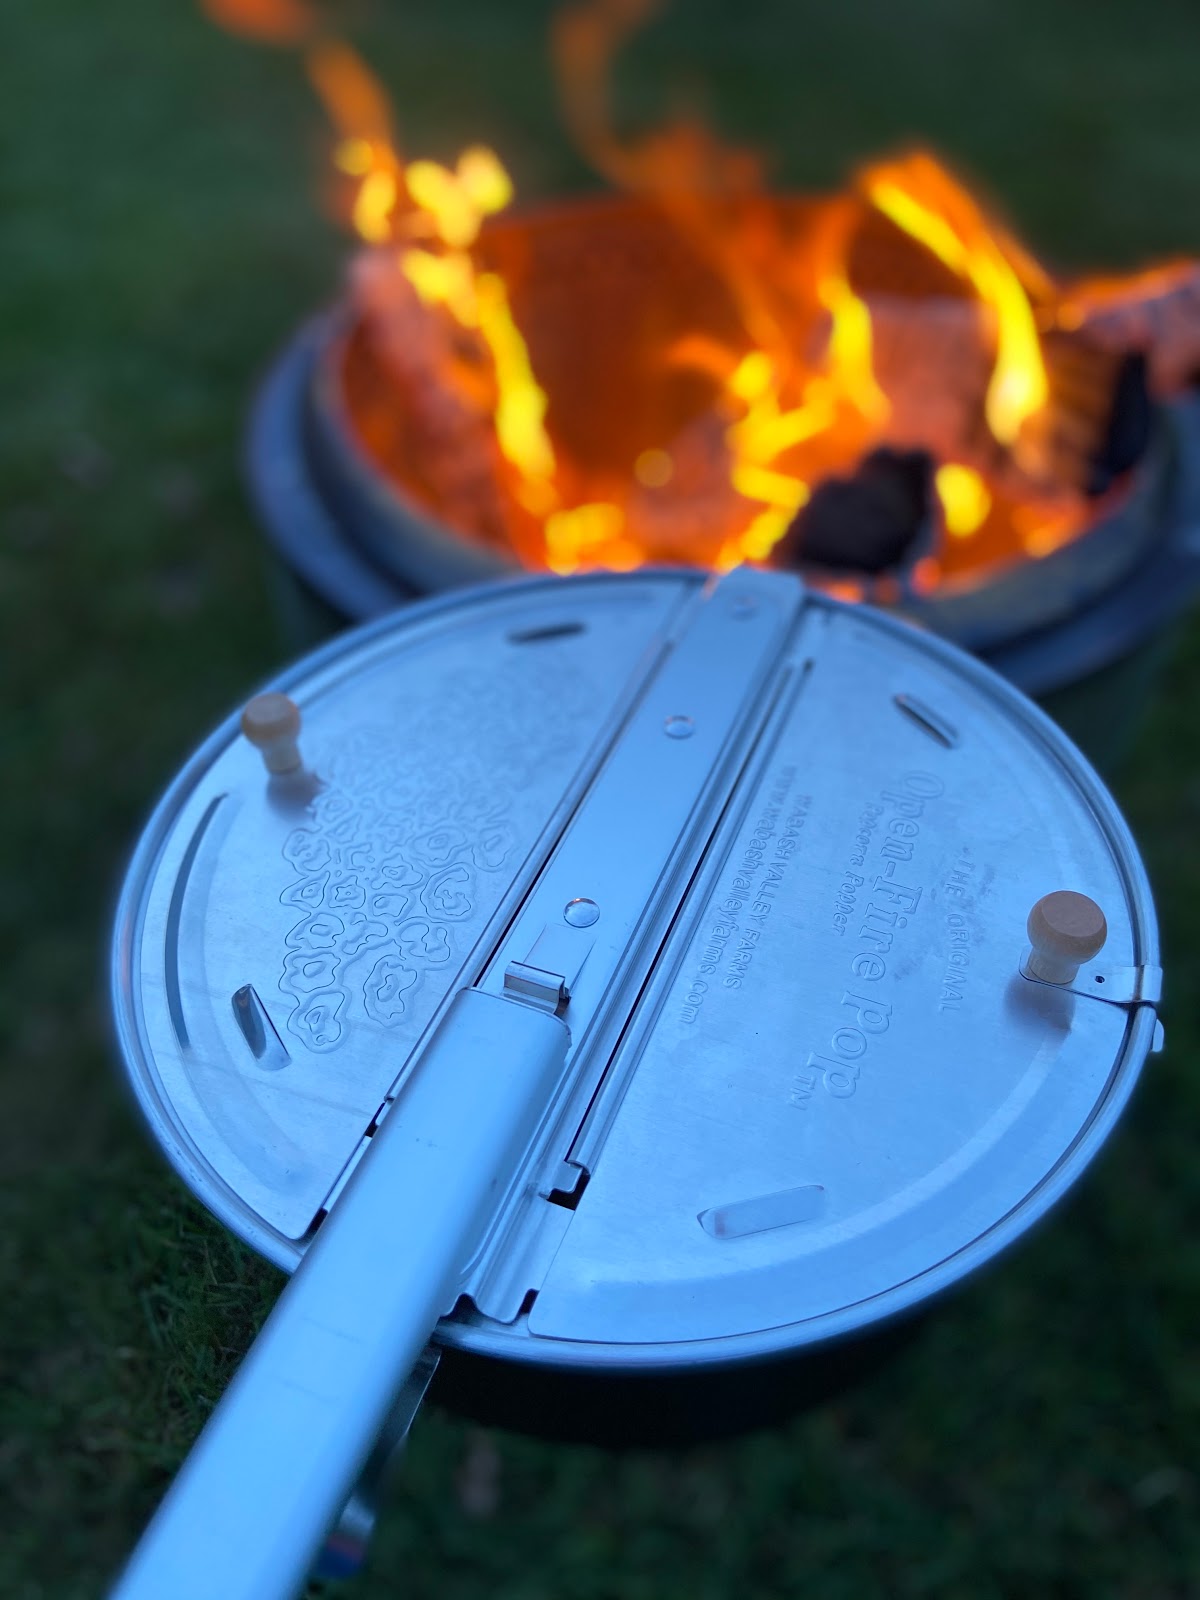
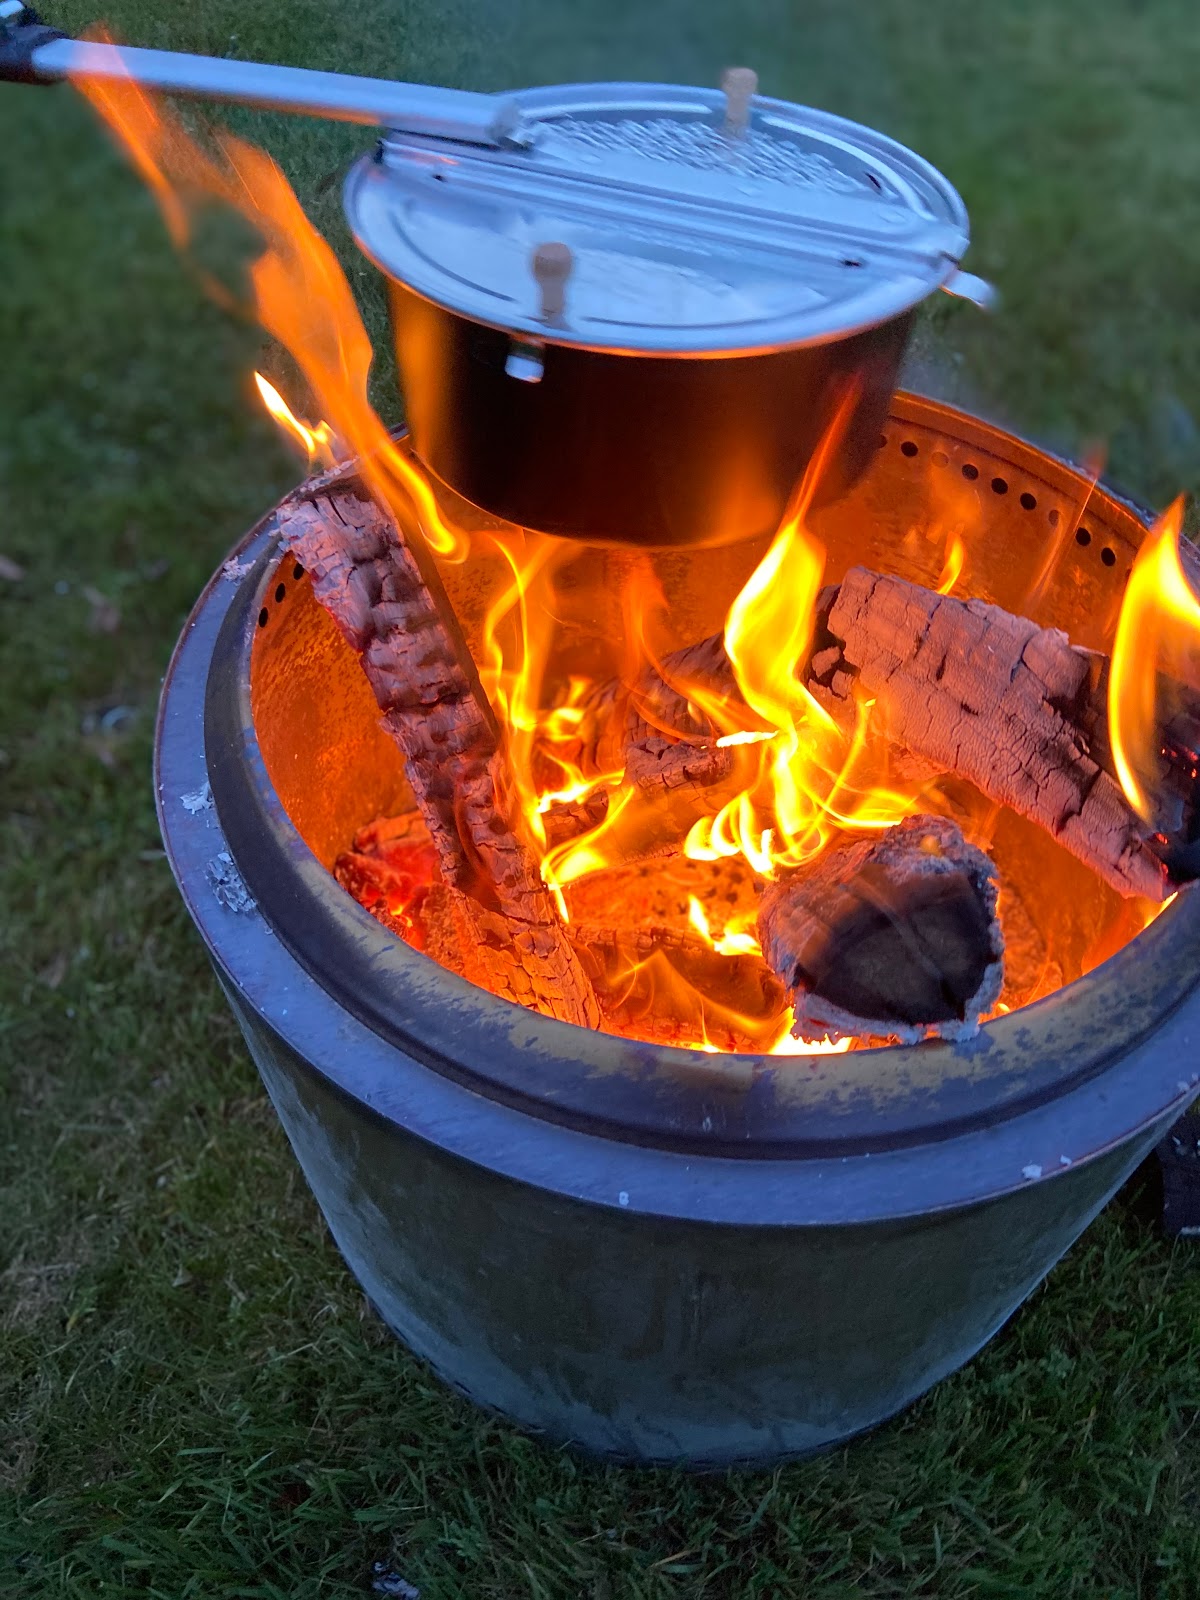
There is something so satisfying about making popcorn over a campfire, hearing the kernels pop, and enjoying the warm smell of popcorn. You can make it sweet or salty, and of course, get creative with the seasonings you sprinkle on top.
Whether you have a bonfire in your backyard or a campfire at a state park, popcorn is always a good idea. When I am out camping I love to make a big batch my first night, so I can enjoy it while I am on the trail the next day.
My popcorn is from Grand Rapids Popcorn Company and came as a kit with an open fire popper, “ready to pop” packets, disposable popcorn bowls, popcorn seasoners, a recipe card, and a bag of their (crazy delicious) S’mores popcorn.


Five Things
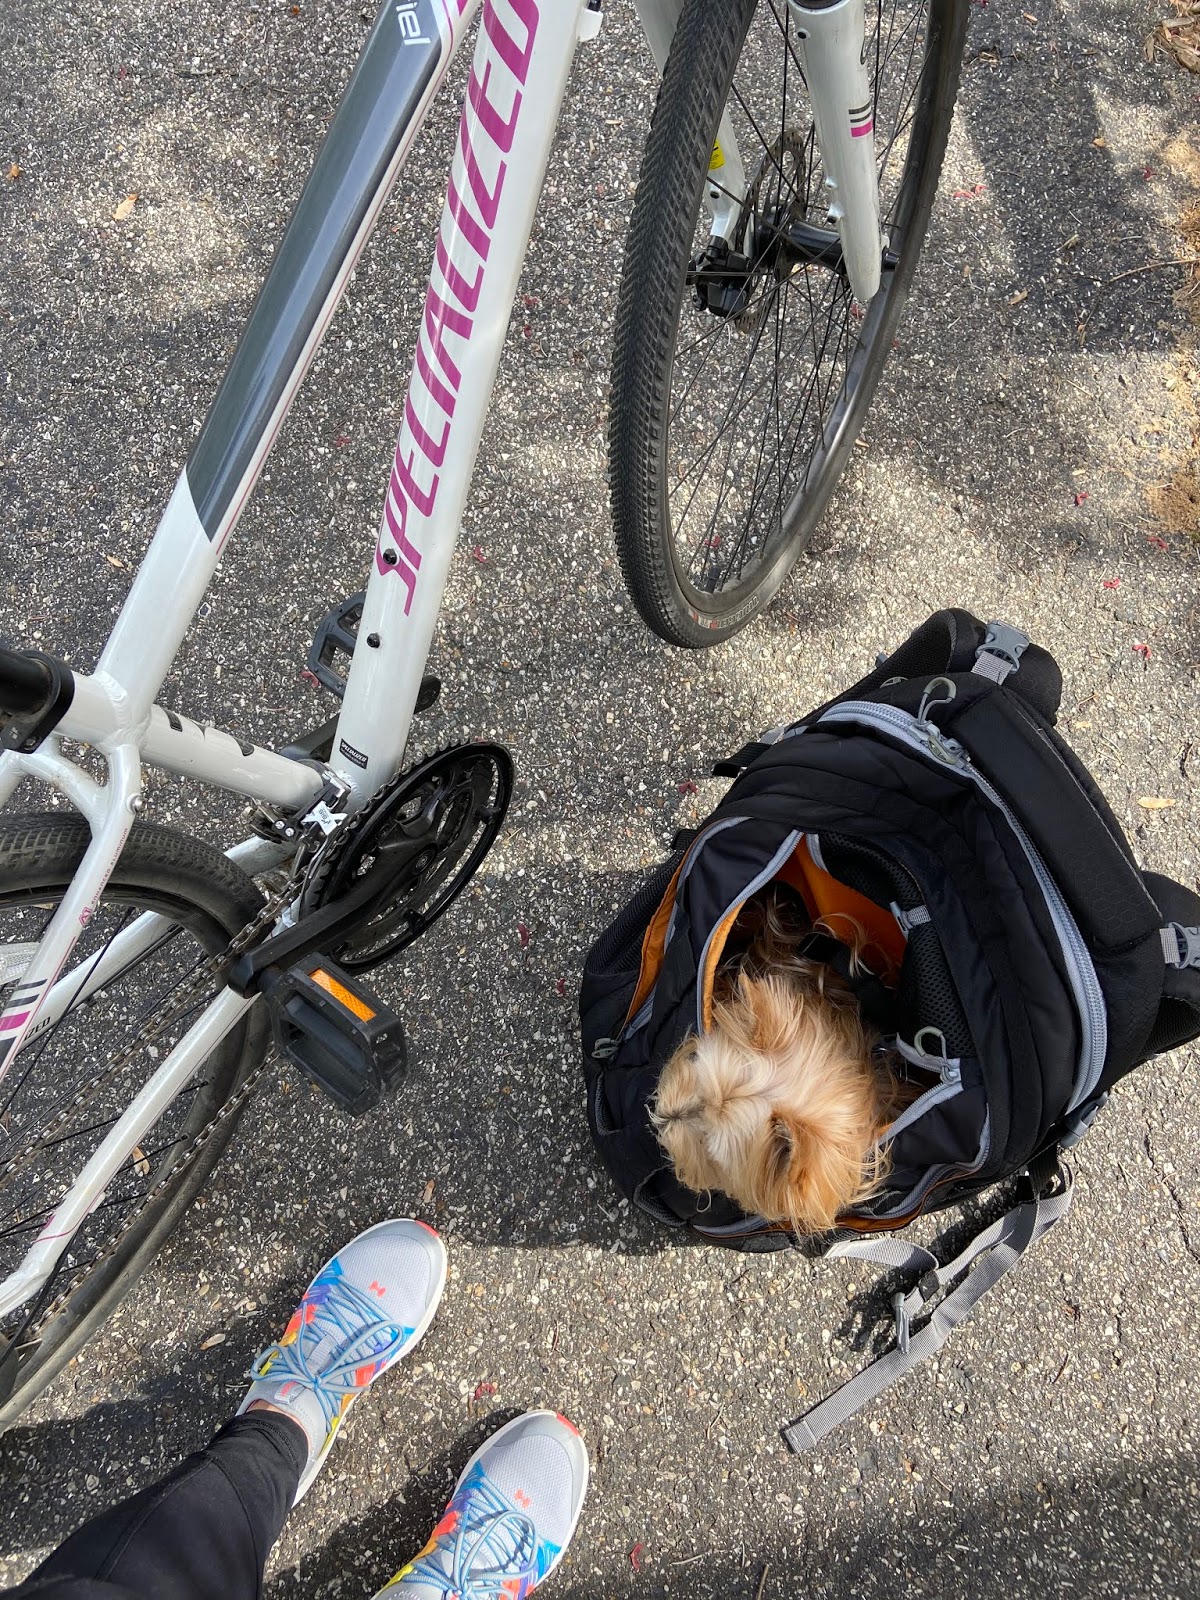
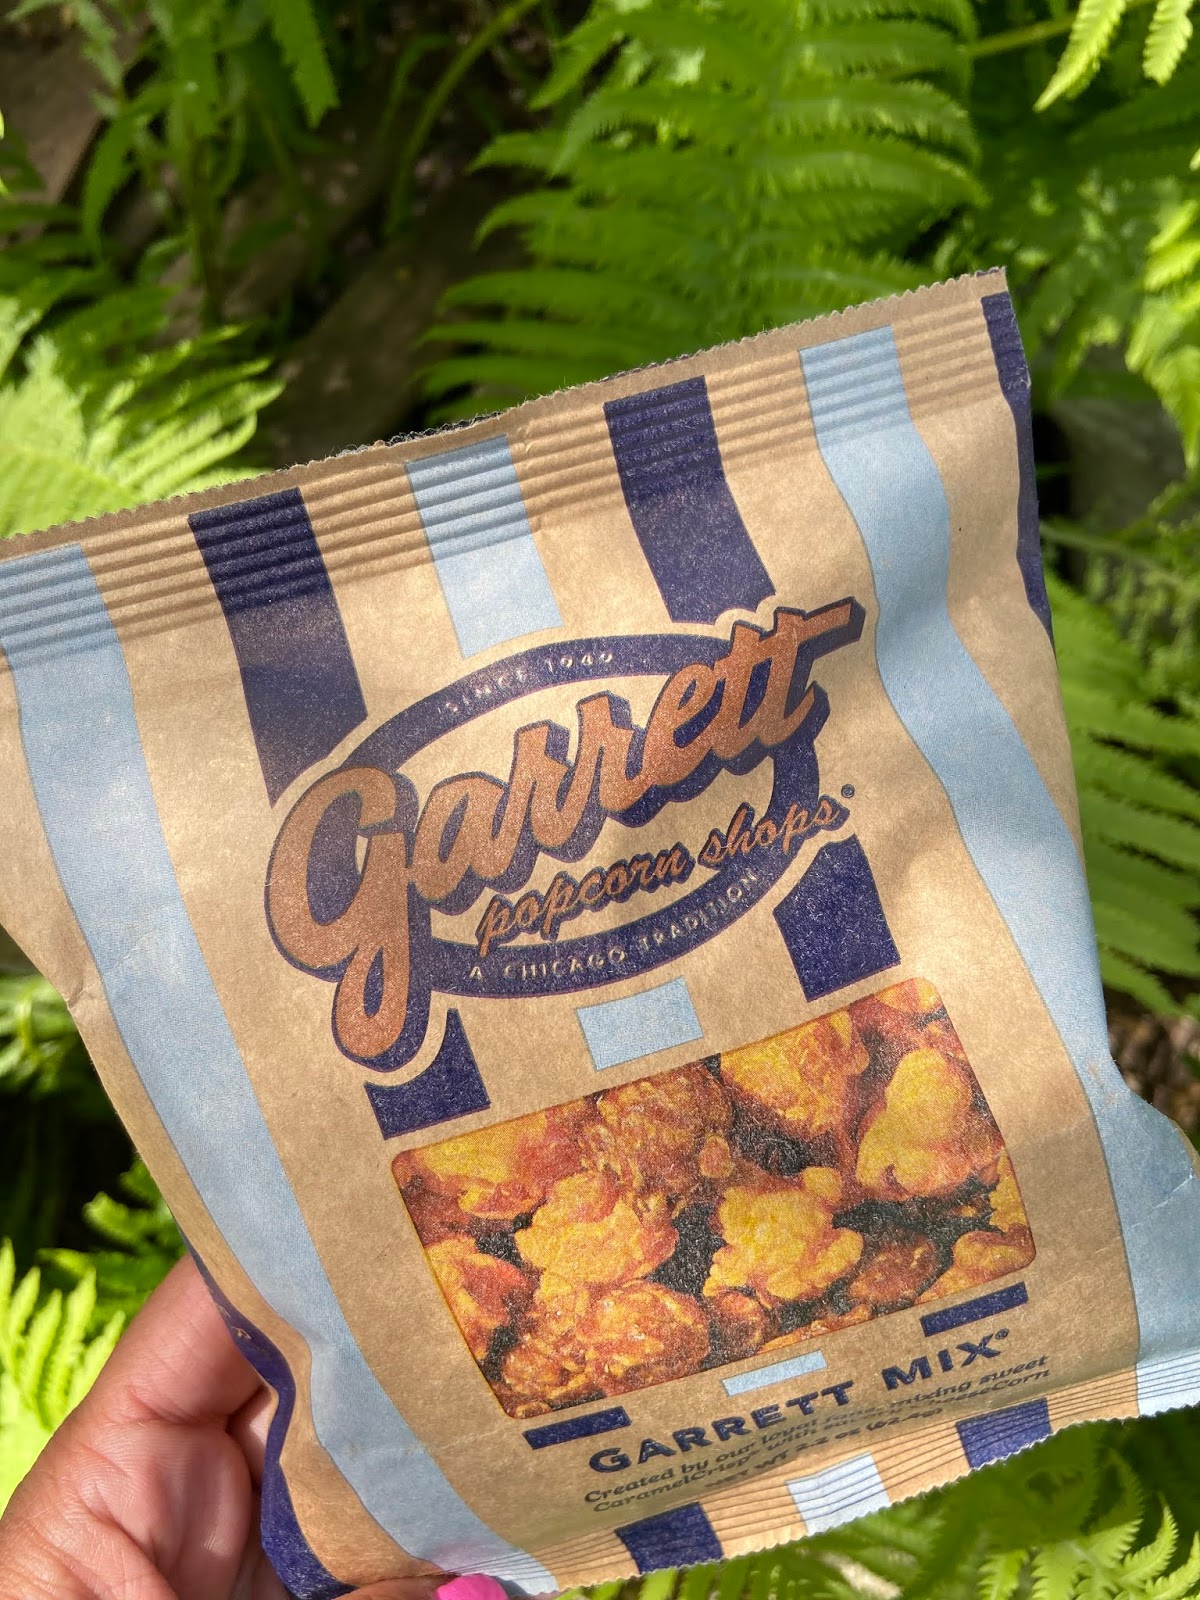
Quarantine week 12, is complete. 2020 is literally straight out of a horror movie, as we enter each new month you\’re left wondering what is around the next corner. This week I found myself spending extra time in nature, and finally (only took 12 weeks) taking some Zoom workout classes with my Miami bestie. Jack and I try to get out every day for a bike ride or hike, we both love adventures. I started making lemonade slushies and they are my newest addition (I will be sharing the recipe next Wednesday!), eating plenty of salads and of course snacking on popcorn. But, the biggest thing at all that happened this week is…. I put rose gold in my hair. Yes, I finally pulled the trigger, and added a little rose gold Overtone to my hair and I am obsessed. I have seriously dark hair and the Overtone rose gold for brown hair worked perfectly, I highly recommend it.
This weekend I will be adventuring out to the water for a little rest and recreation, bonfire, s\’ mores, and of course campfire popcorn. What are your plans this weekend?


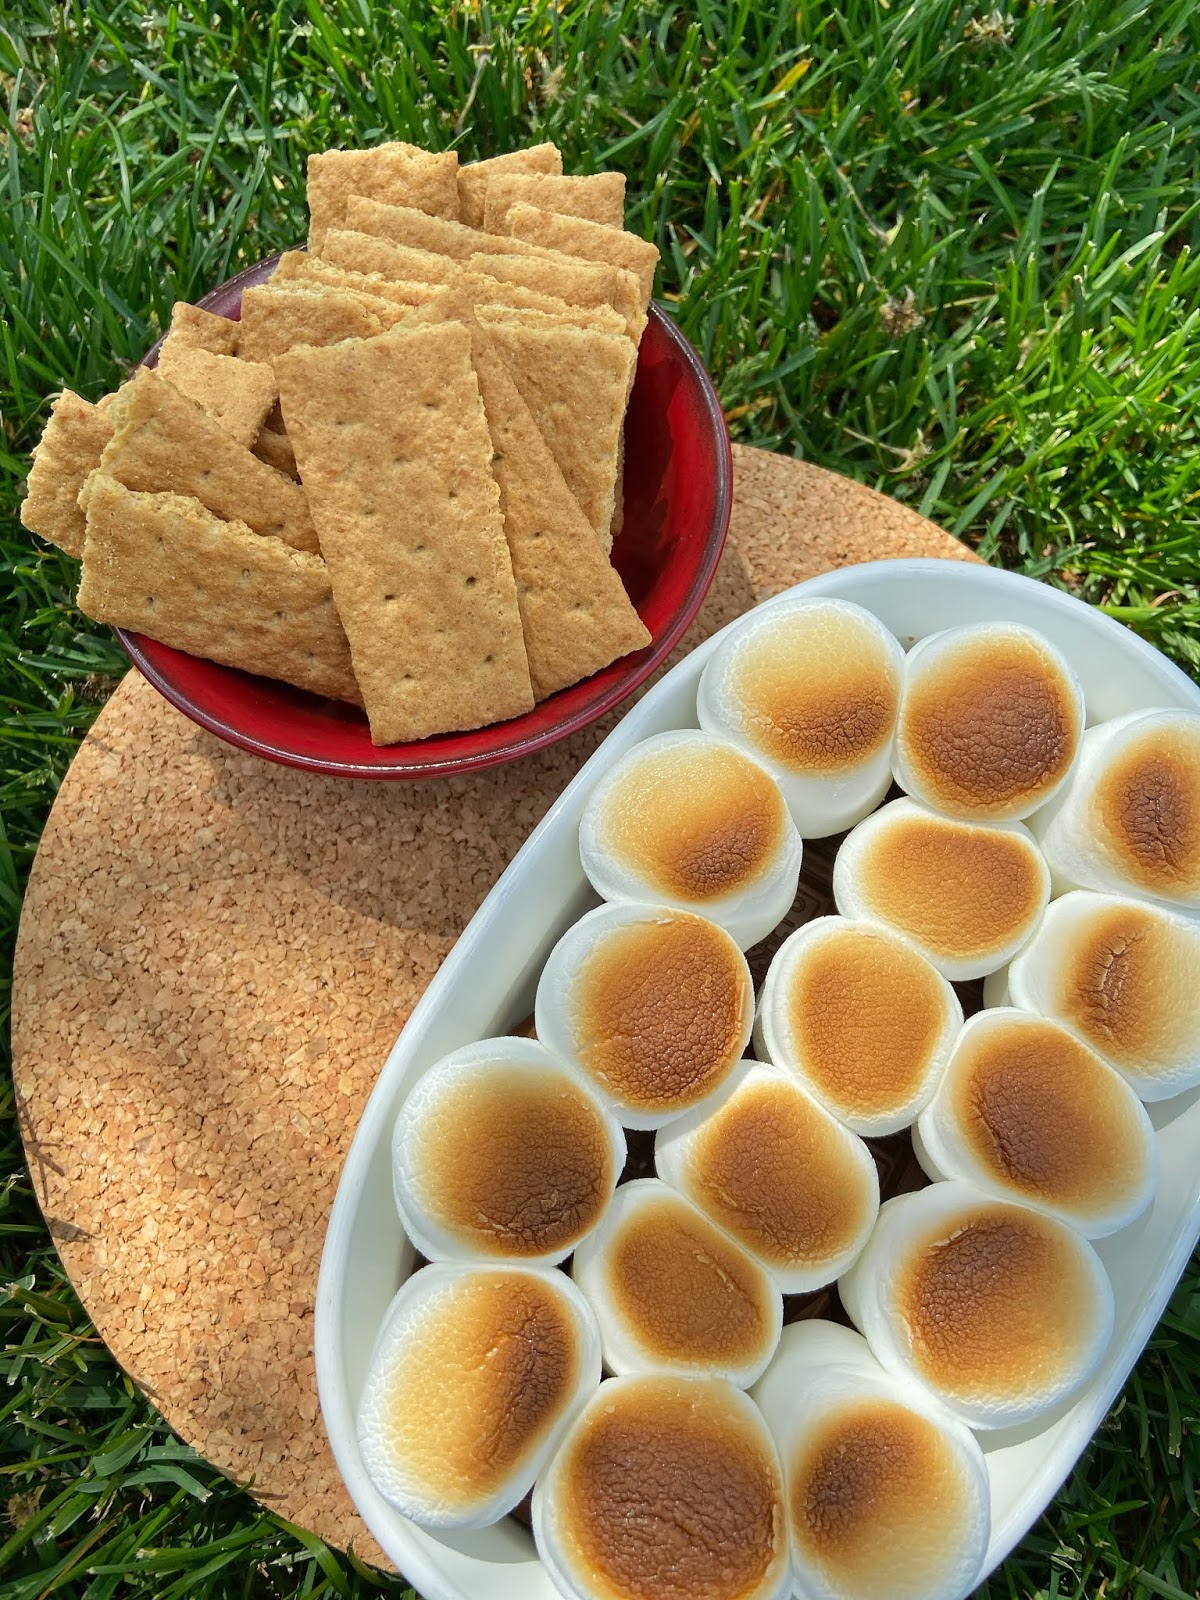
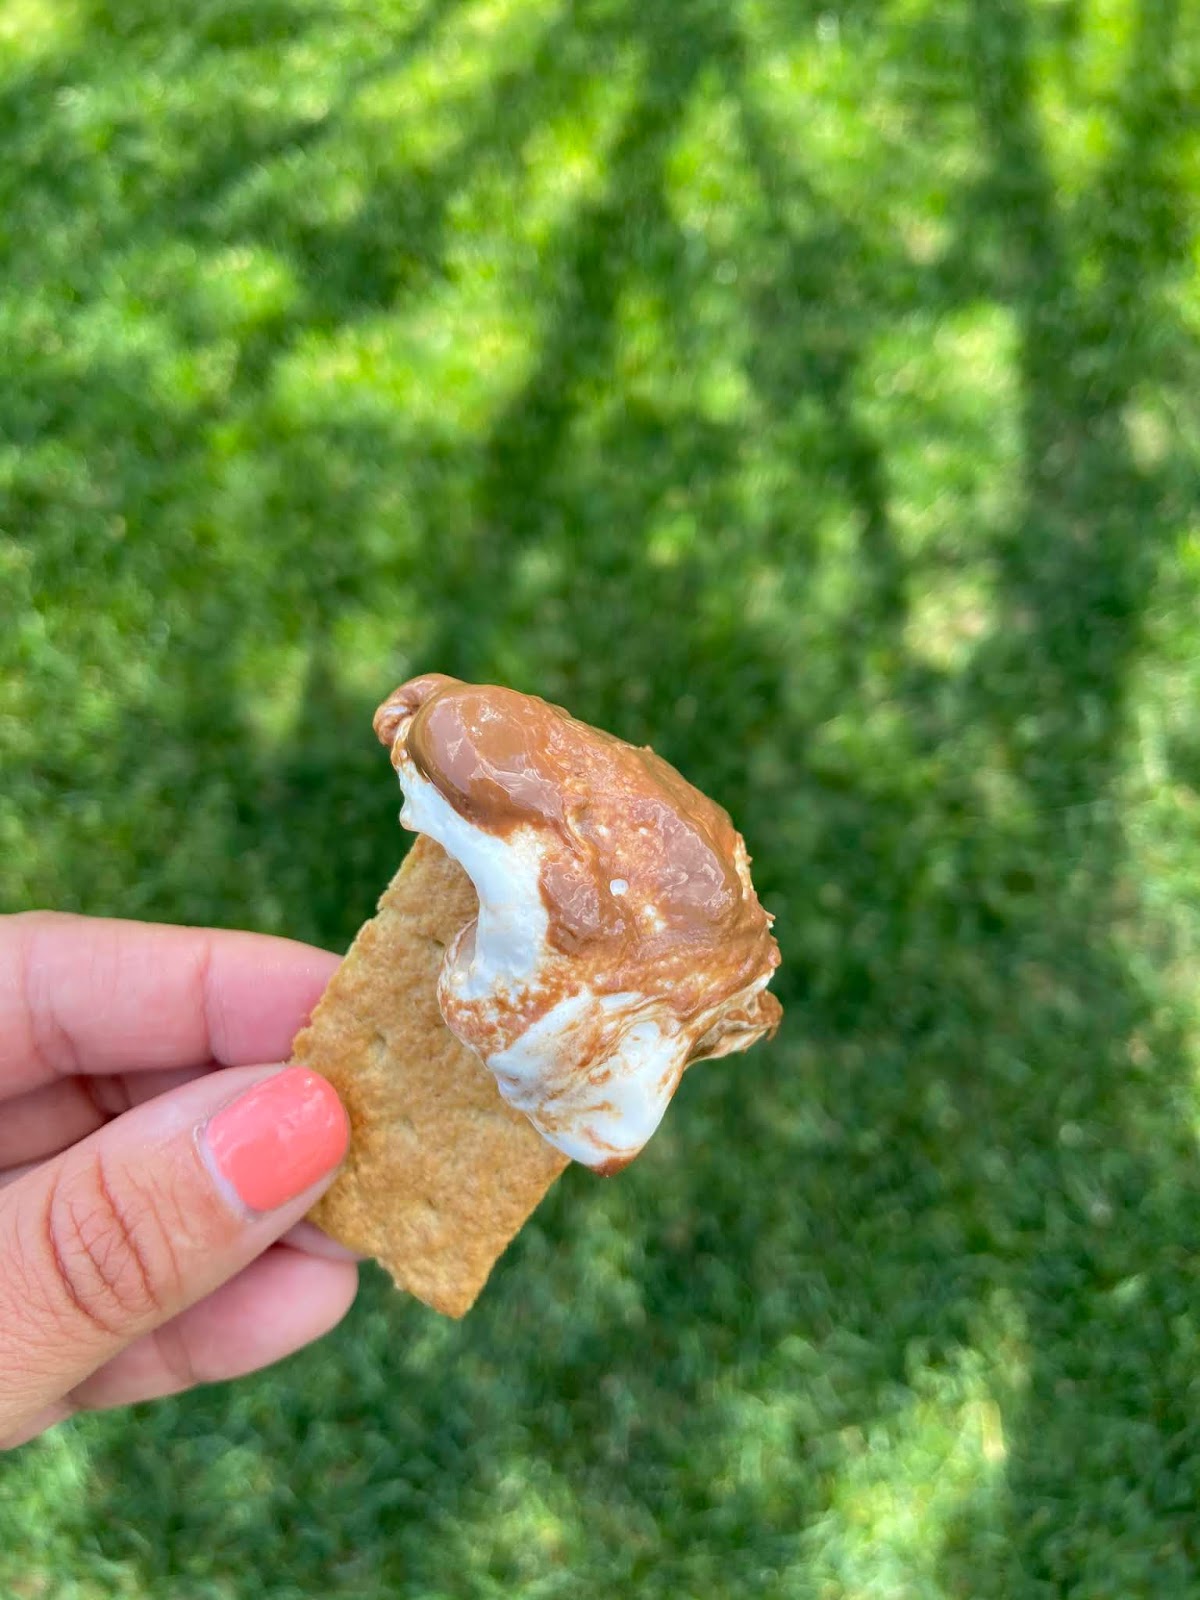
How to Make S\’mores Dip

With just three ingredients and a campfire, you have yourself the official dessert of summer. S\’mores are ooey and gooey and make the quintessential summertime treat. What you may not go is this traditional campfire recipe can be turned into a dip. This dip is great for a hot summer day snack or a hanging out while it\’s raining movie treat. Let\’s be honest though, once you make this s\’mores dip for the first time it will become your new favorite summertime treat.
Ingredients
Chocolate*
Marshmallows* cut in half
Graham crackers
Directions
1. Preheat oven to 450° F.
2. Place a small oven-safe dish into the oven to heat it up (about 5 minutes).
3. Remove it from the oven. Add your chocolate.
4. Top with your marshmallow halves, until the chocolate is covered.
5. Bake for 5 to 7 minutes or until the marshmallows are nicely browned (you can also turn the broiler on if you need to.
6. Serve immediately with graham crackers.
7. Enjoy
1. I used traditional Hershey bars and just broke them up, however you can use chocolate chips or any other kind of chocolate you\’d like.
2. Make sure you cut your marshmallows in half. Any brand of marshmallows will work – I love Dandies marshmallows because I don\’t like traditional ones.