Strawberry Pie


Ingredients
1 cup sugar
2 tablespoons cornstarch
1 cup boiling water
3 ounces Strawberry Jell-O
Red food coloring
Directions
1. Mix cornstarch and sugar
2. Add boiling water
3. Cook until thickens
4. Remove from heat and add Jell-O and red food coloring
5. Stir until Jell-O dissolves
6. Cool before pouring over berries.
Summer Checklist

Summer has officially begun and what’s not to love? The days are sunnier, longer and warmer. So there is no better way to celebrate the season than with a summer checklist filled with seasonal fun. I hope it inspires you to make your own list or do some of the activities on my list.
Five Things


{Jack loves to play in the kayak}


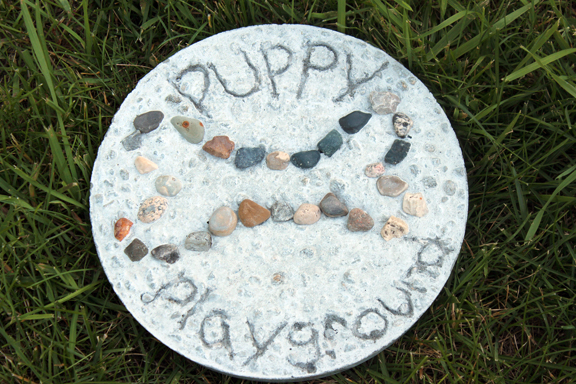
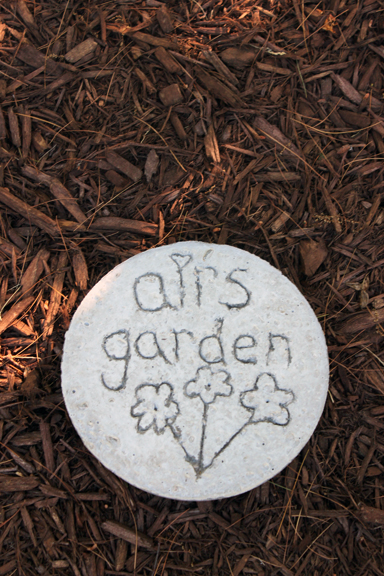
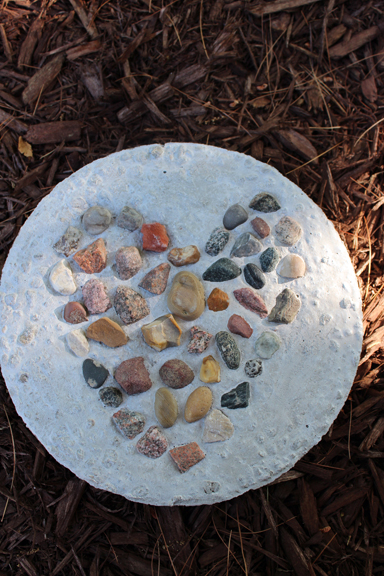
DIY: Stepping Stones
What you need:
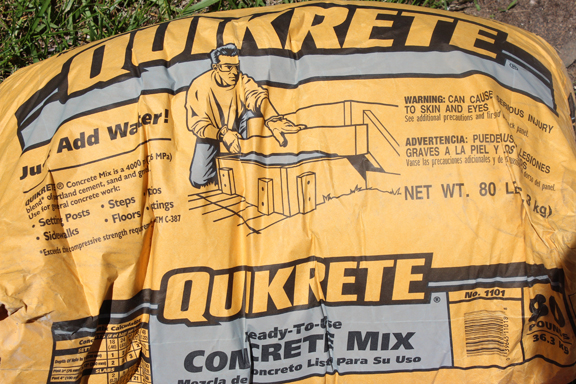
• Quikcrete (I bought an 80 pound bag at Home Depot for $4)
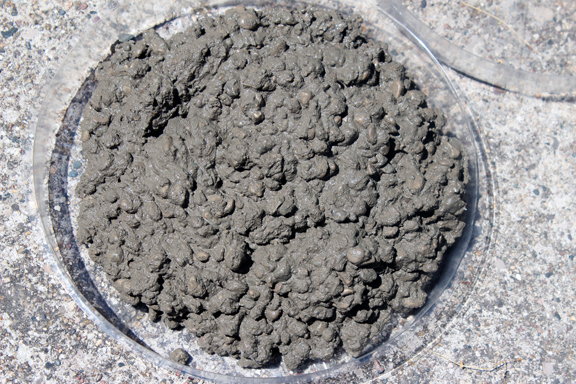
• Planter trays (also bought at Home Depot .89 each)
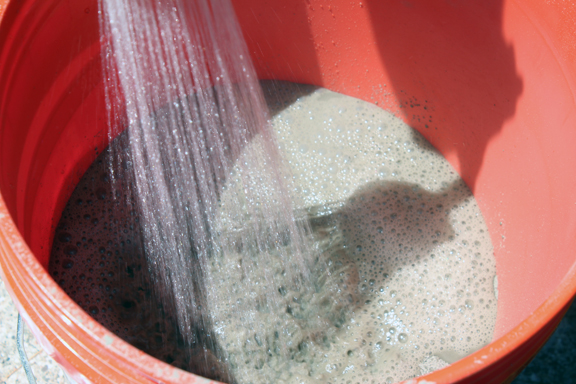
• Bucket (I bought a 5 gallon bucket from Home Depot)
• Small gardening shovel (to pour the cement in your molds)
• Something to stir the cement with
• Water (I just used the hose outside)
• Skewers (for writing)
• rocks, beach glass, tiles, glass stones…etc


This will ensure they sink a bit into the cement

You will want to go over what your write a few times during the next few hours to make sure it\’s legible.
Peanut Butter Cookie Dog Treats
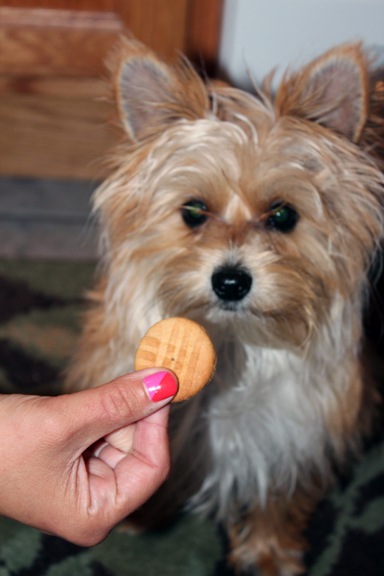
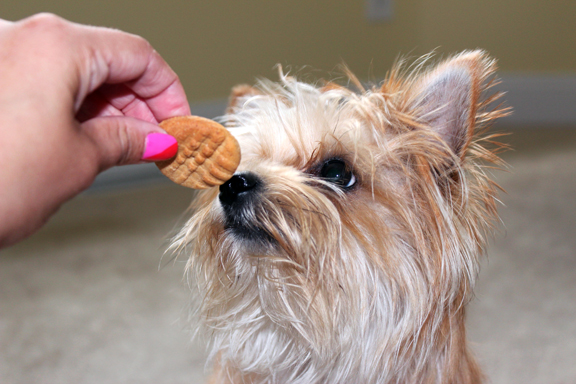
Monday night I made peanut butter cookies (this recipe) for a cookout yesterday with friends. The smell of the peanut butter from the cookies was enough to drive Jack crazy. So I decided I would make a batch of peanut butter cookies especially for the pups at the cookout. The “cookies” were a huge hit with the dogs! I used all-purpose flour (whole wheat does not sit well with my little dog) but you can substitute it for whole wheat flour or do half all purpose and half whole wheat.
Crunchy Peanut Butter Cookie Dog Treats
Ingredients
<!– /* Font Definitions */ @font-face {font-family:Cambria; panose-1:2 4 5 3 5 4 6 3 2 4; mso-font-charset:0; mso-generic-font-family:auto; mso-font-pitch:variable; mso-font-signature:3 0 0 0 1 0;} /* Style Definitions */ p.MsoNormal, li.MsoNormal, div.MsoNormal {mso-style-parent:""; margin-top:0in; margin-right:0in; margin-bottom:10.0pt; margin-left:0in; mso-pagination:widow-orphan; font-size:12.0pt; font-family:"Times New Roman"; mso-ascii-font-family:Cambria; mso-ascii-theme-font:minor-latin; mso-fareast-font-family:Cambria; mso-fareast-theme-font:minor-latin; mso-hansi-font-family:Cambria; mso-hansi-theme-font:minor-latin; mso-bidi-font-family:"Times New Roman"; mso-bidi-theme-font:minor-bidi;} @page Section1 {size:8.5in 11.0in; margin:1.0in 1.25in 1.0in 1.25in; mso-header-margin:.5in; mso-footer-margin:.5in; mso-paper-source:0;} div.Section1 {page:Section1;} –> 1.5 cups all-purpose flour
¼ cup smooth peanut butter (I mounded the peanut butter pretty high on the measuring cup)
¼ cup crunchy peanut butter
½ cup water
1 tablespoon oil (I used canola)
Directions
<!– /* Font Definitions */ @font-face {font-family:Cambria; panose-1:2 4 5 3 5 4 6 3 2 4; mso-font-charset:0; mso-generic-font-family:auto; mso-font-pitch:variable; mso-font-signature:3 0 0 0 1 0;} /* Style Definitions */ p.MsoNormal, li.MsoNormal, div.MsoNormal {mso-style-parent:""; margin-top:0in; margin-right:0in; margin-bottom:10.0pt; margin-left:0in; mso-pagination:widow-orphan; font-size:12.0pt; font-family:"Times New Roman"; mso-ascii-font-family:Cambria; mso-ascii-theme-font:minor-latin; mso-fareast-font-family:Cambria; mso-fareast-theme-font:minor-latin; mso-hansi-font-family:Cambria; mso-hansi-theme-font:minor-latin; mso-bidi-font-family:"Times New Roman"; mso-bidi-theme-font:minor-bidi;} @page Section1 {size:8.5in 11.0in; margin:1.0in 1.25in 1.0in 1.25in; mso-header-margin:.5in; mso-footer-margin:.5in; mso-paper-source:0;} div.Section1 {page:Section1;} –> 1. In a large bowl combine water, peanut butter and oil.
2. Add flour in small amounts.
3. Knead to form a dough.
4. Continue to knead until all flour is incorporated.
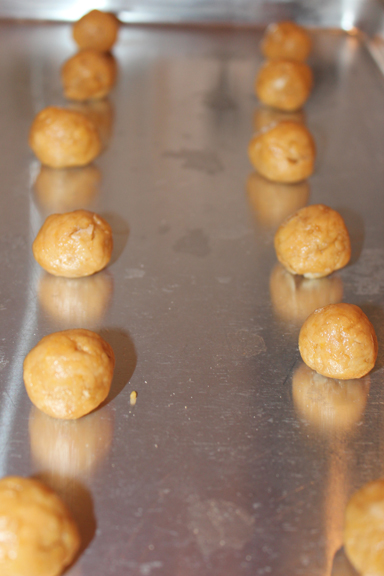
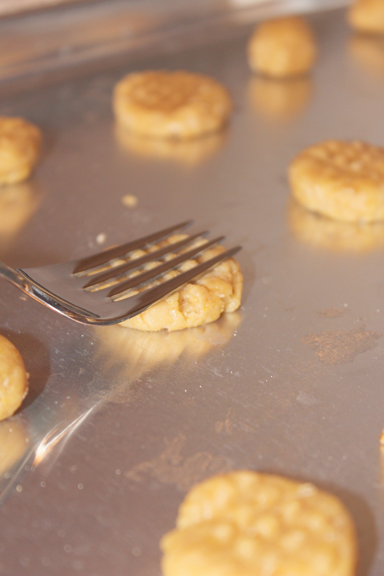
5. Drop balls of dough onto a cookie sheet and create the crosshatch look as if you were making peanut butter cookies for yourself.
6. Preheat oven to 350 and bake 13-20 minutes depending on size
7. Allow to cool before serving to your pet.
