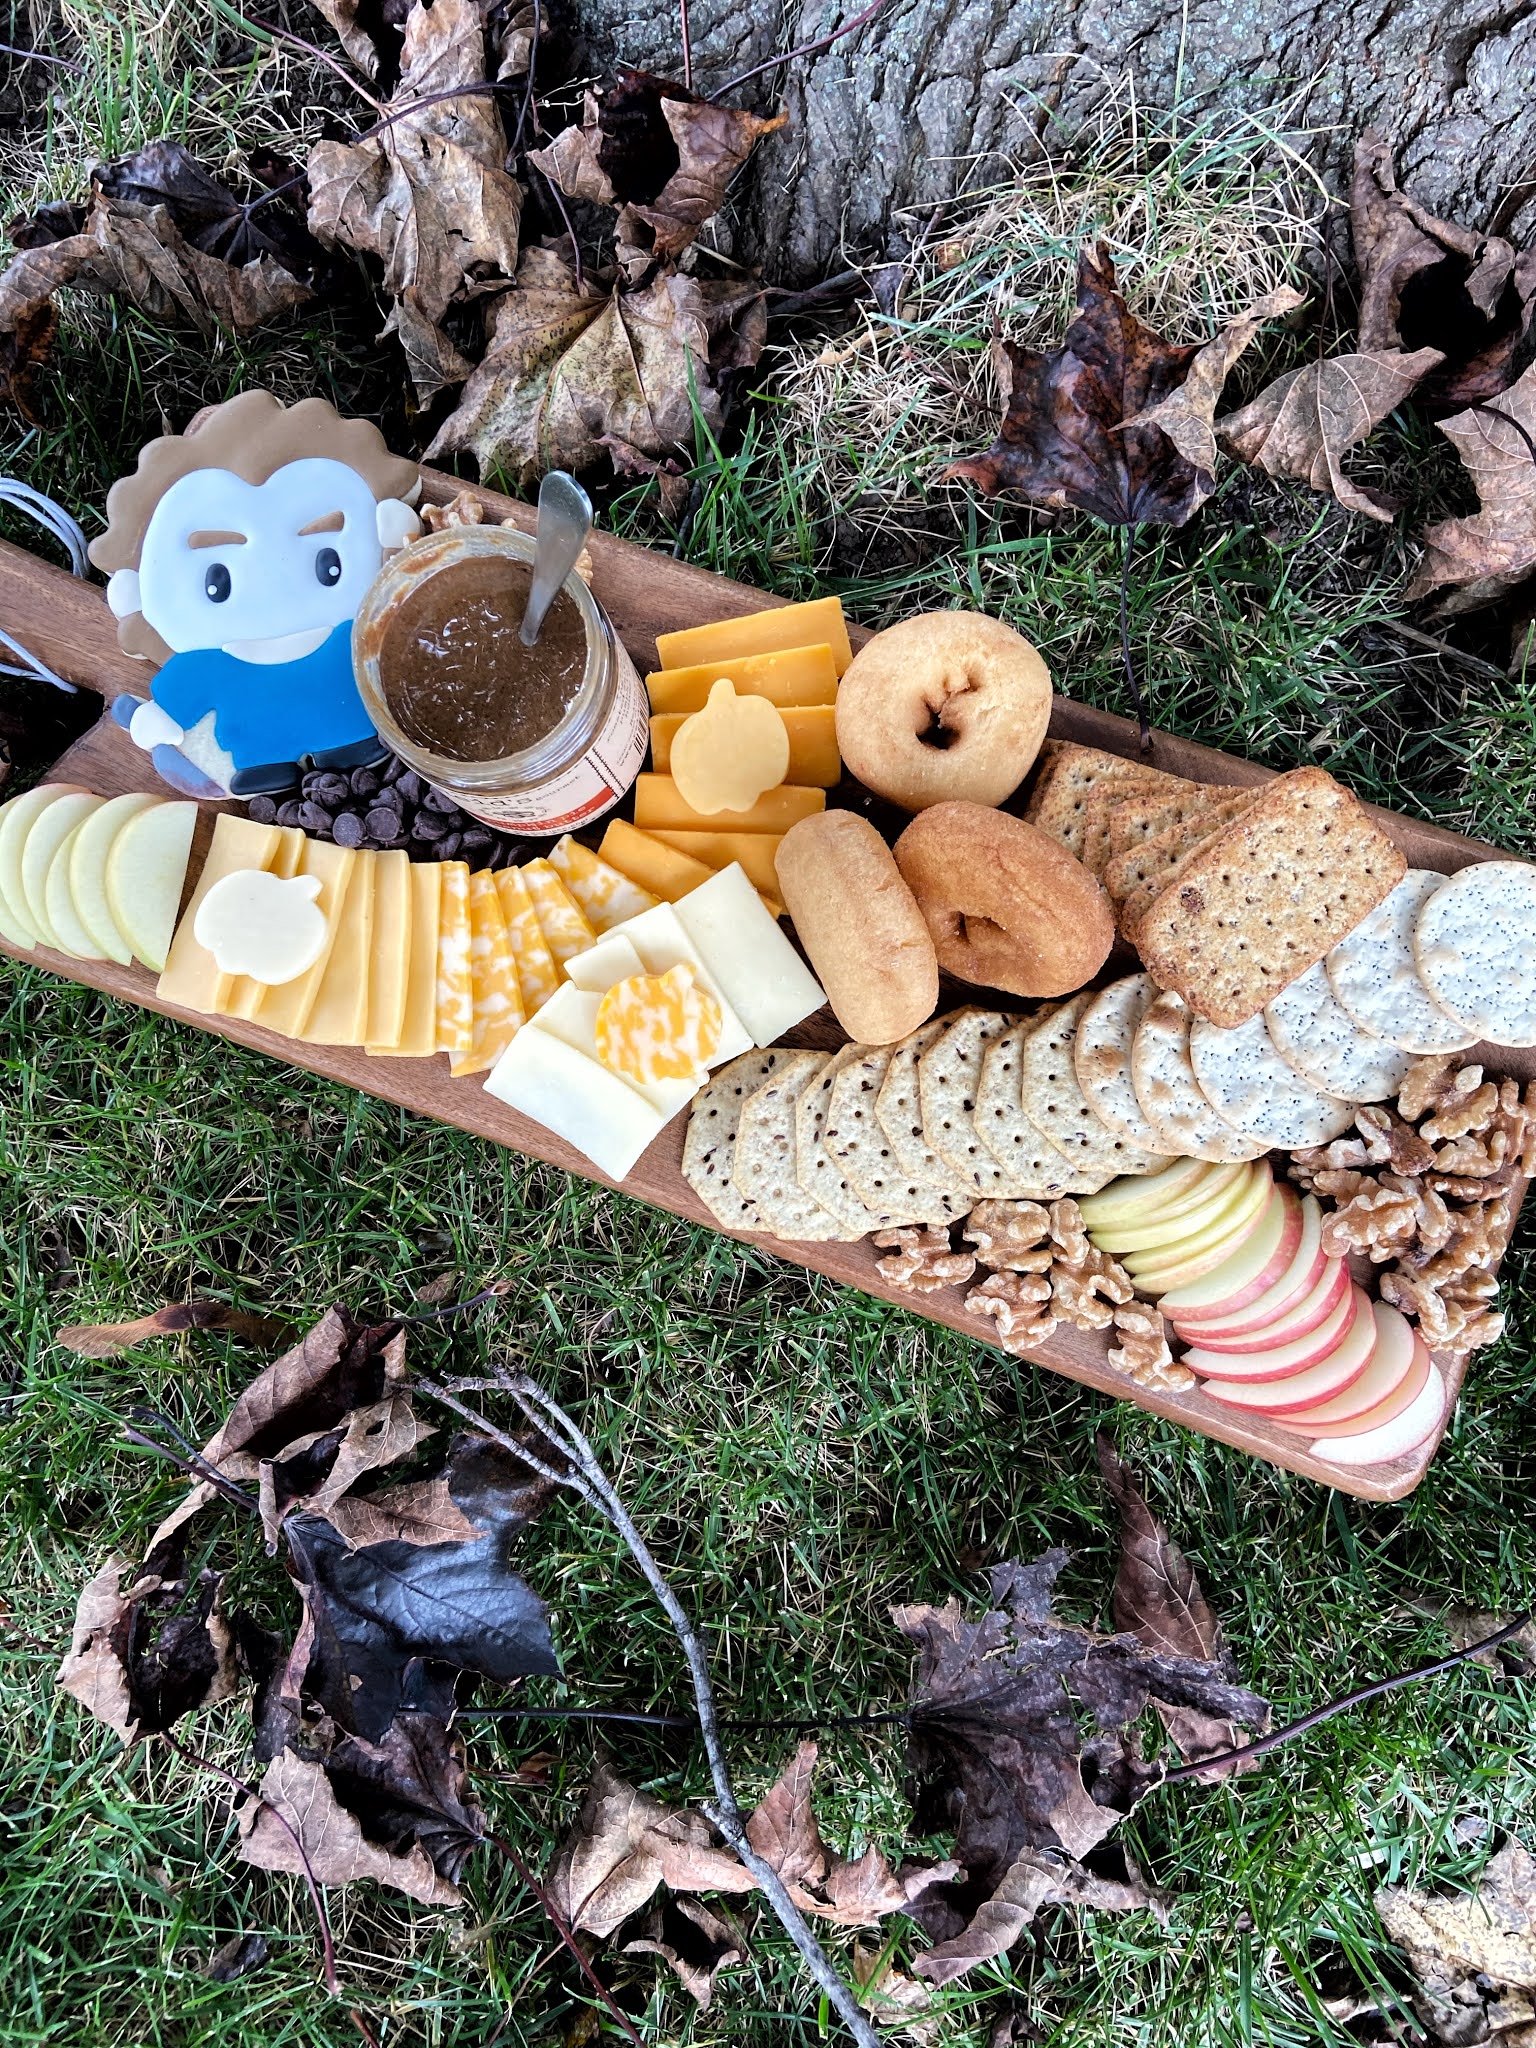
How to Make a Simple Halloween Charcuterie Board

When I posted my Halloween charcuterie board on my personal Snapchat a few of my friends messaged me to ask how many times I rearranged the board and how hard it was to assemble. My honest response was I didn\’t have to rearrange anything, I had a process for how I assembled the board and thought I would walk you through my assembly process.
Assembling a charcuterie board 101
1. Choose your serving platter and utensils
Pro Tip: Start by deciding on the serving platter you want to use. Sometimes I use baskets and other times I use boards, it all depends on what elements are apart of the board.
2. Add any bigger items to your board – such as cookies, donuts, condiments…etc.
3. Now add your cheese
4. Then your meats
5. Now you\’ll want to add your crackers (you can remove them to keep them fresh this will just help you get the design of your board down)
6. Add any fruits or veggies you want to the board
7. Add your fill-ins where there is empty space – I like to use nuts and candies
Choosing your cheeses
Buy what YOU like. If you don\’t like fancy cheeses, don\’t buy them! For this board, I went with Colby, Extra Sharp Cheddar, Gouda, and White Cheddar.
Pro Tip: When selecting cheese for a charcuterie board, I like to have a mix of hard and soft cheeses.
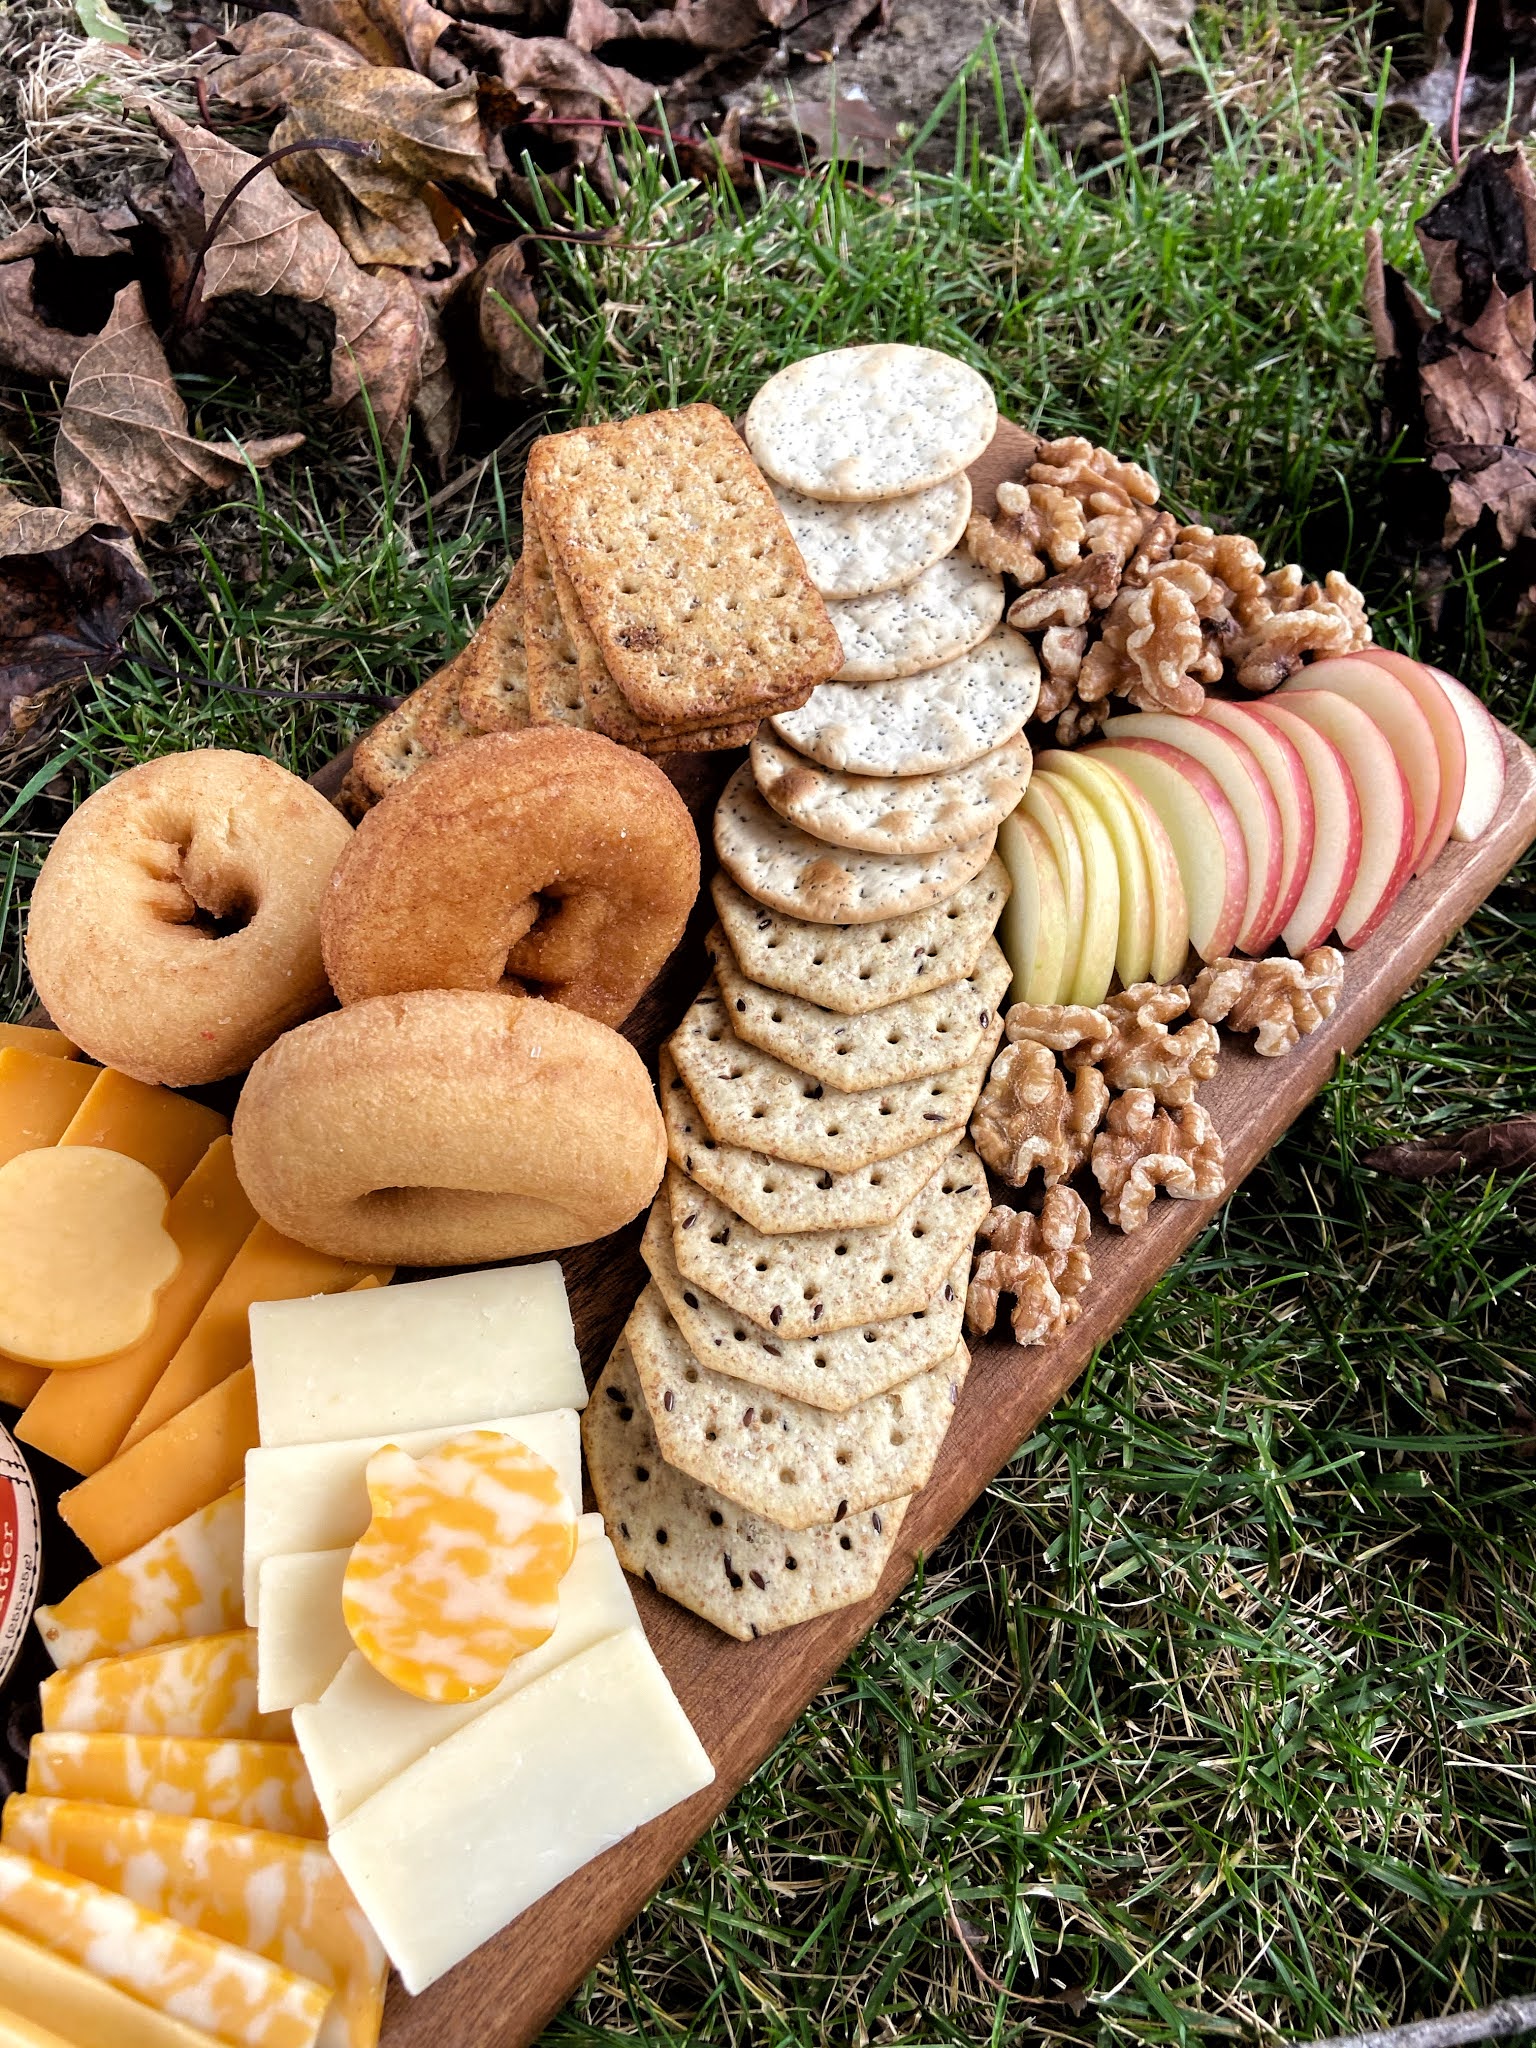
Charcuterie board full in items
Even when I am making a charcuterie board for myself I do not like to see any gaps. I fill the holes with things like apples, nuts, candies, berries, pickles, and more.
Choosing your crackers
Just like cheese, choose crackers that you love.
Pro Tip: The crackers may get soggy from touching other ingredients for too long or go stale from being in the open air. I like to put them on the board right before I am ready to serve it.
Charcuterie board finishing touches
I use cookie cutters to cut out pieces of cheese that fit with my theme to add some dimension to the board.