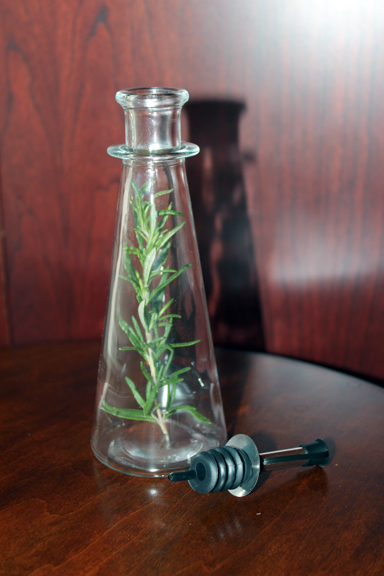
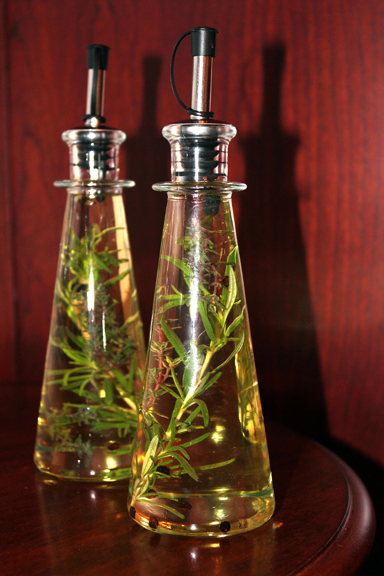
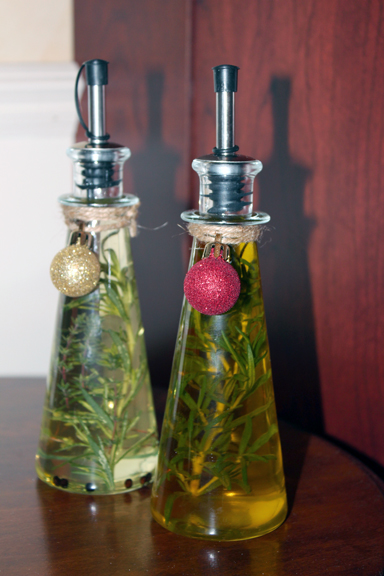
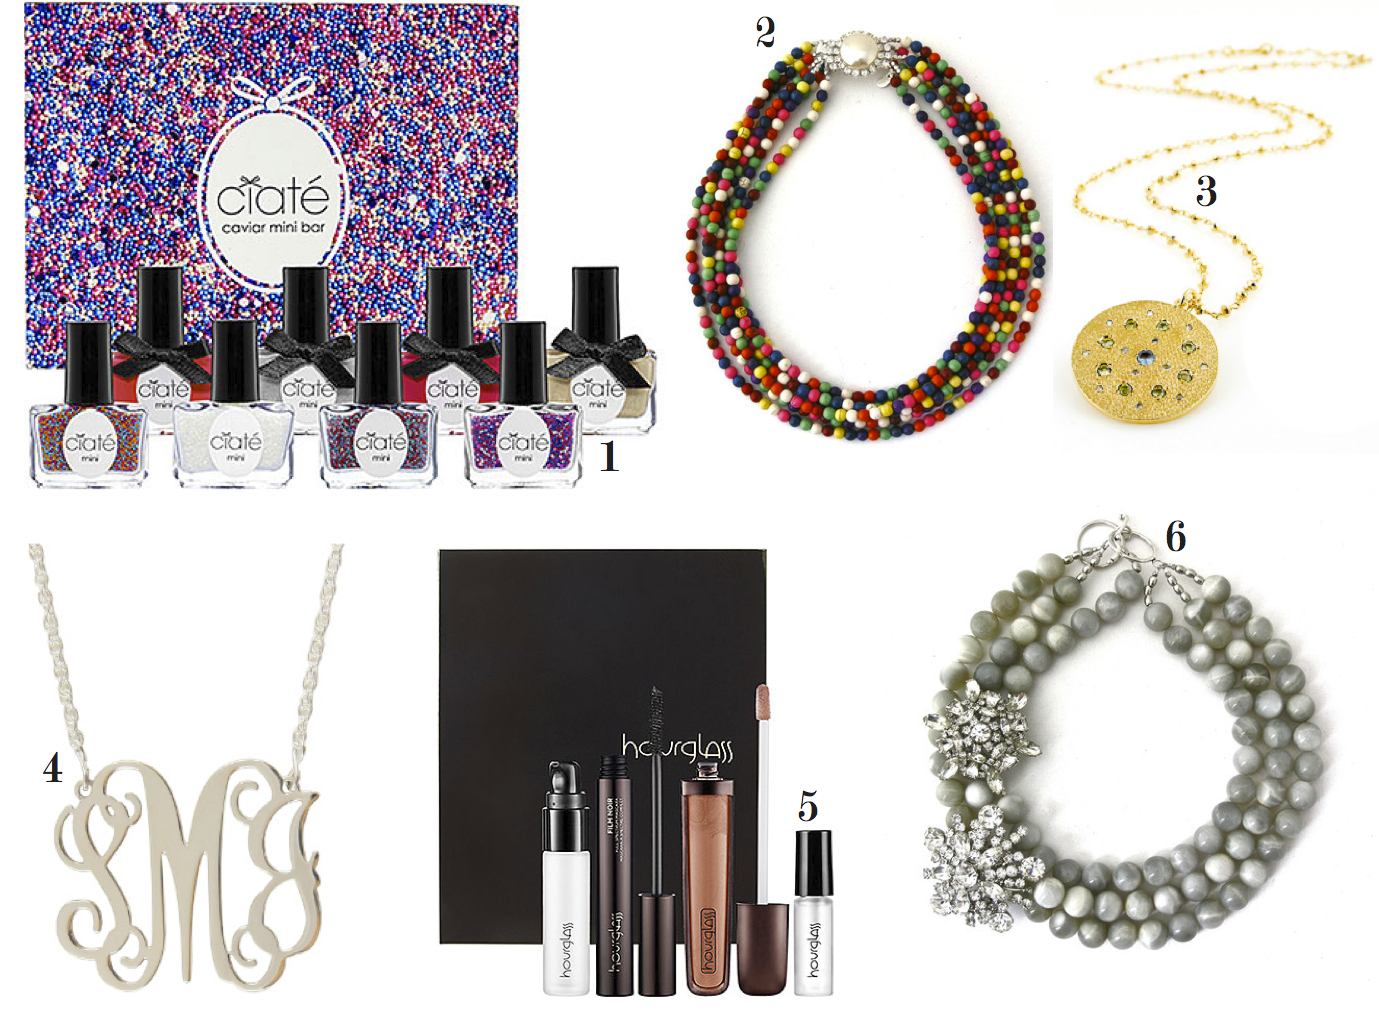
Glamorous Gift Guide

While my shopping may be done it still has not stopped me from creating my annual gift guide. It’s a reminder of the quickly approaching holidays. Some items may be a bit out of your budget, but I hope this guide will inspire you when picking presents for your family and friends.  

let\’s go shopping: 1/2/3/4/5/6

Baklava

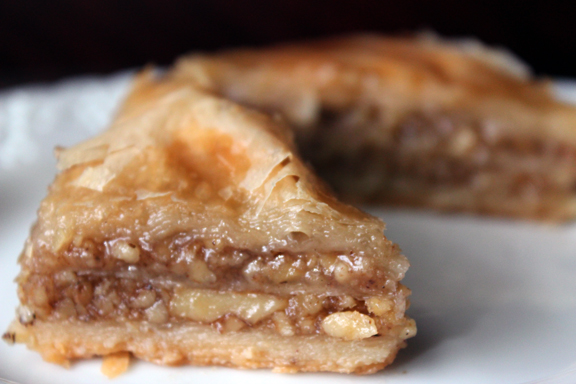
On occasion my mum would make baklava at Christmas time. The smell of the phyllo pastry drenched in syrup sweetening a layer of crushed nuts was one that made up the holidays when I was growing up. Since it is a little bit on the expensive side to make my mum would use it as gifts for family and friends.  However I was always too little to actually learn the recipe so this past weekend my mum and I spent quality time in the kitchen making the most delicious batch of baklava. I hope you enjoy this recipe as much as I do.

Baklava
Ingredients
1 pound phyllo sheets
1 cup melted butter
2 cups finely chipped walnuts
1/ 2 cup sugar
1 /2 cup cinnamon
3/ 4 cup sugar
3/ 4 cup honey
1 cup water
1 tablespoon lemon juice

Directions
1. If phyllo is frozen thaw and separate according to package. Keep pastry that is not being used covered with a clean damp dishtowel (this prevents it from drying out). Place half of the pastry sheets in a greased 15×10 glass baking dish; one by one, brushing each sheet quickly all over with melted butter.
2. Combine nuts, 1 /2 cup sugar and cinnamon. Sprinkle over buttered pastry. Place remaining sheets on top.
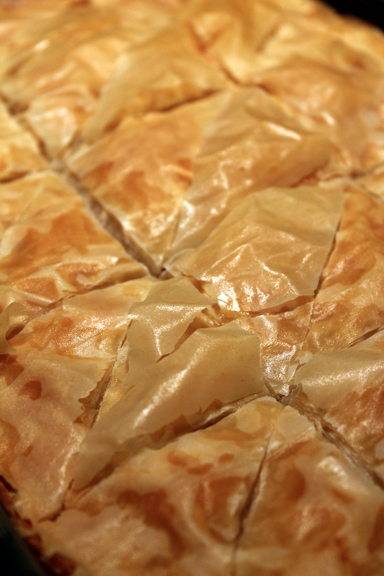
3. Score the baklava in the shape you desire (triangle or diamond). Bake at 400 degrees until brown and crisp. 20-30 minutes.
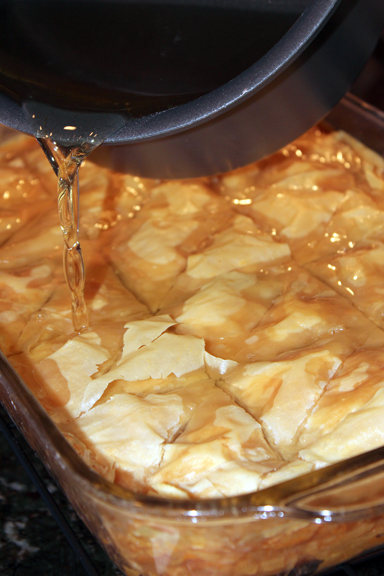
4. Meanwhile, in a saucepan, combine remaining 3/ 4 cup sugar, honey, 1 cup water and lemon juice, bring to a boil. Boil syrup for about 20 minutes, stirring constantly until it becomes thick syrup. Cool for 15 minutes and pour over baklava.

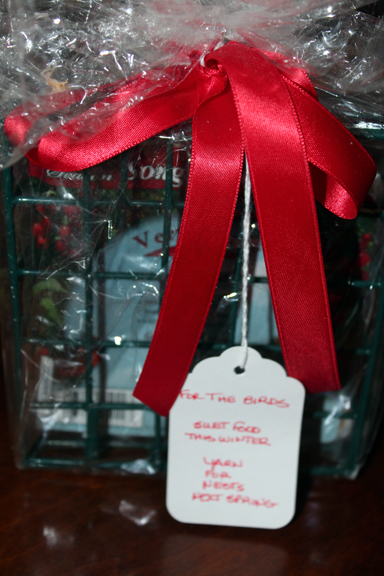
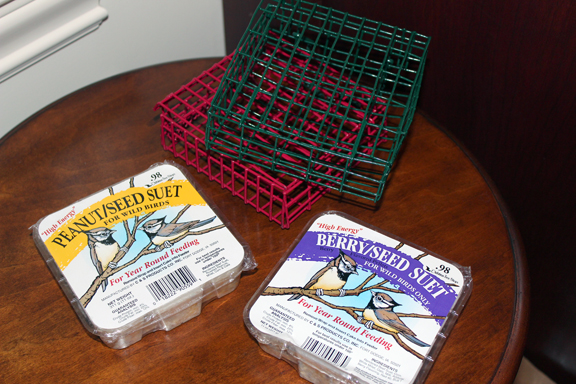
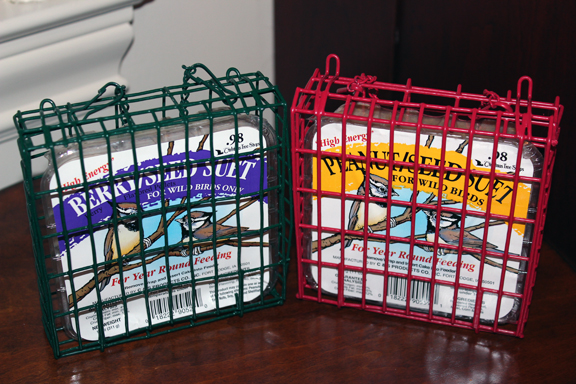
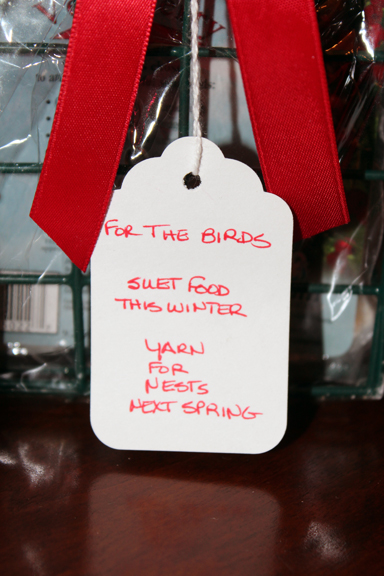
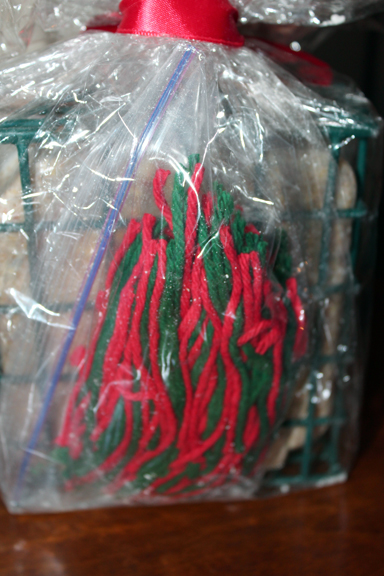
December Friendship Gift: Suet

You know I love to have my “Friendship Gifts” on hand for guests who drop by. I was trying to decide what to give for December and my first thought was something Christmas themed. However since I will be having multiple mini get-together\’s throughout the month that involve a Christmas theme favor I went with something different for my Friendship Gift. I decided on suet feeders for the birds and even added some yarn into each bag, which will make great nesting material in the spring. Since presentation is key I put the suet in the feeder, added a snack size baggy filled with yarn, placed it in a cellophane bag, and tied with a bow and a hang-tag.

Snapshots

 {hot cocoa bar for the gingerbread house decorating party}
This week was filled with Christmas prepping; wrapping, decorating, putting lights up and other mini DIY projects. It has also been a trying with with attempting to potty train my puppy. For some reason he is just not getting it, which is becoming pretty stressful. However I am thrilled for the weekend which includes a gingerbread house decorating party, a baby shower and candle making. What are your weekend plans?
 {Christmas wrapping: complete}
 {Troops coming home}
 {hot toddy on a cool night}
{currently learning: how to quilt}

How To: Create an Everyday Bow

When it comes to bows it’s great to have a couple different ones in your wrapping arsenal. This is the everyday bow: perfect for holidays, birthdays or just because. It’s simple to make if you use wire ribbon and if your ribbon is double sided. You can also embellish the bow with extra pieces such as ornaments at Christmas time. Also check out: How to make a Tiffany Bow and How to wrap a box

Step 1: Fold the ribbon in half and give yourself enough tail – this part will be the center of your bow.

 Step 2: Scrunch the ribbon together and hold with your thumb.

Step 3: Starting from where you pinched the ribbon, make a loop. If your ribbon looks different on either side, twist the ribbon over and make another loop. If your ribbon looks the same on both side, you don\’t need to twist the ribbon over before making your second loop. Alternate the loops on either side of the center loop

Step 4: After making two loops, insert your pointer finger in one loop and your middle finger in another. Pull both loops up to see if they are the same size. If they\’re not, adjust them until they are. Continue making loops in that way until you have enough. Make sure to check that all of the loops are the same size. For a full bow, make 5 – 6 loops on either side. For a more casual bow, make about 3-4 loops on either side.

Step 5: Wrap a piece of wire (3-5 inches) around the bow on either side of the center loop to secure.

Step 6: Spread out the loops and cut your tails as desired.