Christmas 2012 Review

I am grateful that I was able to spend this Christmas with my family. Saturday my grandparents hosted a wonderful Christmas dinner. Followed by my mum\’s birthday on Christmas Eve where we celebrated in style with cocoa, cake and candies. Christmas began our yearly tradition of mimosas, coffee cake and my mums overnight egg dish, then came opening stockings (where Jack became exhausted and fell asleep), presents, Honey Baked Ham lunch and movie night snuggled in my parents bedroom. I hope you had a wonderful day surrounded by family, friends and those who mean the most to you. xx
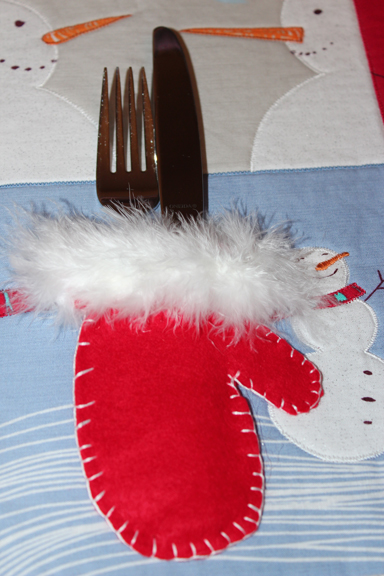
Merry Christmas

Wishing you and your family a warm and wonderful Christmas. xoxo, Erica (and Jack too!)
Church Windows


Church Windows
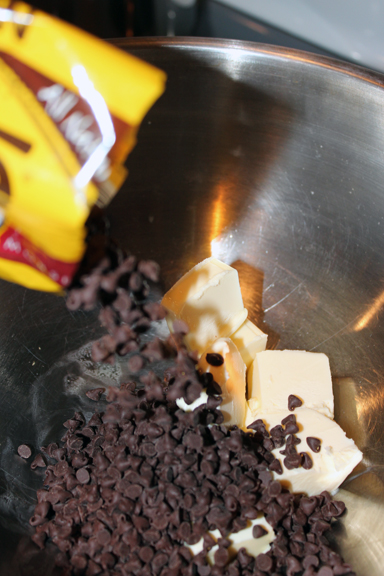
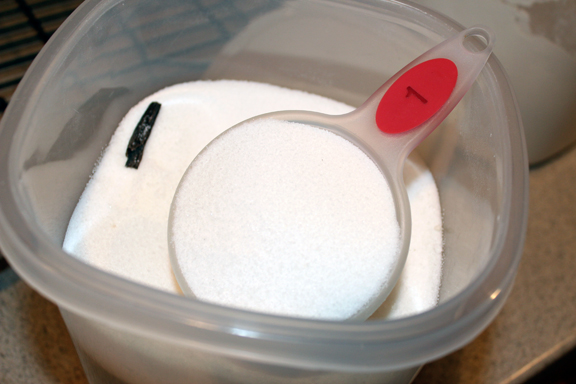
Ingredients
1 package (12 ounces) semi-sweet chocolate chips
1/2 cup salted butter
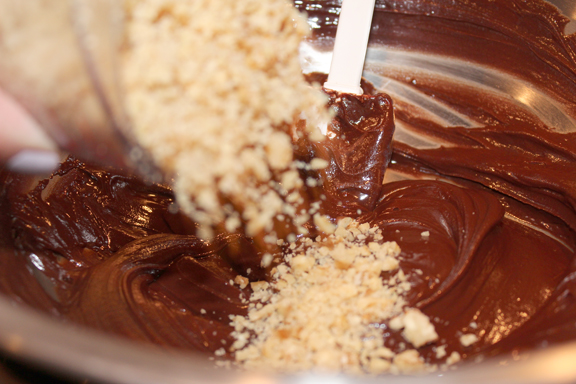
1 cup walnuts, chopped
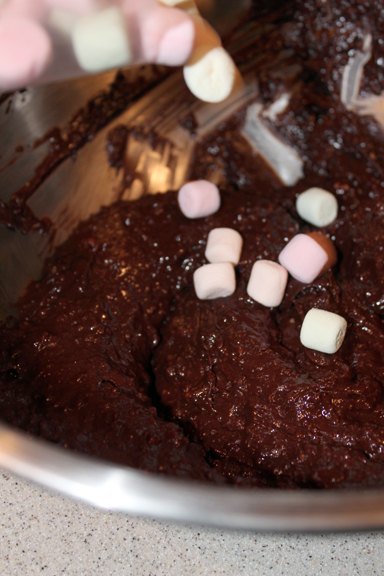
1 bag (10-12 ounces) mini colored marshmallows
1 bag(14 ounces) shredded, sweetened coconut
Directions
1. Melt the chocolate chips and butter in a saucepan that has been placed in a pan of water over love heat (or use a double boiler). Stir until smooth and cool for about 1-2 minutes. Add the nuts and marshmallows and mix to coat.
2. Using wax paper, shape the mixture into three round logs. Roll each log in coconut and shape wrapping firmly in wax paper. Freeze over night. While frozen, slice each log into desired sizes and enjoy.
Snapshots


Jack\’s Signature Treats


<!– /* Font Definitions */ @font-face {font-family:Times; panose-1:2 0 5 0 0 0 0 0 0 0; mso-font-charset:0; mso-generic-font-family:auto; mso-font-pitch:variable; mso-font-signature:3 0 0 0 1 0;} @font-face {font-family:Cambria; panose-1:2 4 5 3 5 4 6 3 2 4; mso-font-charset:0; mso-generic-font-family:auto; mso-font-pitch:variable; mso-font-signature:3 0 0 0 1 0;} /* Style Definitions */ p.MsoNormal, li.MsoNormal, div.MsoNormal {mso-style-parent:""; margin-top:0in; margin-right:0in; margin-bottom:10.0pt; margin-left:0in; mso-pagination:widow-orphan; font-size:12.0pt; font-family:"Times New Roman"; mso-ascii-font-family:Cambria; mso-ascii-theme-font:minor-latin; mso-fareast-font-family:Cambria; mso-fareast-theme-font:minor-latin; mso-hansi-font-family:Cambria; mso-hansi-theme-font:minor-latin; mso-bidi-font-family:"Times New Roman"; mso-bidi-theme-font:minor-bidi;} @page Section1 {size:8.5in 11.0in; margin:1.0in 1.25in 1.0in 1.25in; mso-header-margin:.5in; mso-footer-margin:.5in; mso-paper-source:0;} div.Section1 {page:Section1;}
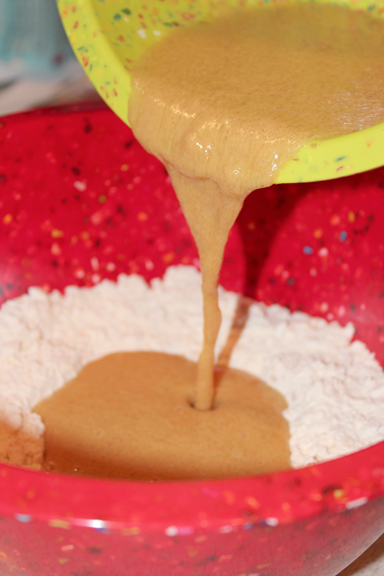
Ingredients
1/2 cup water
1/2 cup canola oil
2 eggs
6 tablespoons peanut butter
2 teaspoons vanilla extract
2 cups all-purpose flour
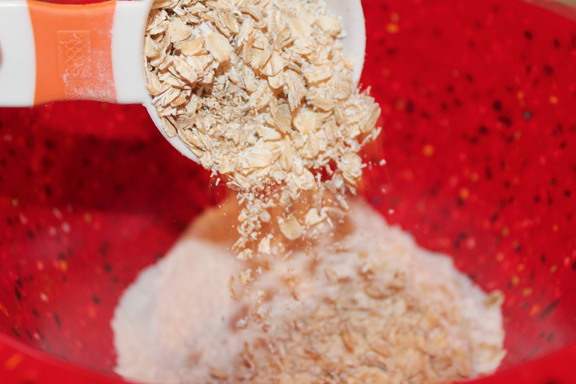
1/2 cup oats
1/2 cup cornmeal
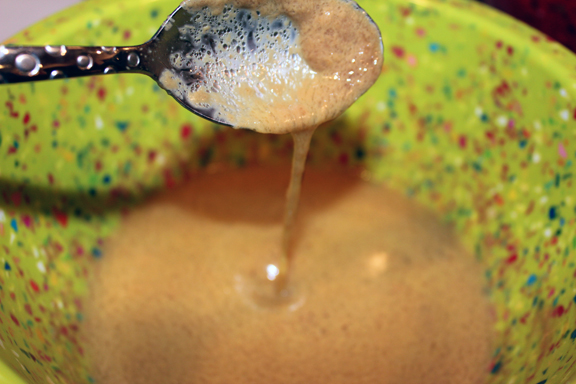
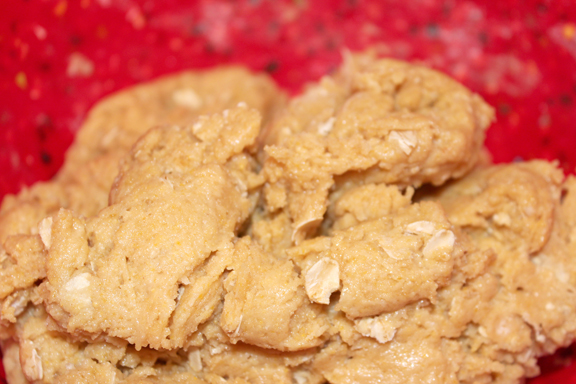
Directions
1. Preheat the oven to 400ºF.
2. In a medium bowl combine the water, canola oil, eggs, peanut butter and vanilla; set aside.
3. In a large bowl whisk together the flour, cornmeal and oats. Make a well in the center of the flour mixture and pour in the wet ingredients. Stir well to combine.
4. On a well-floured surface roll the dough out to about 1/3 of an inch thickness. Using a cookie cutter cut out the treats and transfer to a baking sheet.
5. Bake 10 to 20 minutes or until desired crispness. For harder treats leave in the oven once you turn it off. Store in an airtight container.
