DIY: Gingerbread Martini Glass Candle

–>
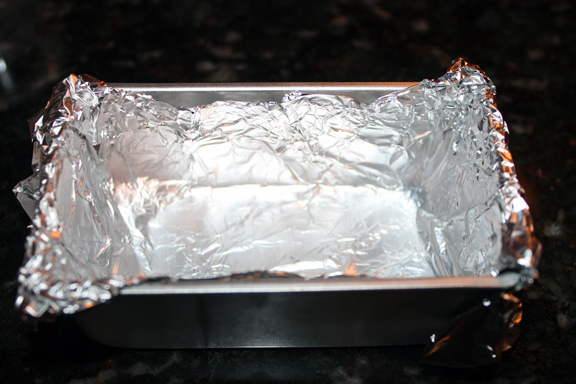
Step 1: Line a mini loaf pan with foil.
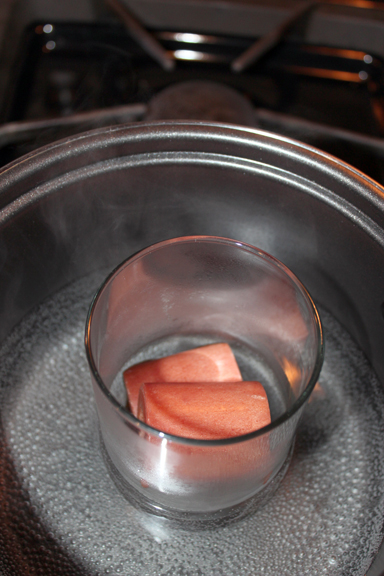
Step 2: Place wax if not in a jar (I bought two votive candles) inside a glass jar and in a pot of water on the stove. Allow wax to melt; stirring as needed.
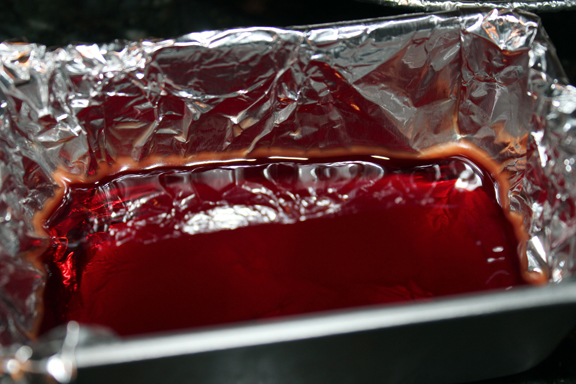
Step 3: Pour melted wax into the prepared foil pan and allow to semi set up.
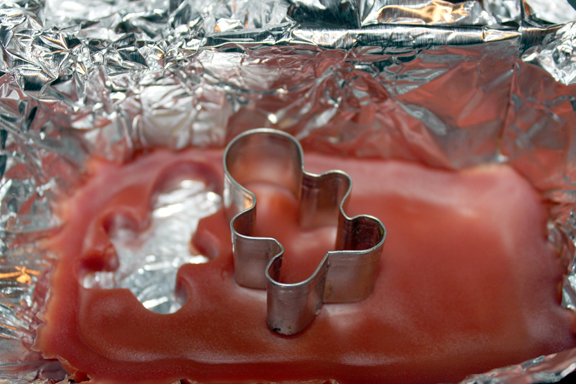
Step 4: Cut out your desired shape with a mini cookie cutter.
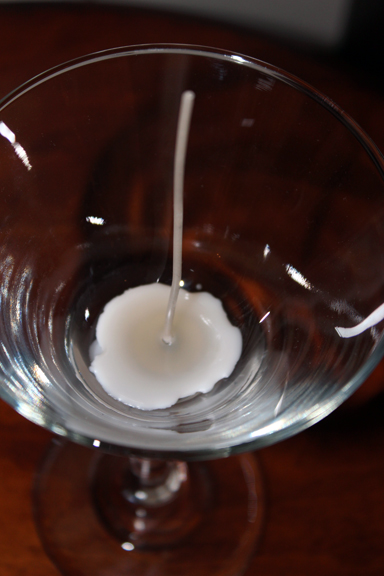
Step 5: Melt your main color of wax the same way as step 2. Once melted place a small amount of wax in the bottom of the martini glass and add the wick (found at Michael, Hobby Lobby..etc) allow to harden.
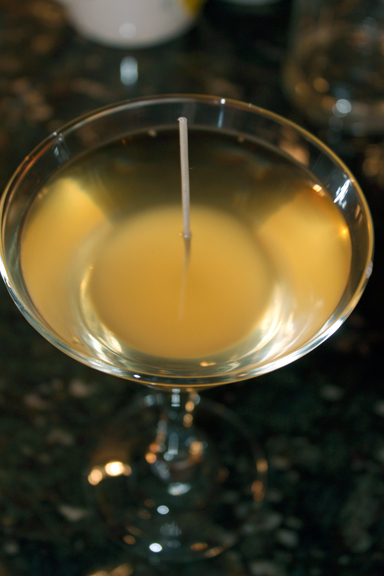
Step 6: Pour your main color wax into the martini glass leaving a space at the top.

Step 7: Allow to become almost hardened before you set your shapes on top, and allow to set up over night.

Step 8: Trim your wick.

Step 9: The finishing touches; add a bow if desired and use as decor, place in a cellophane bag to give as a gift, place in a box and wrap or in a gift bag. The candles are adorable, burn nicely and will be my go-to gift for 2013.
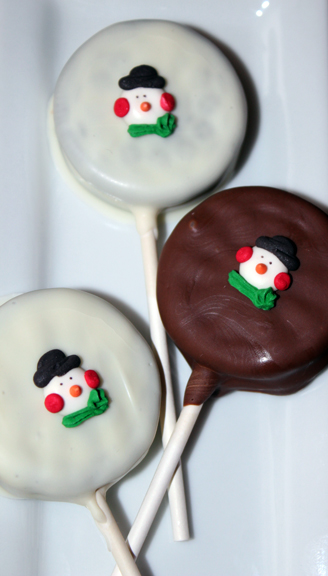
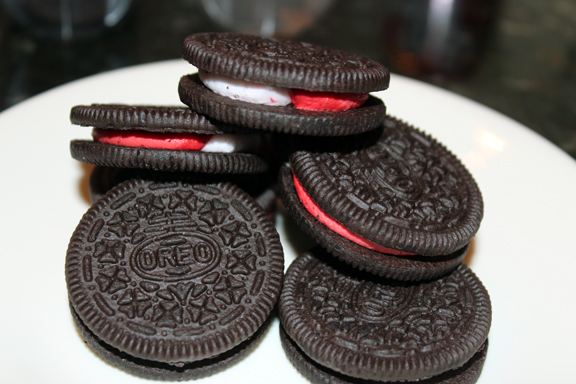
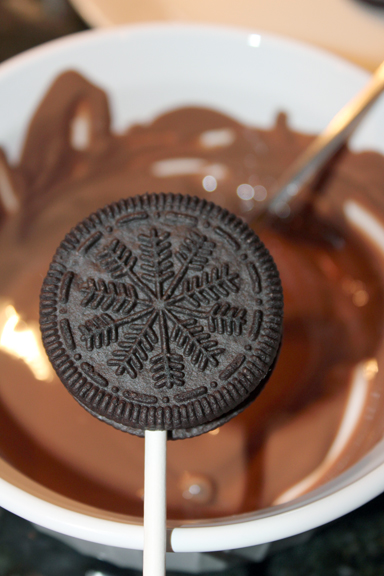
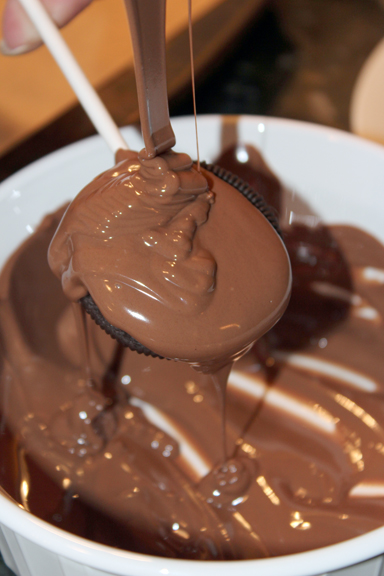
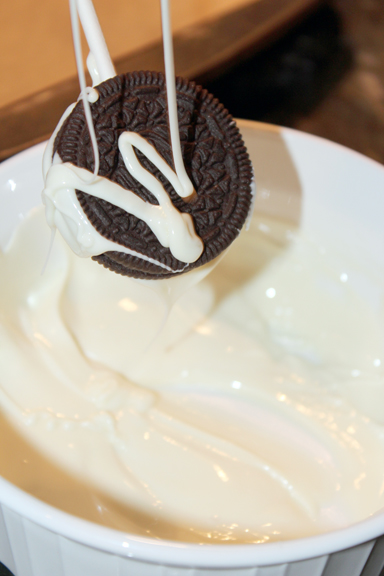
Chocolate Covered Oreos
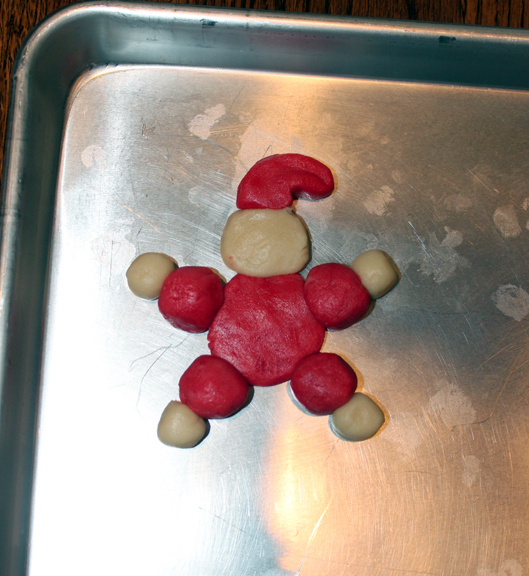
Santa Cookies

Before I left my parent’s house their neighbors little girl asked me if I could help her make the perfect cookie for Santa. I decided on Santa shortbread bread cookies made up of various size balls. They’re fun and simple for kids of any age to make. These cookies will last for weeks and freeze well.


Makes 11 cookies
Ingredients
For the Cookie
1 cup butter; softened
1 cup sugar
1 tablespoon milk
1.5 teaspoons vanilla
2 1/4 cup all-purpose flour
miniature semisweet chocolate pieces
red paste food coloring
Directions
1. In a large mixing bowl beat butter on medium to high speed for one minute. Add sugar; beat until combined. Beat in 1 tablespoon milk and 1.5 teaspoons vanilla. Beat in the flour; you may need to mix in some with a wooden spoon.
2. Remove 1 cup of the dough. Stir red coloring into the remaining dough.
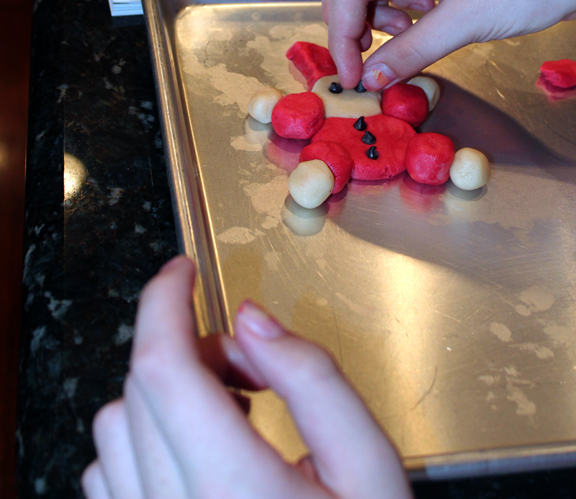
3. Shape each Santa by making on 3/4 -inch ball and four 1/4-inch balls from plain dough.
4. From red dough, shape one 1-inch ball and five 1/2-inch balls. Flatten the 1-inch red ball on cookie sheet until 1/2-inch thick. Attach plain 3/4 –inch ball for the head and flatten until 1/2-inch thick. Attached four 1/2-inch red balls for the arms and legs, and place plain 1/4-inch balls at the ends of arms and legs for the hands. Shape remaining 1/2-inch red ball into a hat Add chocolate pieces for the eyes and buttons.
5. Bake in a 325 degree oven for 12-15 minutes or until edges are lightly browned. Cool for 3 minutes on a cookie sheet. Place on wire rack to cool.
Ingredients
1/2 cup shorting
2 1/3 cup powdered sugar
1 teaspoon vanilla
milk (add in slowly and as needed)
heart shaped red hot candies
Directions
1. In a small mixing bowl beat shortening and vanilla with an electric mixer for one minute. Gradually add 1 cup of powdered sugar, mixing well. Add in 1 tablespoon milk. Gradually beat in remaining powdered sugar and enough milk (2-5 teaspoons) to make the frosting piping consistency.
2. Spoon frosting into a decorating bag fitted with a star tip. Pipe where desired and attach the cinnamon heart candy to the frosting for his mustache to create the nose.
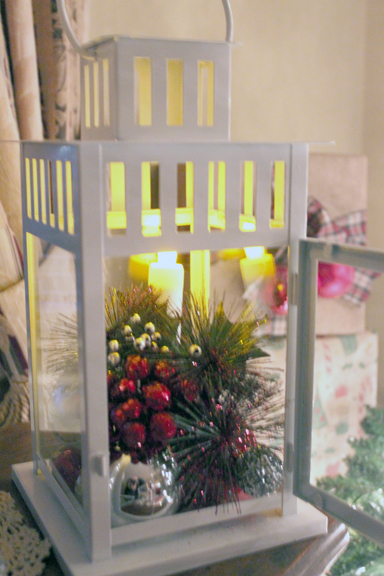
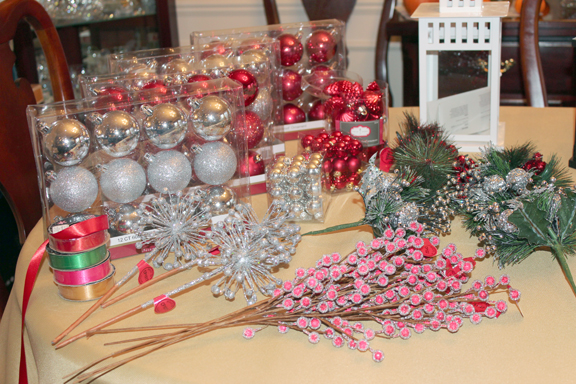
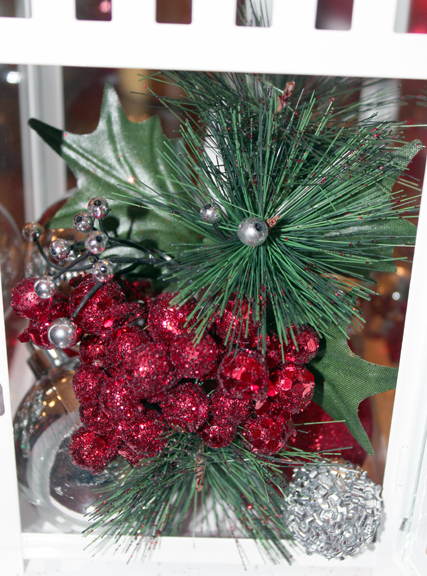
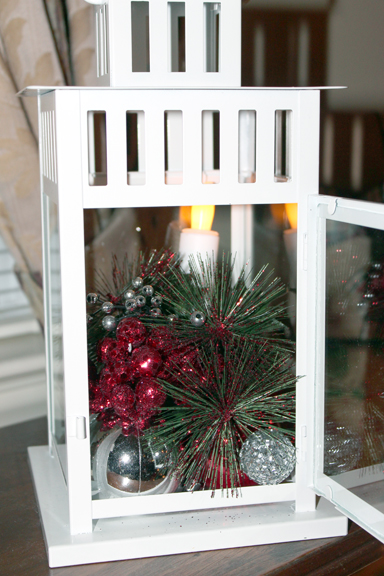
DIY: Holiday Lantern
–>


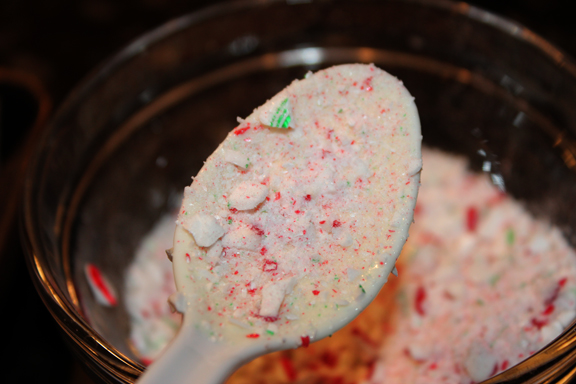
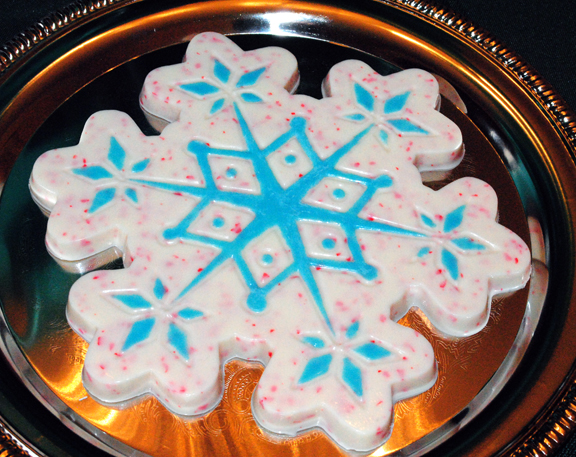
Snapshots