Little Black Bow

From headbands and hair ties to ribbon and ruffles I have an entire arsenal of accessories dedicated to my hair. I have even been known to plan an outfit out based on what I will be wearing in my hair. While the perfect little black dress tends to be a holiday go-to for me, because the accessorizing possibilities are endless my heart is after a different black this holiday season; the black bow. Lauren Conrad, Clemence Poesy and Kelly Osbourne just to name a few have been spotted using a black ribbon to create a bow for their updo, ponytail or headband. The result is a chic look perfect for Christmas or New Years Eve. What do you think of this look? I know I will be wearing it to my grandparents Christmas party this Saturday.

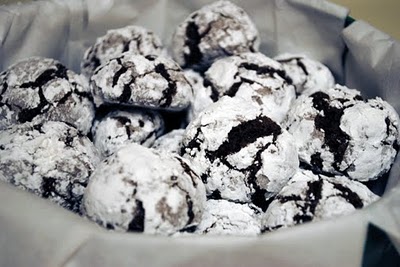
Fudge Wreath
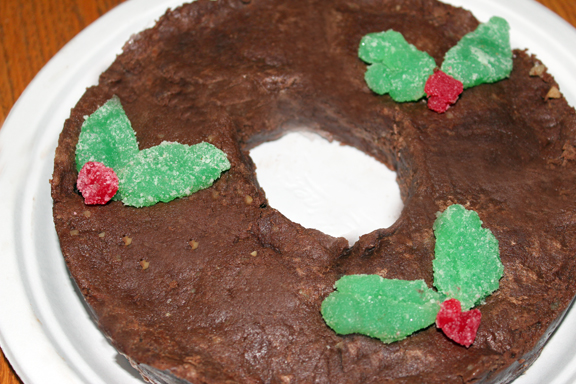
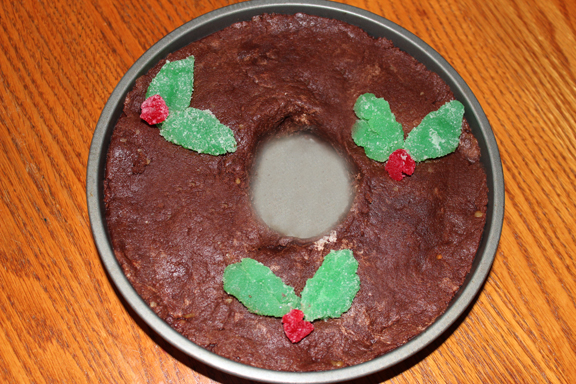
While living in Pittsburgh one of my neighbors taught me her never fail chocolate fudge recipe. From that moment I knew I would want to incorporate it somehow into my holiday baking list and what better way then by transforming it into a wreath. A fudge wreath brings the perfect amount of cheer to a holiday party and doubles as a sweet hostess or teacher gift.
Fabulous Fudge Wreath
Ingredients
1 teaspoon vanilla
7 ounces Marshmallow Crème
1 package mini semi sweet chocolate chips
1/2-1 cup walnuts chopped
2 1/2 cups sugar
1/2 cup (1 stick) salted butter
7 ounces evaporated milk
Ingredients
1 teaspoon vanilla
7 ounces Marshmallow Crème
1 package mini semi sweet chocolate chips
1/2-1 cup walnuts chopped
2 1/2 cups sugar
1/2 cup (1 stick) salted butter
7 ounces evaporated milk
Directions
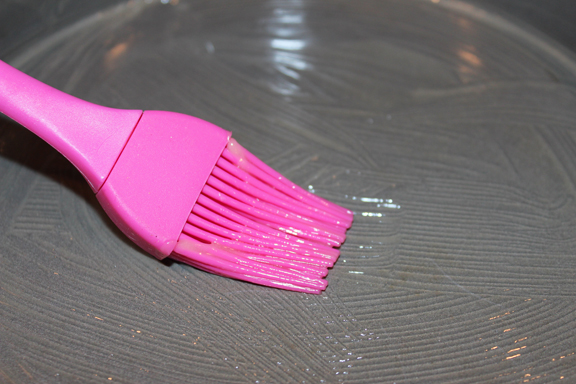
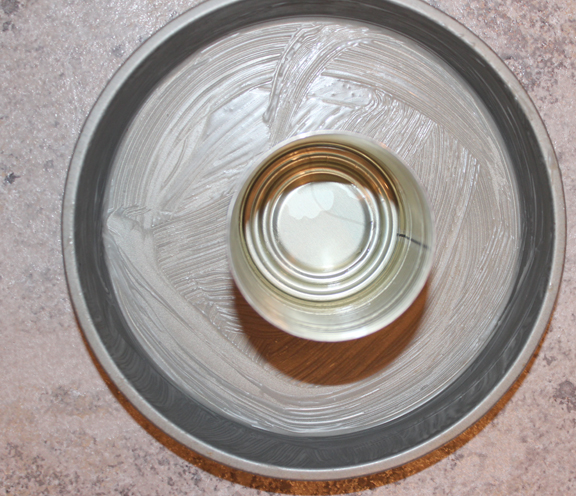
1. Lightly coat the bottom and sides of an 8-inch cake pan with melted butter, as well as the empty can of the evaporated milk. Place the evaporated milk can in the center of the cake pan.
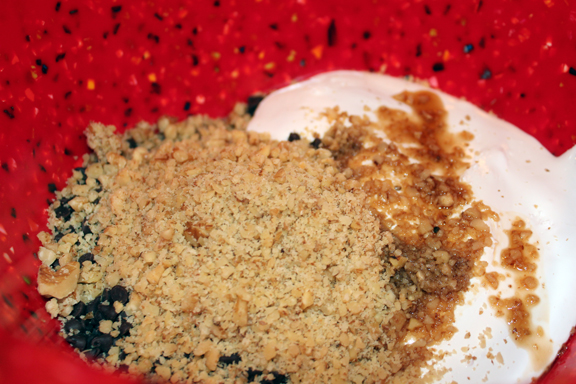
2. In a large mixing bowl place vanilla, marshmallow crème chocolate chip and walnuts; set aside.
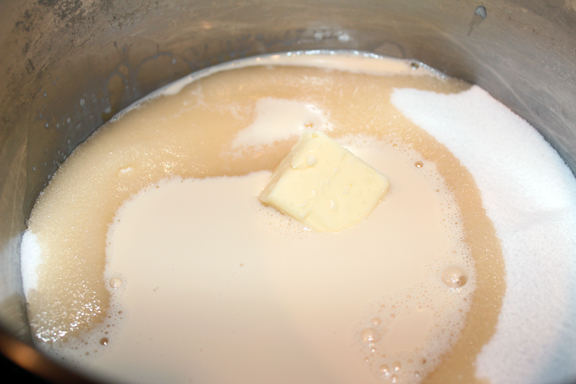
3. Mix sugar, 1-tablespoon butter and evaporated milk in a large saucepan. Stirring constantly bring mixture to a full rolling boil. Continue boiling and stirring until mixture reaches 233 degrees Fahrenheit on a candy thermometer or softball stage (about 5 minutes). Add remaining butter to the boiling mixture and heat until melted. Bring back to a boil stirring continuously.
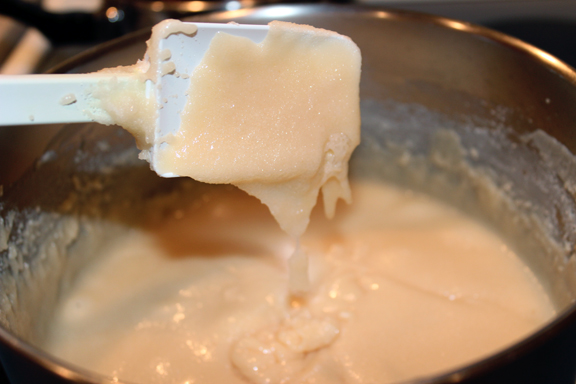
4. Immediately pour the hot mixture into the bowl of chocolate chips, walnuts, marshmallow crème and vanilla. Mix until well blended. Pour the fudge into your prepared cake pan and move the evaporated milk can as needed to keep it in the center. This will be the time to add your holly shaped gumdrops. Work quickly as the fudge will set up fast.
5. Allow to cool and set for a few hours (overnight is ideal). Once set tip over onto your hand and then placed onto your desired dish.
2. In a large mixing bowl place vanilla, marshmallow crème chocolate chip and walnuts; set aside.
3. Mix sugar, 1-tablespoon butter and evaporated milk in a large saucepan. Stirring constantly bring mixture to a full rolling boil. Continue boiling and stirring until mixture reaches 233 degrees Fahrenheit on a candy thermometer or softball stage (about 5 minutes). Add remaining butter to the boiling mixture and heat until melted. Bring back to a boil stirring continuously.
4. Immediately pour the hot mixture into the bowl of chocolate chips, walnuts, marshmallow crème and vanilla. Mix until well blended. Pour the fudge into your prepared cake pan and move the evaporated milk can as needed to keep it in the center. This will be the time to add your holly shaped gumdrops. Work quickly as the fudge will set up fast.
5. Allow to cool and set for a few hours (overnight is ideal). Once set tip over onto your hand and then placed onto your desired dish.
DIY: Salt Dough Ornaments
<!– /* Font Definitions */ @font-face {font-family:Cambria; panose-1:2 4 5 3 5 4 6 3 2 4; mso-font-charset:0; mso-generic-font-family:auto; mso-font-pitch:variable; mso-font-signature:3 0 0 0 1 0;} /* Style Definitions */ p.MsoNormal, li.MsoNormal, div.MsoNormal {mso-style-parent:""; margin-top:0in; margin-right:0in; margin-bottom:10.0pt; margin-left:0in; mso-pagination:widow-orphan; font-size:12.0pt; font-family:"Times New Roman"; mso-ascii-font-family:Cambria; mso-ascii-theme-font:minor-latin; mso-fareast-font-family:Cambria; mso-fareast-theme-font:minor-latin; mso-hansi-font-family:Cambria; mso-hansi-theme-font:minor-latin; mso-bidi-font-family:"Times New Roman"; mso-bidi-theme-font:minor-bidi;} @page Section1 {size:8.5in 11.0in; margin:1.0in 1.25in 1.0in 1.25in; mso-header-margin:.5in; mso-footer-margin:.5in; mso-paper-source:0;} div.Section1 {page:Section1;}
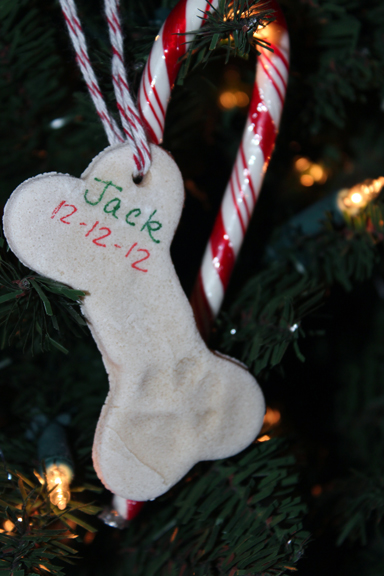
Salt dough ornaments are simple and cheap. They are also a fun project for you to do with you kids or your pet. They are great for your own tree, as gifts, gift tags, personalized ornaments and more. My parent’s tree has a few salt dough ornaments with my brother’s hand prints and mine from when we were younger as well as shapes that we painted. I try to always add an ornament to family members gifts at Christmas, and this year some will have salt dough ornaments featuring Jack’s paw print. Note: After you do prints with your pet or child make sure to thoroughly wash them to remove any salt debris

Salt Dough Ornaments
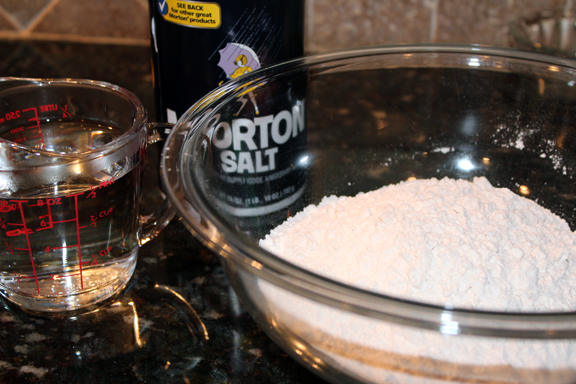
Ingredients
2 cups flour
1 cup salt
1 cup warm water
Ingredients
2 cups flour
1 cup salt
1 cup warm water
Directions
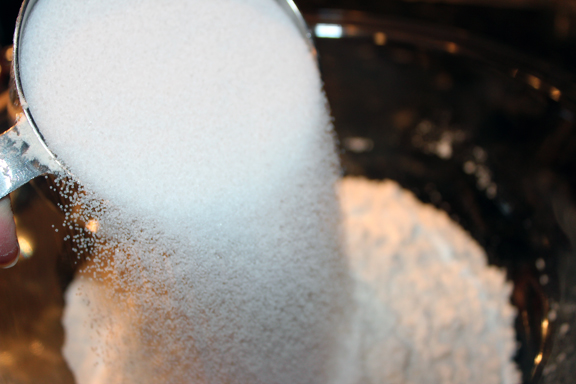
1. Mix together the flour and salt.
2. Then mix in the warm water.
3. Mix until the dough becomes the consistency of pie crust.
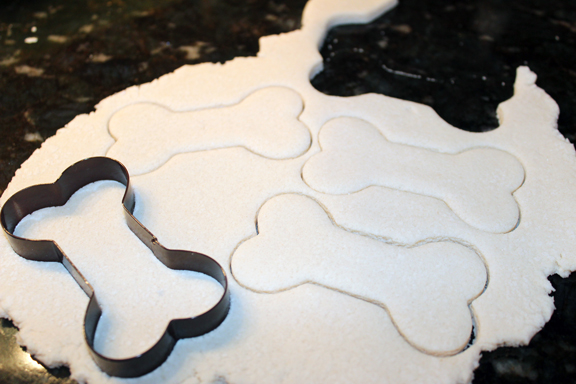
4. Place the dough on a floured surface and roll out to 1/4-1/2- inch thickness.
5. Use cookie cutters to cut out desired shapes.
6. Place shapes on a cookie sheet and press your child’s hand/ foot or animal’s paw into the ornament if desired.
7. Use a straw (or pencil) to put a small hole in each shape where you will insert the ribbon. Make sure the hole goes all the way through the dough.
8. Bake the ornaments for 4 to 6 hours at 200 degrees Fahrenheit or until hardened.
9. Once cooled add ribbon and write on or paint if desired.
Note: This recipe made me about 20 bones.
DIY: Holiday Favorites
<!– /* Font Definitions */ @font-face {font-family:Cambria; panose-1:2 4 5 3 5 4 6 3 2 4; mso-font-charset:0; mso-generic-font-family:auto; mso-font-pitch:variable; mso-font-signature:3 0 0 0 1 0;} /* Style Definitions */ p.MsoNormal, li.MsoNormal, div.MsoNormal {mso-style-parent:""; margin-top:0in; margin-right:0in; margin-bottom:10.0pt; margin-left:0in; mso-pagination:widow-orphan; font-size:12.0pt; font-family:"Times New Roman"; mso-ascii-font-family:Cambria; mso-ascii-theme-font:minor-latin; mso-fareast-font-family:Cambria; mso-fareast-theme-font:minor-latin; mso-hansi-font-family:Cambria; mso-hansi-theme-font:minor-latin; mso-bidi-font-family:"Times New Roman"; mso-bidi-theme-font:minor-bidi;} @page Section1 {size:8.5in 11.0in; margin:1.0in 1.25in 1.0in 1.25in; mso-header-margin:.5in; mso-footer-margin:.5in; mso-paper-source:0;} div.Section1 {page:Section1;}
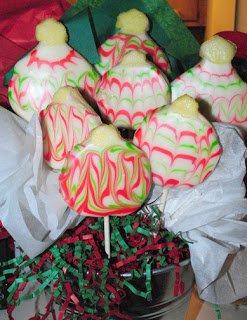
During the holidays each year I share with you some of my favorite confections and crafts. Here are some of my holiday favorites featuring the just the thing way to impress family, friends or even the in-laws: a cookie bouquet. Simple turtles made from Rolo’s that make a great neighbor gift, how to gift-wrap and recreate the beloved Tiffany bow. Cinnamon applesauce ornaments that make great additions to gifts, a ribbon wreath and much more! Hope you enjoy some of my holiday favorites as much as I do. xx


{Rolo Pretzel Turtles}

{Baklava}


Snapshots

{first snowfall in the new house}
On Saturday I officially moved into my new house. The town is very tourist geared and many shops are closed through the winter season. Mother nature even let me experience my first snowstorm of the season leaving the trees gorgeous but my puppy extremely unhappy with the white stuff and plummeting temperatures. I even managed to lock him and I out of the house the third day we were there. Here is to a better weekend filled with plenty of Christmas confections. What are your weekend plans?
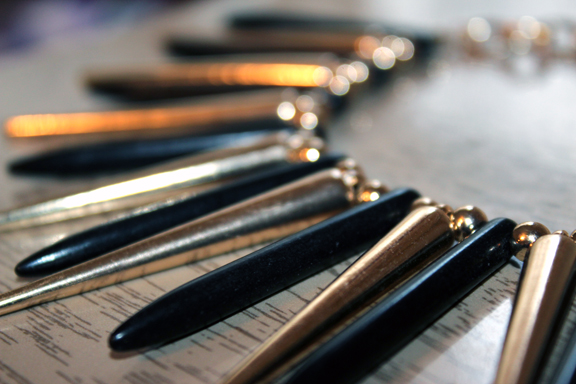
{edgy necklace to spice up an outfit}

{jack in his winter jacket}
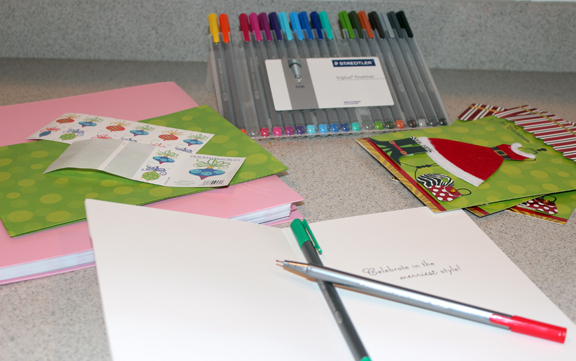
{christmas mail}
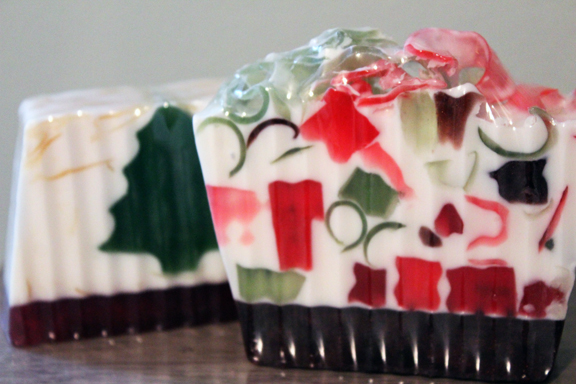
{holiday soaps for the bathroom}
