Coming to Detroit: The Lightning Thief: The Percy Jackson Musical

THE LIGHTNING THIEF: THE PERCY JACKSON MUSICAL, an “electrifying” (Newsday) musical adaption of the New York Times best-selling novel written by Rick Riordan, will play Detroit’s Fisher Theatre,
Chocolate Covered Strawberries

Chocolate covered strawberries are a Valentine’s Day staple. You’ll find them at nearly every bakery and grocery store in town, but sometimes they come with a hefty price tag. I actually was at a bakery recently that was selling these bad boys for $5 EACH. That’s absolutely insane and is the reason why this year I decided to make my own. I actually went to Aldi and bought strawberries, Aldi melting chocolate and a variety jar of sprinkles. All which cost under $6!
Chocolate covered strawberries are not only great for Valentine’s Day, but they’re the perfect dessert option for a romantic night in, girls night, a bridal shower and more. You may think that chocolate covered strawberries are too difficult to make, but the truth is they’re not. With my tips and tricks, you can easily impress anyone with your beautiful berries.
Strawberries can be tricky to purchase depending on the time of year. My favorite berries are when I can pick them from a local Michigan farm in June, but it’s February and not June so I had to head to the grocery store. The tastiest strawberries are actually the small ones, the larger berries typically have little to no flavor at all. You’ll also want to find berries that have good stems that you can hold onto as you dip the berry into the chocolate. Your berries should be dry when you dip them. So make sure you wash them, and then place them on paper towel allowing plenty of time for them to dry. The chocolate cannot adhere to a wet berry, not to mention water and chocolate do not mix well together.
Picking your chocolate. I actually believe this is a personal preference. I don’t like using mini chips at all, but some people do. Sometimes I will go to a cake supply store and buy chocolate melts from them, and times like this I just buy my chocolate from Aldi. Whatever chocolate you prefer is the kind you should use for your berries. You can use a double boiler to melt the chocolate, or if you want an easy alternative, put it in a bowl in the microwave and melt it on defrost.


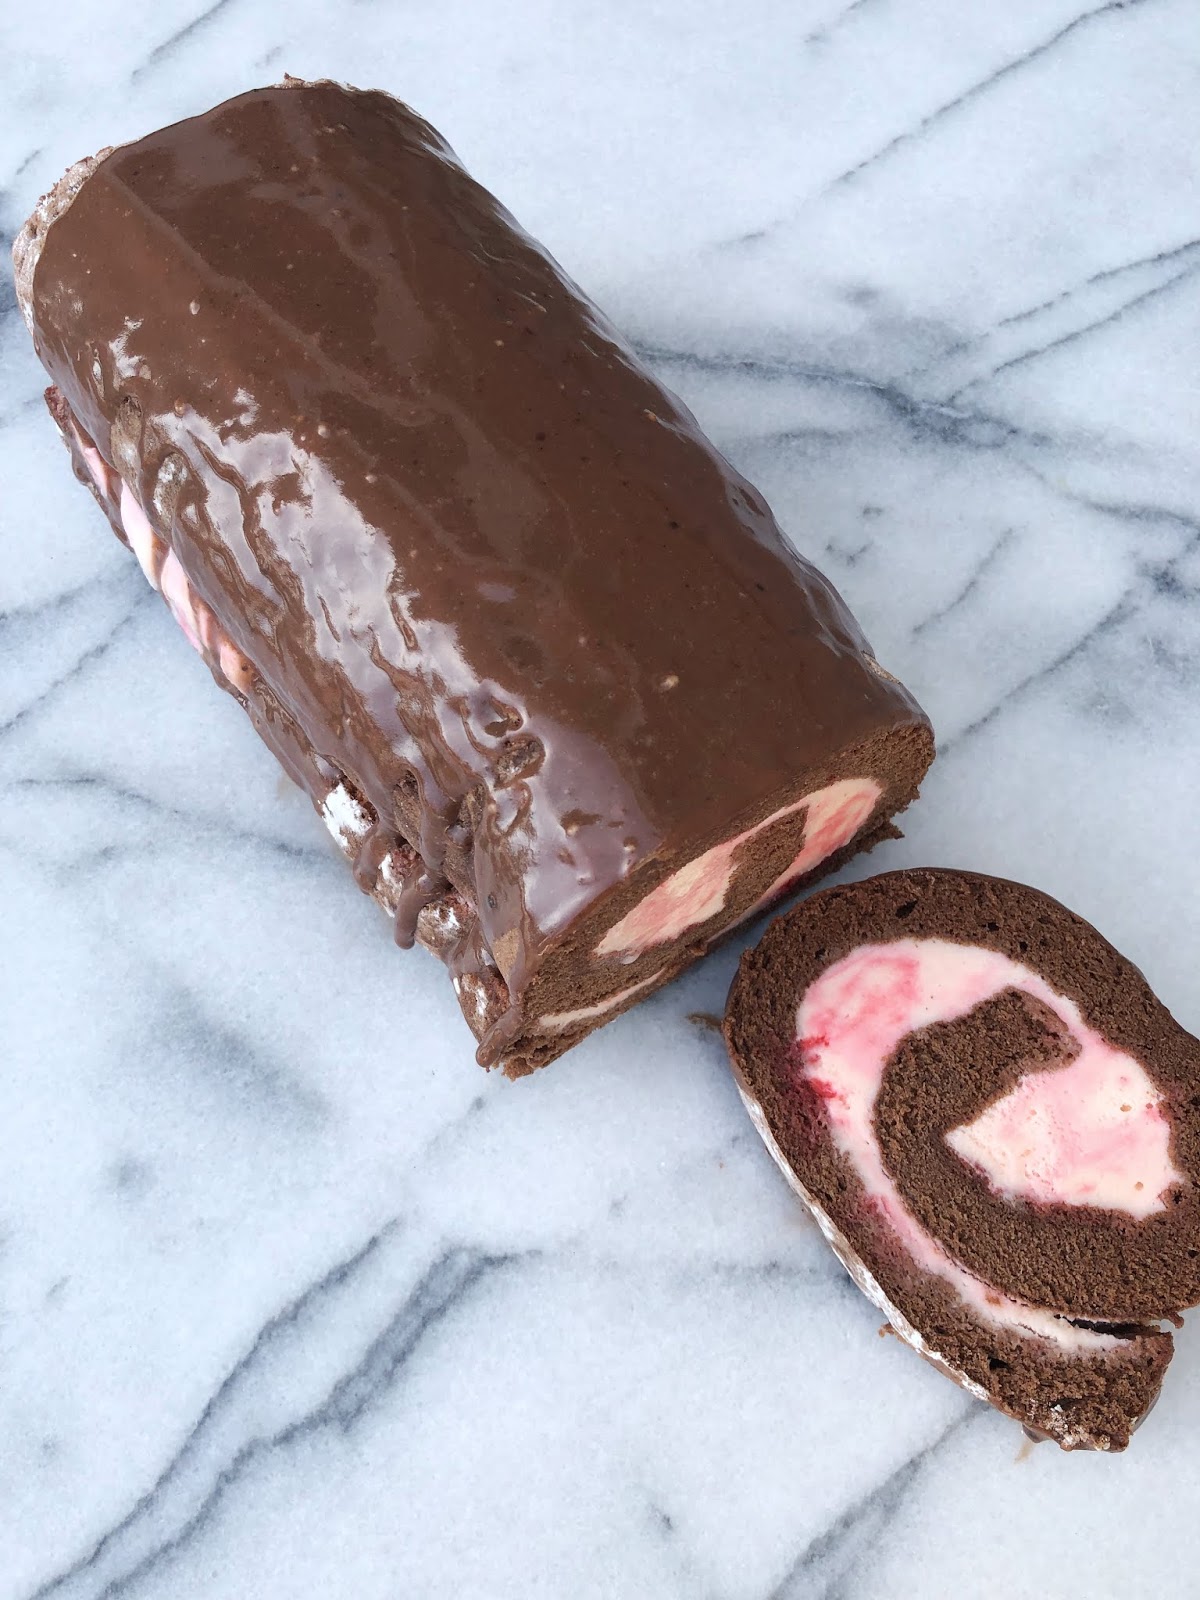
Peppermint Chocolate Swiss Roll

Impress your significant other this Valentine’s Day with this decadent, yet simple, Peppermint Chocolate Swiss Roll. Have you ever made a swiss roll cake? It looks pretty tricky to make, doesn’t it? Well, to be honest, it’s actually super simple. Instead of it being a regular cake recipe, you’ll want to make a sponge cake. What’s the difference between a regular cake and a sponge cake? Well, this one is made up of flour, sugar, and eggs, no butter and oil. Once you whip up the batter for this cake you’ll pour it into a large jelly roll pan that has been lined with parchment paper, and once it’s done you will immediately turn the cake out onto a flour sack towel that is heavily coated in powdered sugar – this is so it doesn’t stick. You’ll roll the cake up in the towel, starting at the short side. Then you’ll want to let it completely cool before you unroll it and spread the Hudsonville Peppermint Stick Ice Cream on it.

Peppermint Chocolate Swiss roll
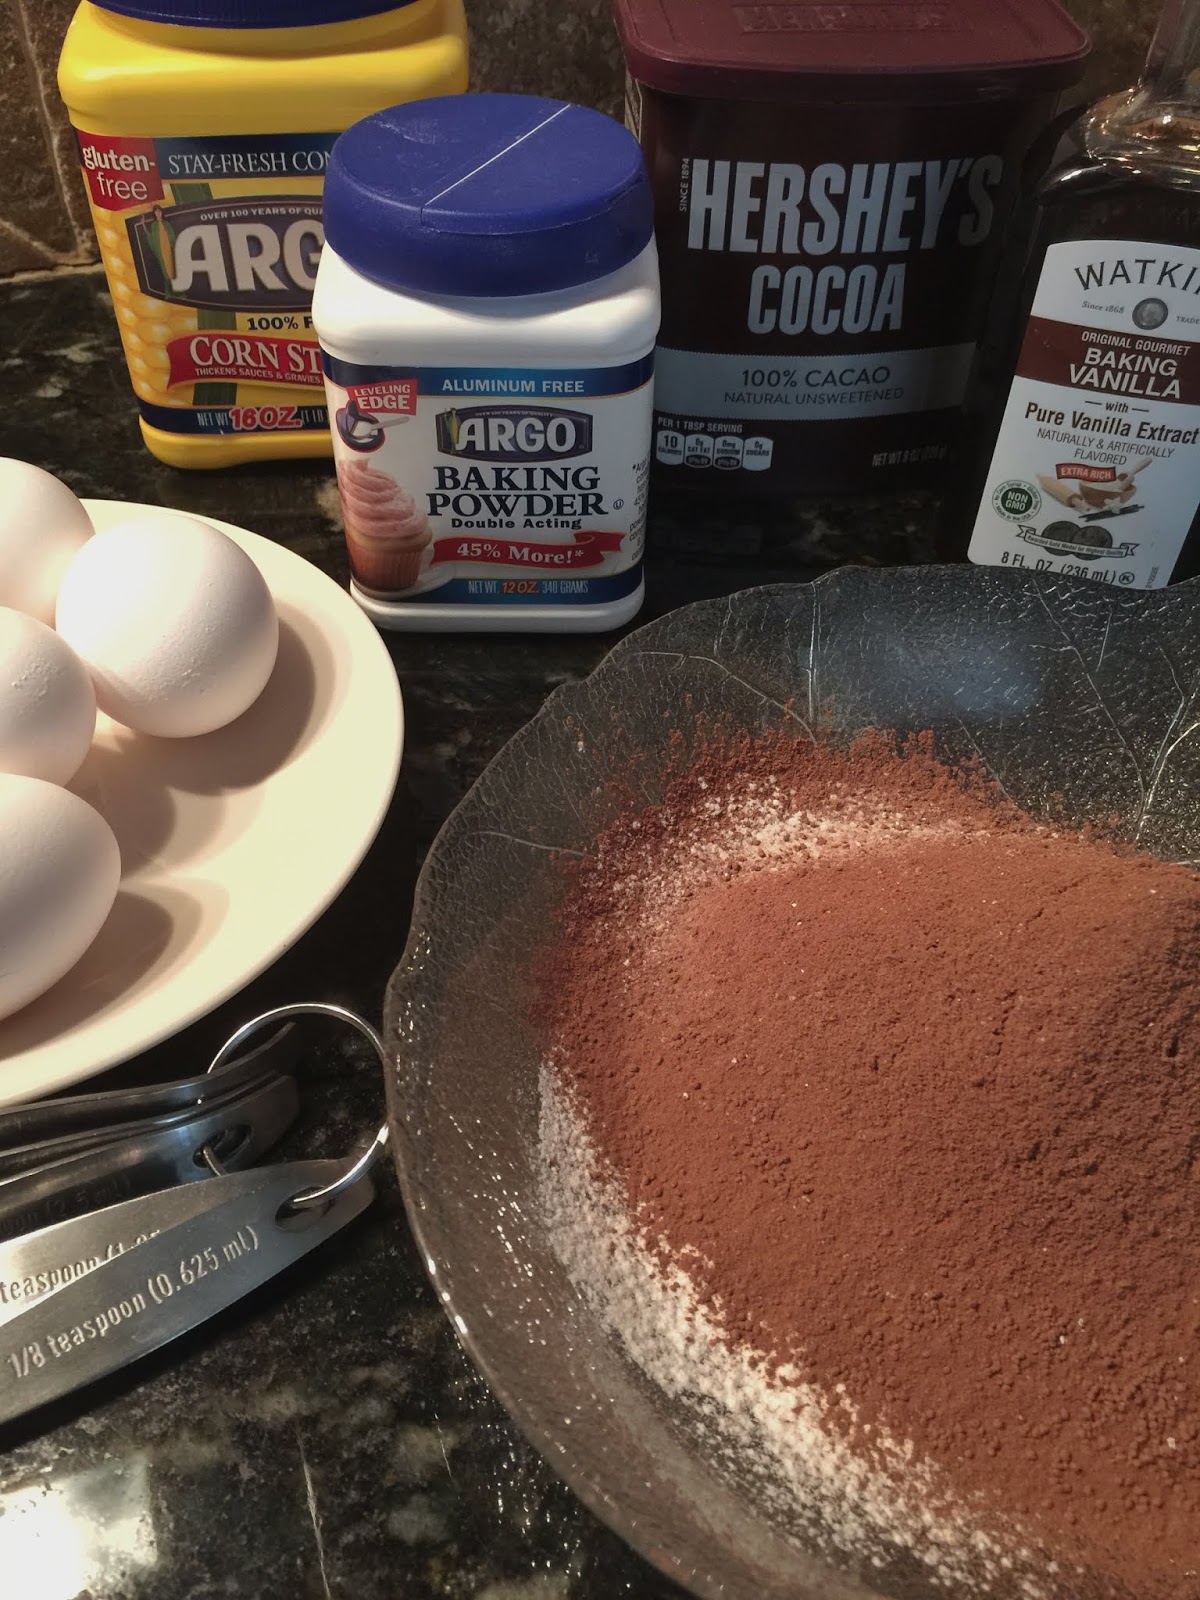
For the batter:
4 eggs, divided
1/2 cup + 1/3 cup sugar divided
1 teaspoon vanilla
1/2 cup flour
1/3 cup cocoa powder
1/2 teaspoon baking powder
1/4 teaspoon baking soda
1/8 teaspoon salt
1/3 cup water
Directions
1. Preheat oven to 350 degrees.
2. Line a 10×15 inch jelly roll pan with parchment paper.
3. Grease the parchment paper with cooking spray.
4. In a mixing bowl, use an electric hand mixer to beat the egg whites until soft peaks (peaks will fall when you lift the beaters).
5. While mixing, slowly add in the 1/2 cup of sugar and beat until stiff peaks form.
6. In a bowl of a stand mixer with a whisk attachment, beat egg yolks on medium speed for 3 minutes.
7. Add 1/3 cup sugar and vanilla.
8. Beat for 2 more minutes.
9. In another bowl, mix flour, cocoa powder, baking powder, baking soda, and salt together.
10. Alternate adding the flour mixture and the 1/3 cup water to the egg yolk mixture in the stand mixer.
11. When thoroughly combined, fold the chocolate batter into the egg whites a little at a time.
12. Stir until completely combined.
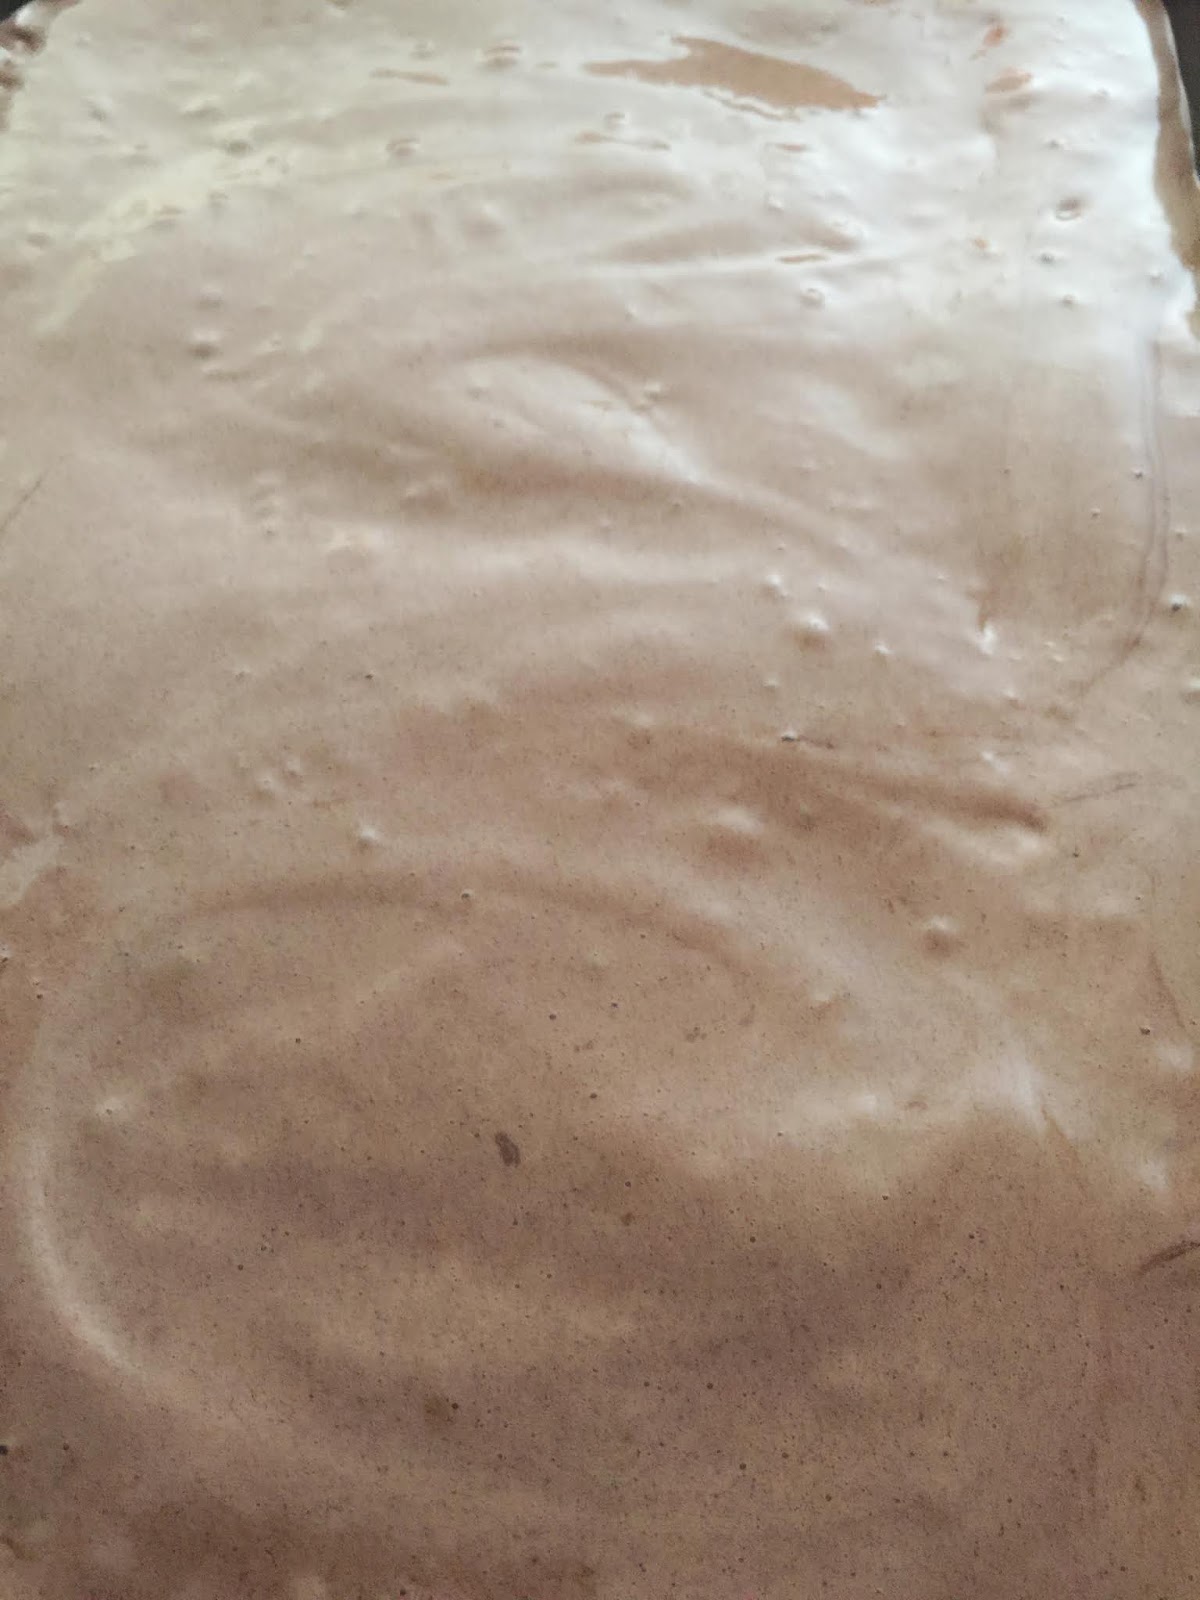
13. Spread the batter onto the prepared baking sheet.
14. Bake for 12-15 minutes or until a toothpick comes out clean.
15. While the cake bakes coat your bowl with powdered sugar.
16. When the cake is complete, immediately turn it onto the towel.
17. Remove the parchment paper from the cake.
18. Starting at the narrow end begin to roll the cake up in the flour sack towel.
19. Let the cake completely cool.
20. Carefully unroll the cooled cake.
21. Spread the ice cream evenly over the entire surface.
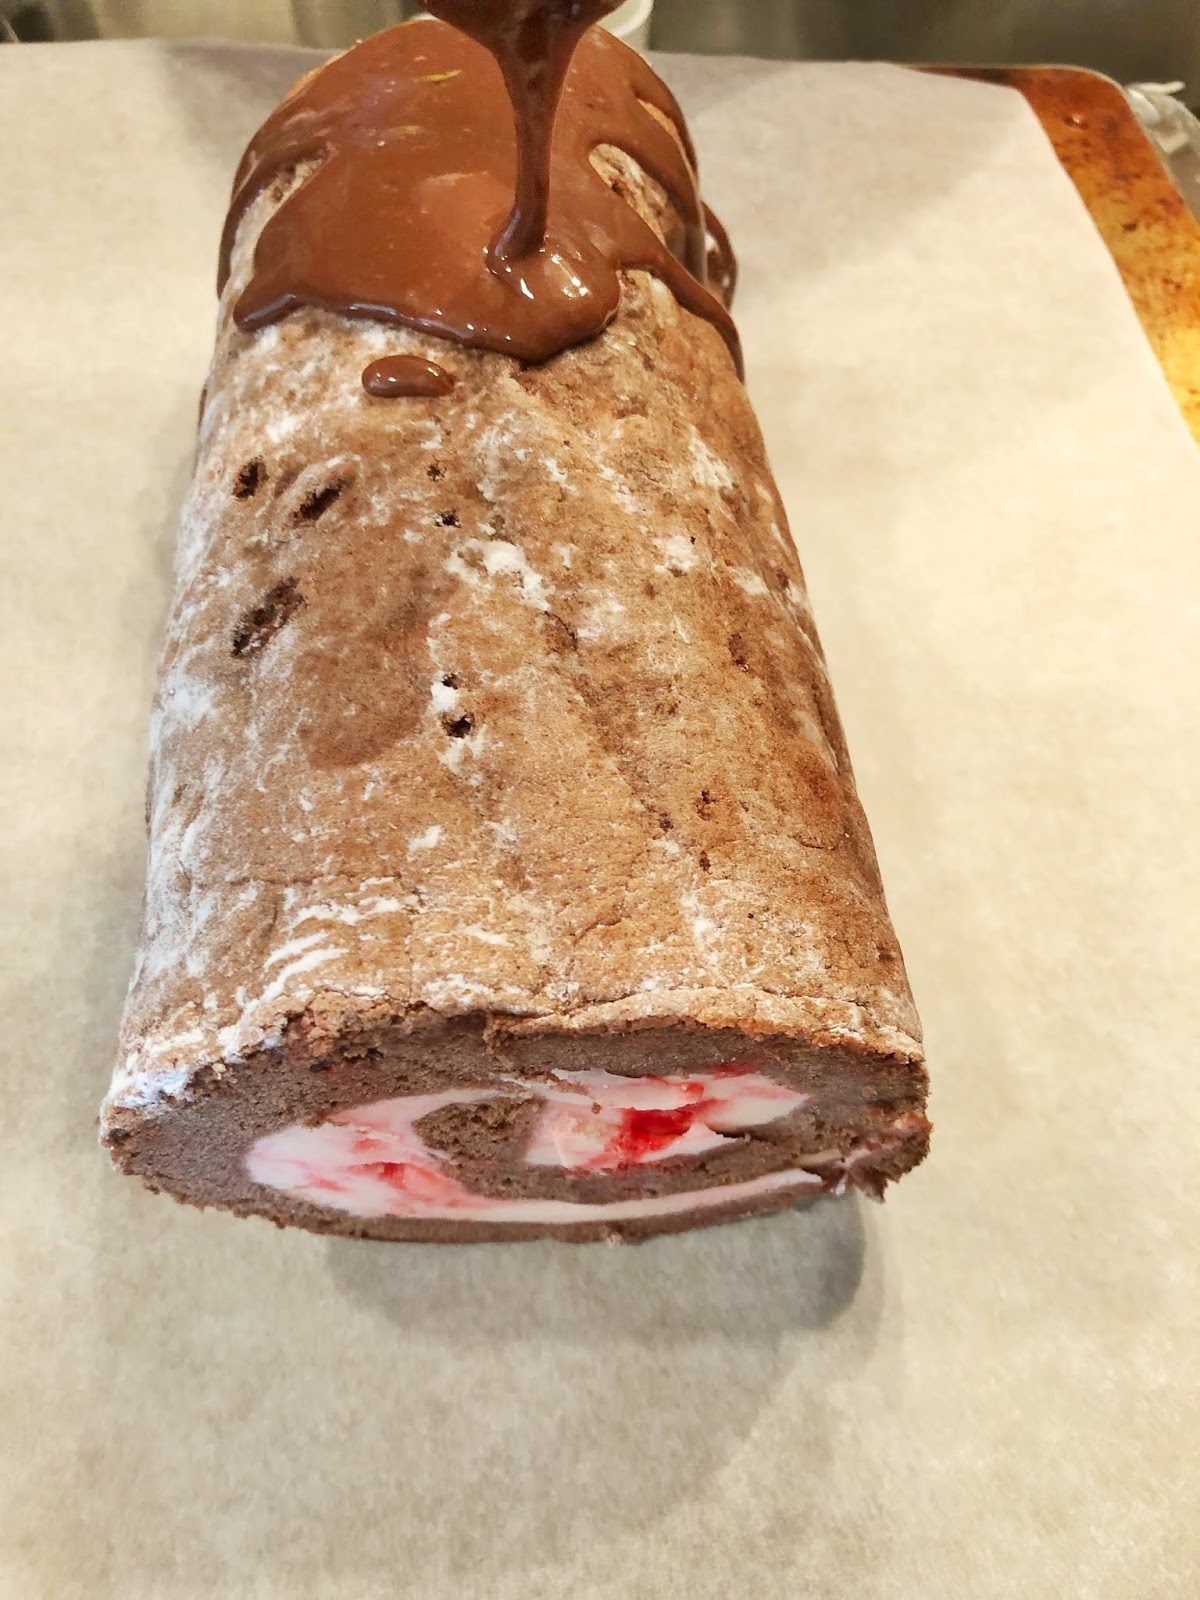
22. Roll the cake back up in the same way you did before, but this time without the towel.
23. Cover the cake in plastic wrap.
24. Place it in the freezer for at least 3 hours.
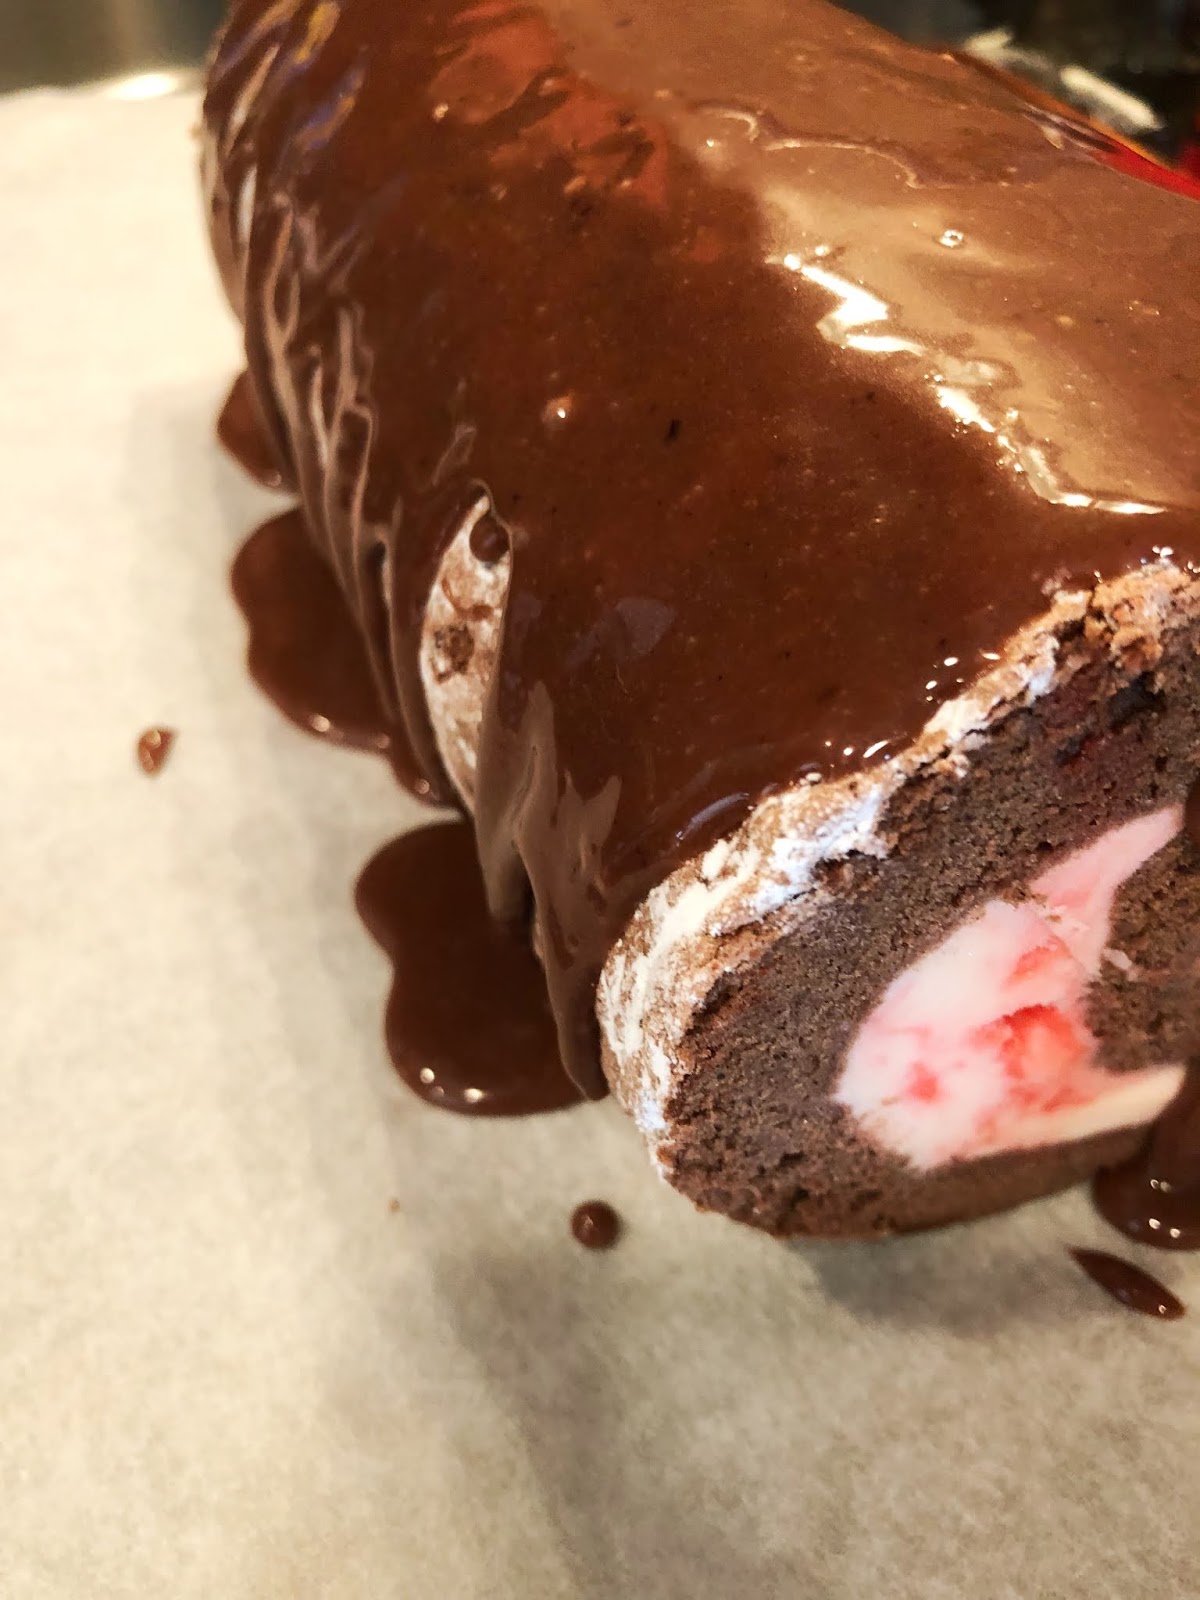
25. When ready to serve add a chocolate ganache.
26. Enjoy!


Winter Blast Weekends in Detroit

From ice sculptures to polar plunges, food trucks, pop-up shops and more Quicken Loans Winter Blast located in Campus Martius in Detroit is one place you\’ll want to stop. Did I mention, they have free ice skating during Winter Blast Weekends. Check out Winter Blast with your family, friends or significant other, no matter who you go with you\’re sure to have a blast! Here are a few of my favorite pictures from my time at Winter Blast yesterday.


Spring 2019: Zoya Innocence

Birch
Birch is a soft lavender cream, this feminine hue definitely channels garden party vibes.
Agnes
Agnes is a muted soft blush cream, any girly girl is sure to love. This color is perfect for home or the office.
Evette
Evette is a grape cream that is sure to brighten your day.
Aire
Aire is a dusty periwinkle blue cream, that channels the night sky in the summer.
Fern
Fern is an army-like sage hue with a pearl accent and is a spring must-have.
Theo
Theo channels those springtime thunderstorms with its stormy grey color and subtle texture, combined with silver flakes and dark blue glitter. This is one of the most unique colors I have come across and I absolutely adore it.
All in all, I absolutely LOVE this collection. It\’s definitely a feminine collection with a touch of edge, which I adore. Order yours today!
