How To: Create an Everyday Bow

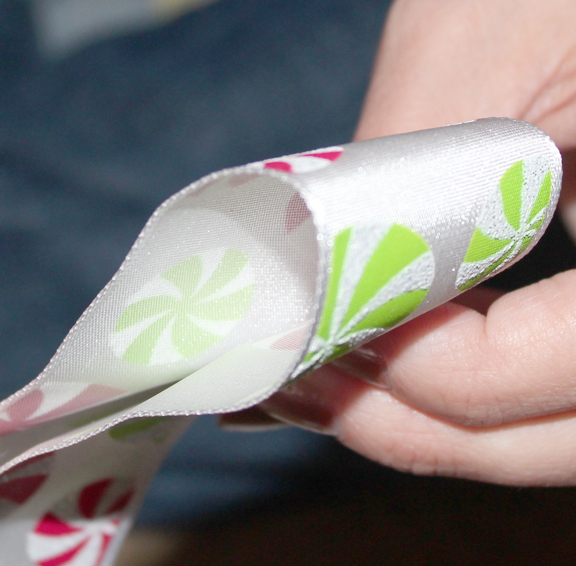
Step 1: Fold the ribbon in half and give yourself enough tail – this part will be the center of your bow.
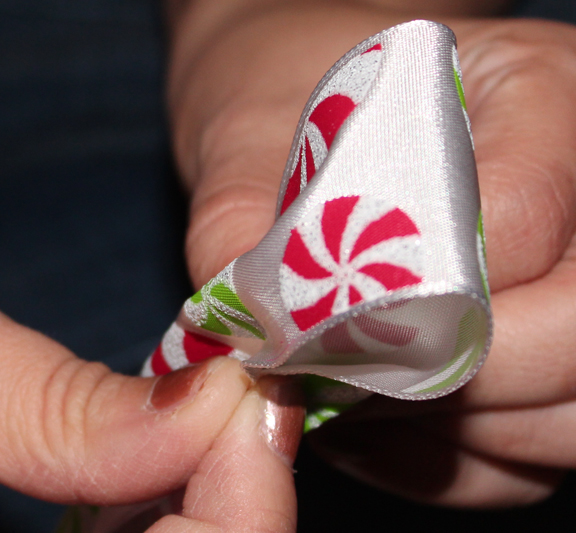
Step 2: Scrunch the ribbon together and hold with your thumb.

Step 3: Starting from where you pinched the ribbon, make a loop. If your ribbon looks different on either side, twist the ribbon over and make another loop. If your ribbon looks the same on both side, you don\’t need to twist the ribbon over before making your second loop. Alternate the loops on either side of the center loop
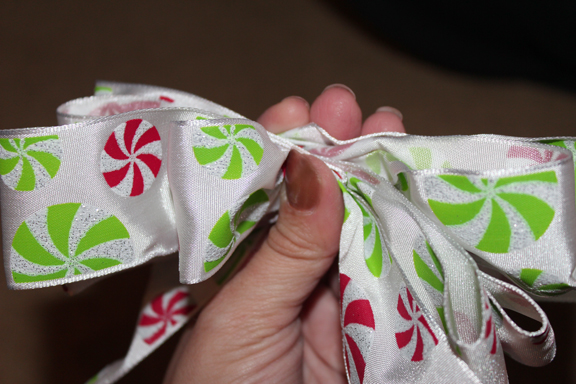
Step 4: After making two loops, insert your pointer finger in one loop and your middle finger in another. Pull both loops up to see if they are the same size. If they\’re not, adjust them until they are. Continue making loops in that way until you have enough. Make sure to check that all of the loops are the same size. For a full bow, make 5 – 6 loops on either side. For a more casual bow, make about 3-4 loops on either side.
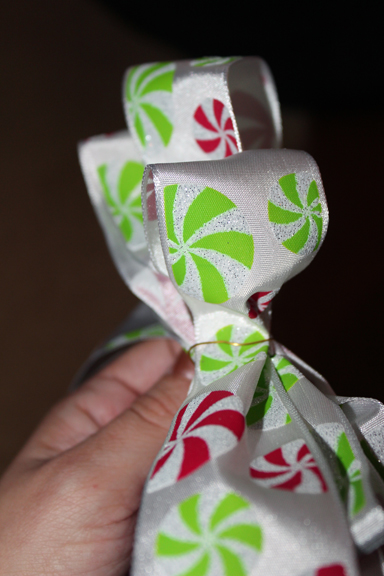
Step 5: Wrap a piece of wire (3-5 inches) around the bow on either side of the center loop to secure.

Step 6: Spread out the loops and cut your tails as desired.


I need to take note of this as I am hopeless at making bows!~Anne
LikeLike
These are my favorite kinds of bows! Except I skip the wire step and tie it right on another piece of ribbon on the present instead.
LikeLike
You're so good with bows!
LikeLike
So cute! I can never make cute bows, thank you for sharing! xhttp://rosalindatj.blogspot.com
LikeLike
Ugh, no matter how many times I try I am just not a bow maker. LOL I love all the bows though and might attempt to wrap a few extra special presents this year:)
LikeLike
Loving these bow posts! I swear I have to re-teach myself every Christmas how to tie a pretty bow.
LikeLike
Pretty bow, and great tutorial!
LikeLike
This is a perfect tutorial. I could never figure out how to do them…THANK YOU.
LikeLike
My sister makes this bow all the time and she is a pro at it. Thanks for the tutorial because now I will have the skills 😉
LikeLike