Snapshots


How To: Create an Everyday Bow

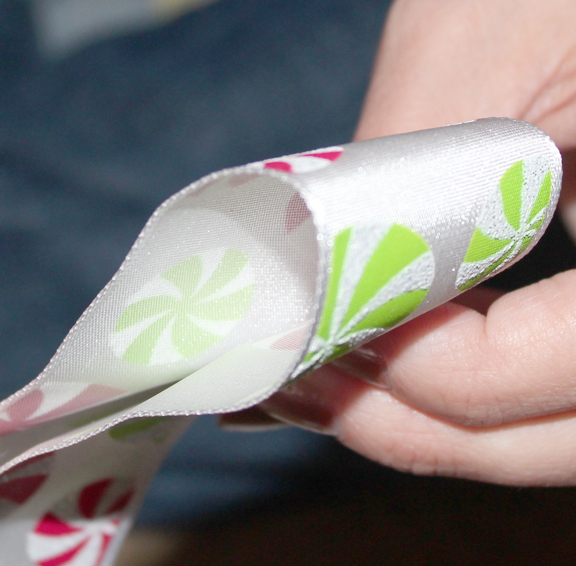
Step 1: Fold the ribbon in half and give yourself enough tail – this part will be the center of your bow.
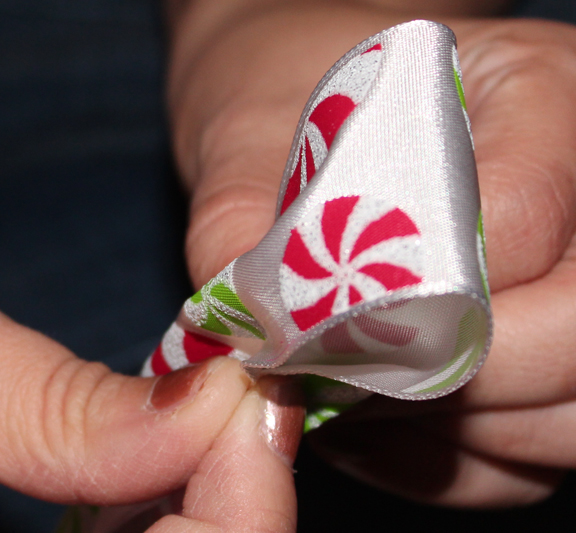
Step 2: Scrunch the ribbon together and hold with your thumb.

Step 3: Starting from where you pinched the ribbon, make a loop. If your ribbon looks different on either side, twist the ribbon over and make another loop. If your ribbon looks the same on both side, you don\’t need to twist the ribbon over before making your second loop. Alternate the loops on either side of the center loop
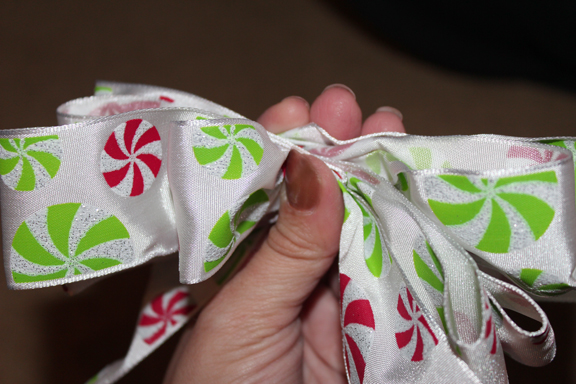
Step 4: After making two loops, insert your pointer finger in one loop and your middle finger in another. Pull both loops up to see if they are the same size. If they\’re not, adjust them until they are. Continue making loops in that way until you have enough. Make sure to check that all of the loops are the same size. For a full bow, make 5 – 6 loops on either side. For a more casual bow, make about 3-4 loops on either side.
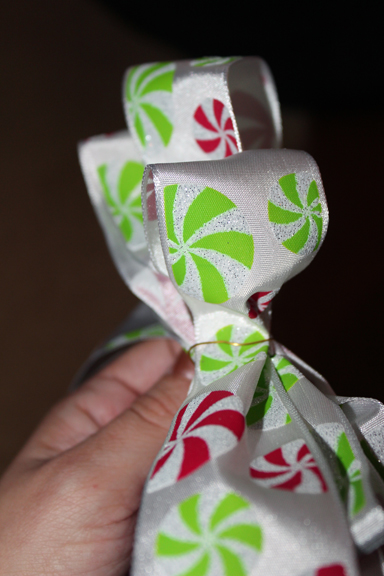
Step 5: Wrap a piece of wire (3-5 inches) around the bow on either side of the center loop to secure.

Step 6: Spread out the loops and cut your tails as desired.
How To: Tie a Tiffany Bow


Step 1: Leaving at least half a box\’s length of ribbon at the bottom of the box, place the ribbon at the center of the bottom of the box and hold with your thumb.

Step 2: Wrap the ribbon once around the box. Place the second piece of ribbon under your thumb as well.

Step 3: Fold the ribbon over your thumb to go around the box at a 45 degree angle. Keep going until you go around the box once.

Step 4: Tuck the ribbon under and back across the ribbon you were holding with your thumb.

Step 5: Center and tighten the ribbon.


Michigan Molasses Cookies
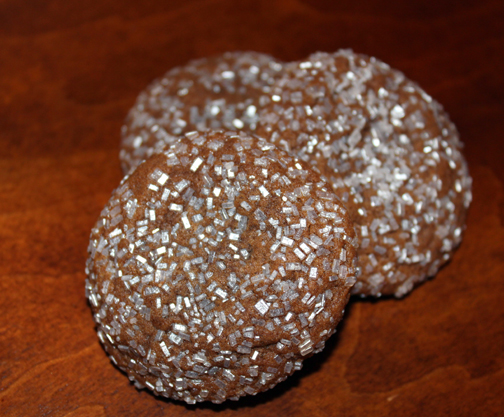
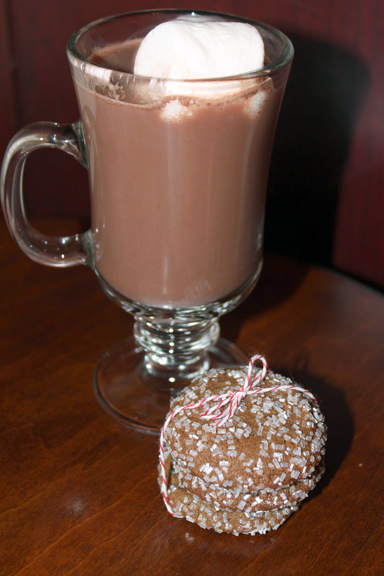
Michigan Molasses Cookies
Ingredients
1 2/4 cups flour
1/2 teaspoon baking soda
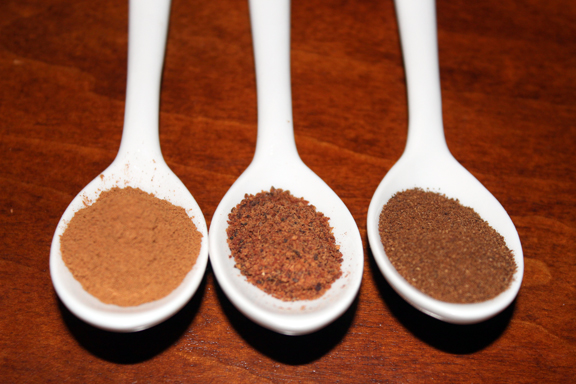
1/2 teaspoon cinnamon
1/4 teaspoon ginger
1/8 teaspoon clove
1/2 teaspoon salt
1/2 cup brown sugar
4 tablespoons butter, melted
1/4 cup molasses
1/4 cup whole milk
1 large egg, lightly beaten
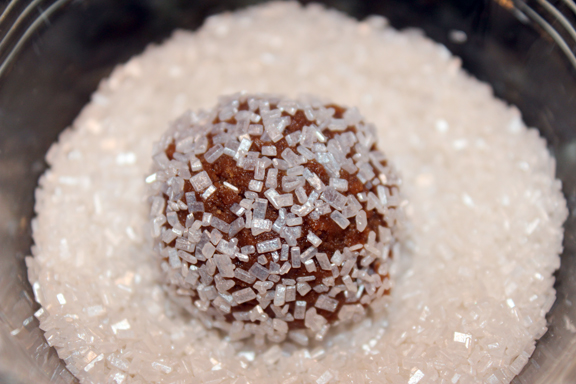
Pearlized Sugar Sprinkles, for rolling
Directions
1. Preheat oven to 350 degrees. Whisk together flour, baking soda, cinnamon, ginger, cloves and salt. Whisk in brown sugar.
2. Stir in melted butter, molasses, milk and egg.
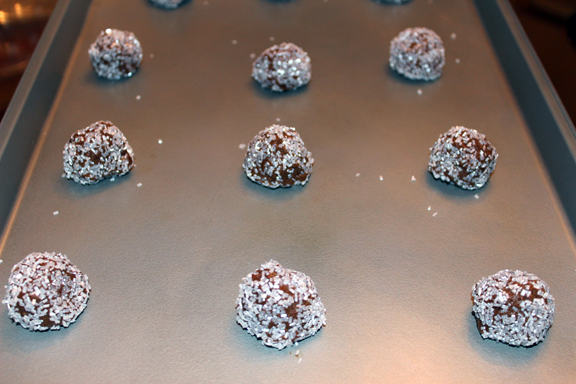
3. Roll into ½ teaspoon or 1 tablespoon balls. Roll in pearlized sugar and place on a cookie sheet. Slightly flatten each ball with the bottom of a glass. Bake 8-12 minutes. Transfer to wire racks and allow to cool.
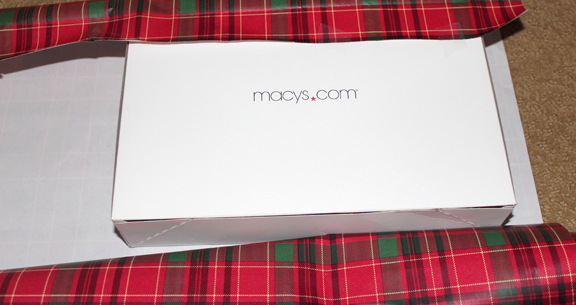
Gift Wrapping 101

Boxes are probably the easiest things to wrap, so if you’re giving an awkwardly shaped gift, putting it in a box first is the easiest solution. The hard edges allow you to create a tidy and professional-look.
Step 1: Place the box face down on the paper, and pull up the short side and secure it with a piece of tape.

Step 2: Fold the other side in about an inch.

Step 3: Secure the folded side to the paper that you already secured down.

Step 4: Turn the present right way up and fold down the overhanging paper against the side of the box that remains exposed.

Step 5: Press in two side folds, smoothing the edges to give a clean finish. Next fold the bottom flap up to cover all the edges creating an envelope effect.

Step 6: Secure with tape. Turn over and repeat the process for the other side.

